This post is to demonstrate the process to migrate Microsoft Certificate Authority Service (Enterprise Root CA) to Windows Server 2022.
Environment
- Source: Windows Server 2016 Standard with Certificate Authority roles installed
- Destination: Windows Server 2022 Standard
- Reason for the migration: Server refreshment
- Migration Context: Source and Destination server names are different, for Example, oldCA.ictfella.com to newCA.ictfella.com. However, the CA service name remains the same.
Backup/Export the Config and Private Key
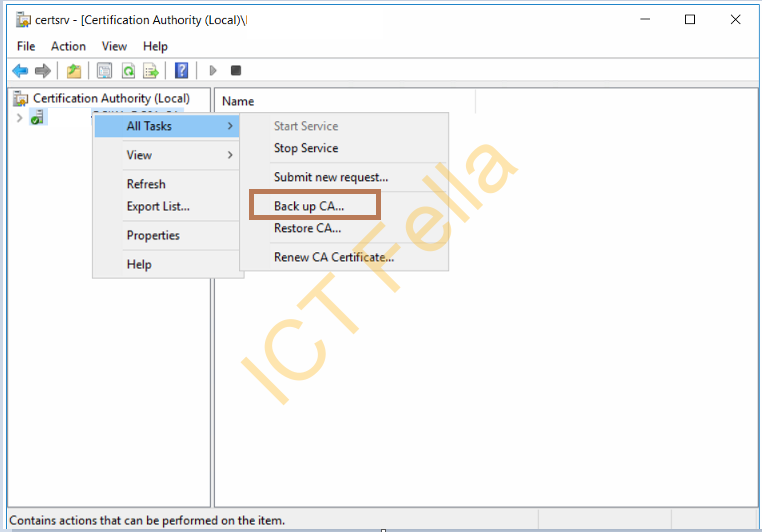
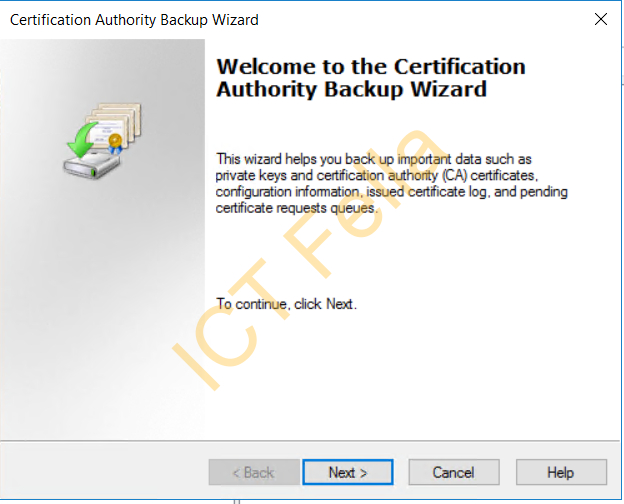
Open up Certificate Authority Management Console, expand “Certification Authority (local), right-click on the “CA Service Name – All Tasks – Back up CA” to initialize the Backup Wizard, then click Next
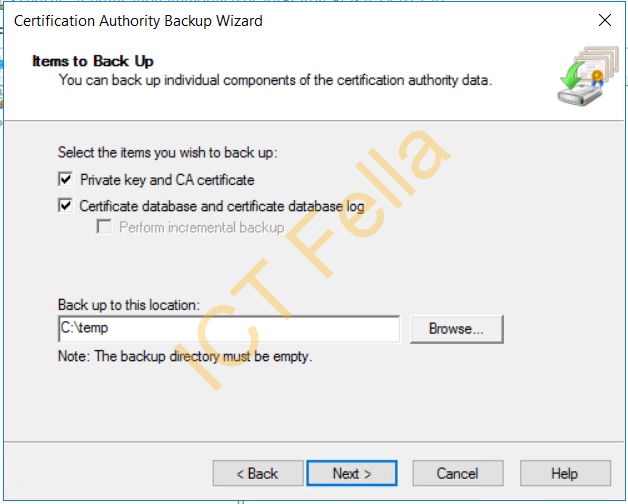
Tick boxes to select the items to back up, then browse to the backup path/location like below
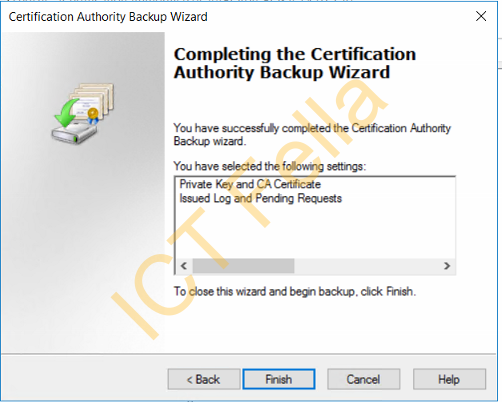
Provide a password for the private key, then complete the wizard

Back up the CA register key
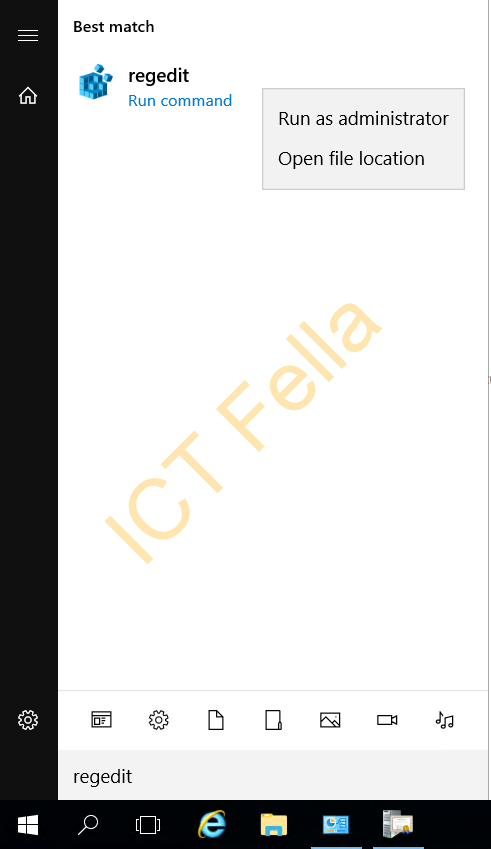
Type “regedit” in Search and run it as Administrator
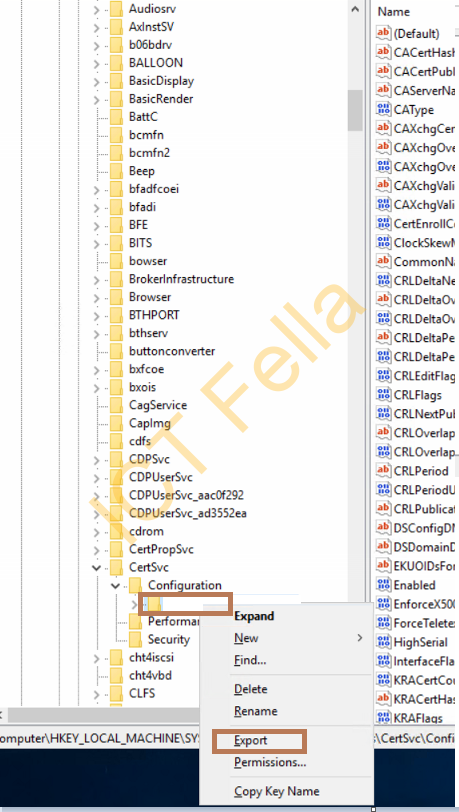
Navigate to “HKEY_LOCAL_MACHINE\SYSTEM\CurrentControlSet\Services\CertSVC\Configuration”, right-click on the CA Service Name and select “Export”
Browse to a path, give it a name, in my example you will see it is with the CA backup files in “C:\temp”


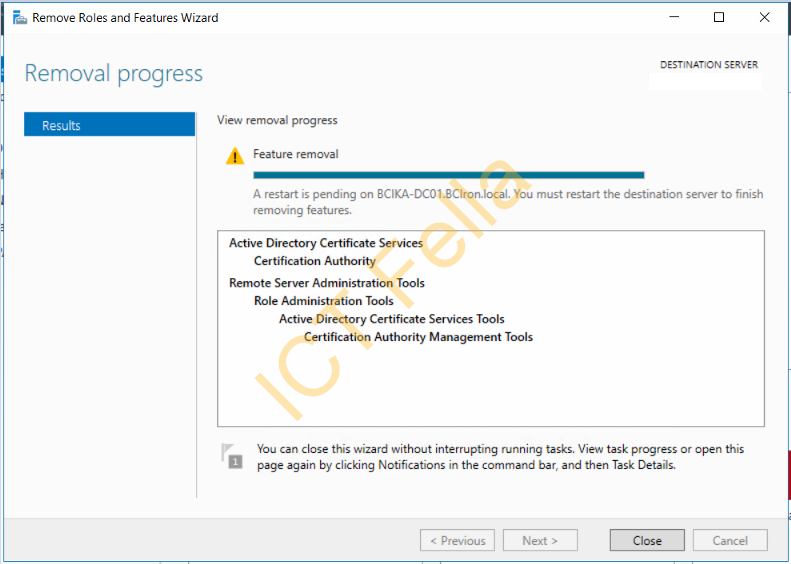
Uninstall the AD Certificate Service on the Source(old) CA server
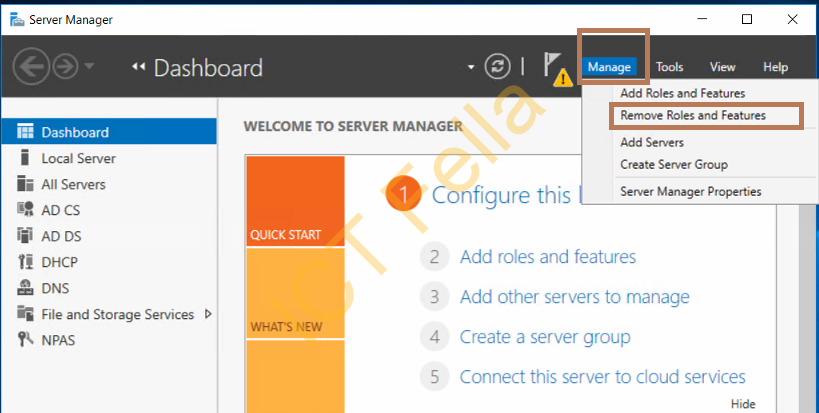
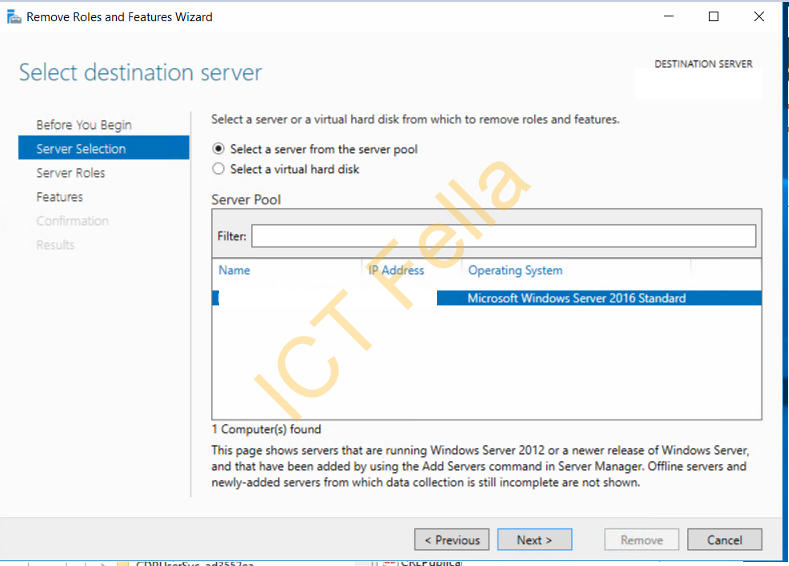
Go to “Server Manager – Manage – Remove Roles and Features” and start the wizard
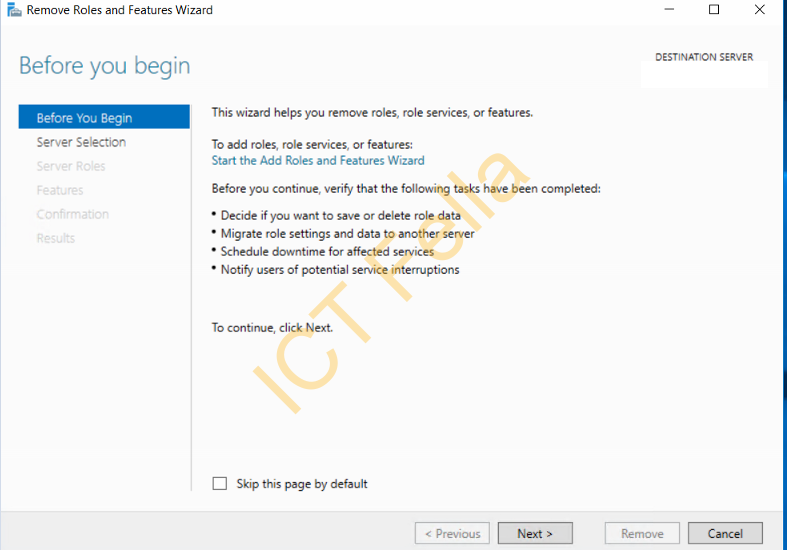
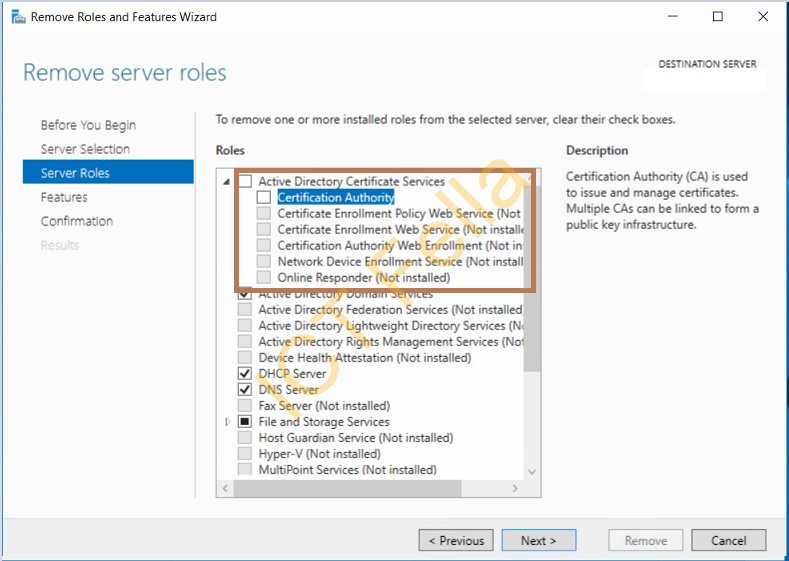
Select your old server and remove the “Certification Authority”
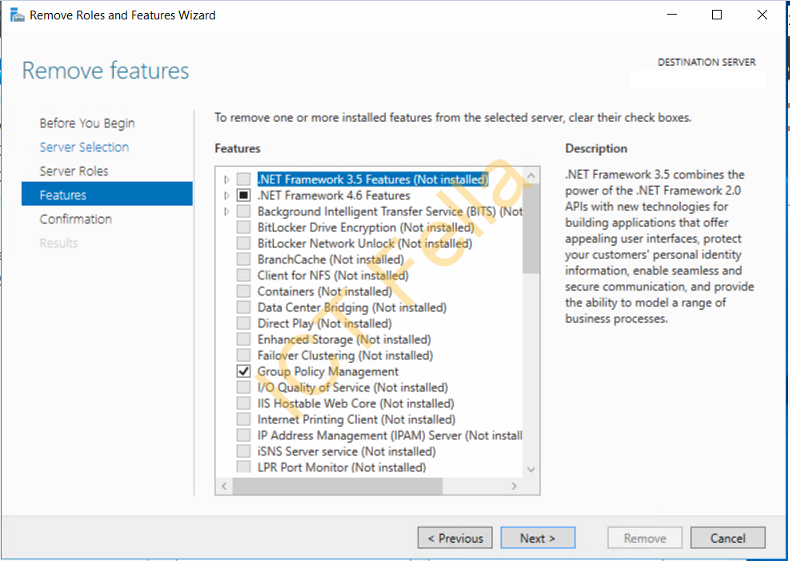
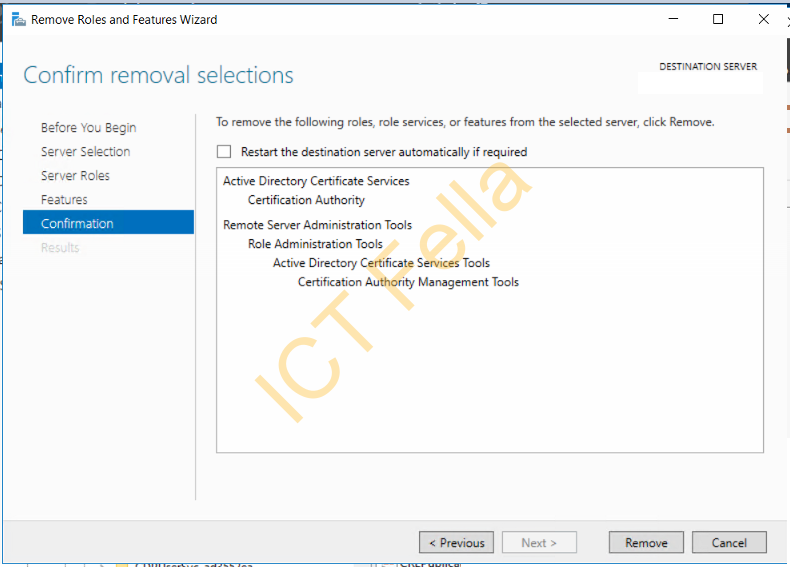
Remove the “Remote Server Administration Tools” in the popped-up window and next to complete the removal progress
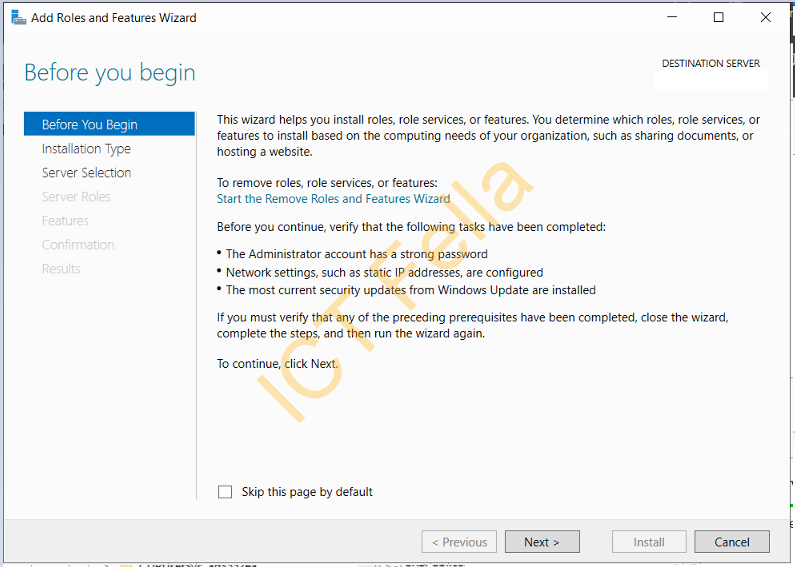
Install Certificate Services on the Destination Server
Go to “Server Manager – Add Roles and Features” to start the installation wizard

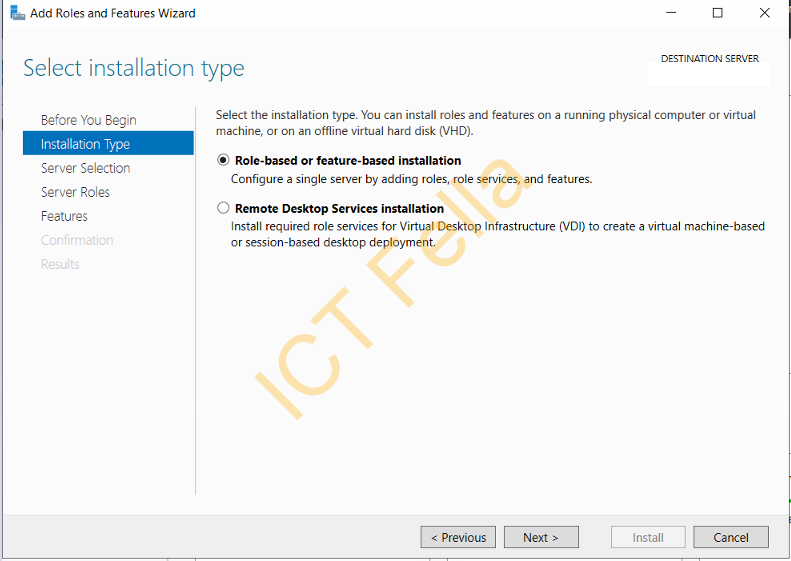
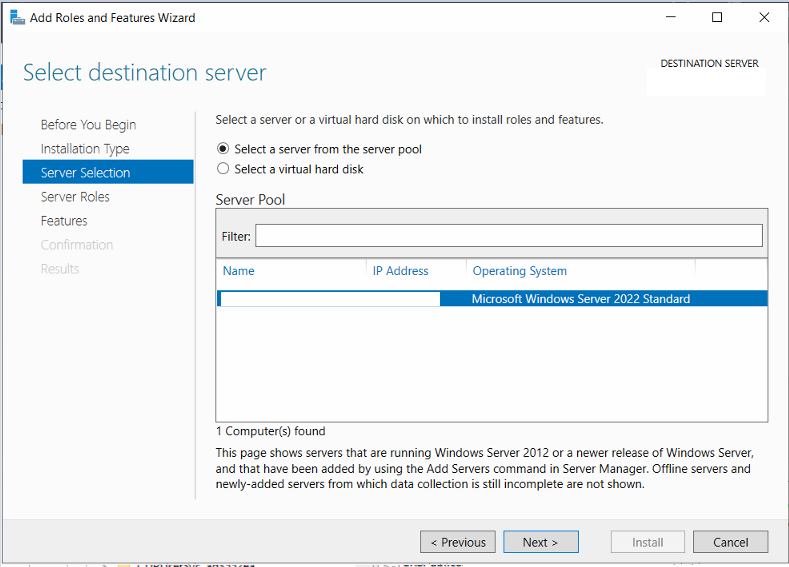
Select your destination server, then select Role-based or feature-based installation
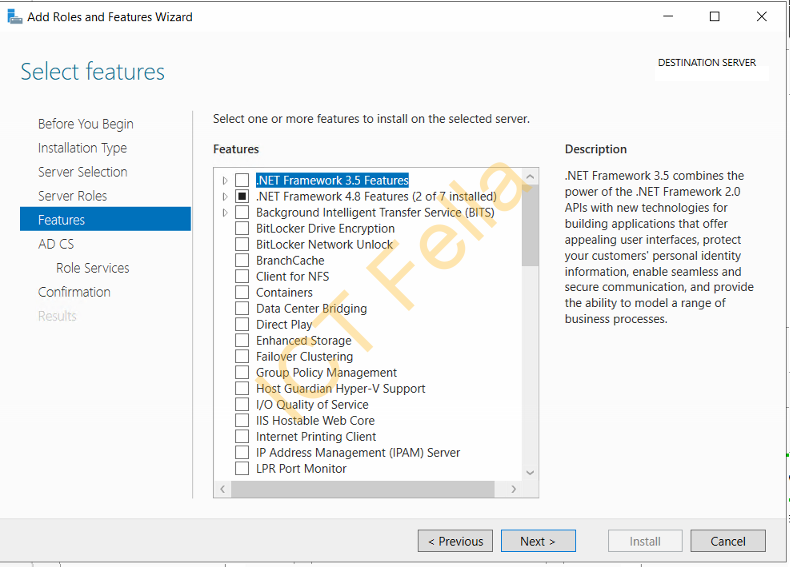
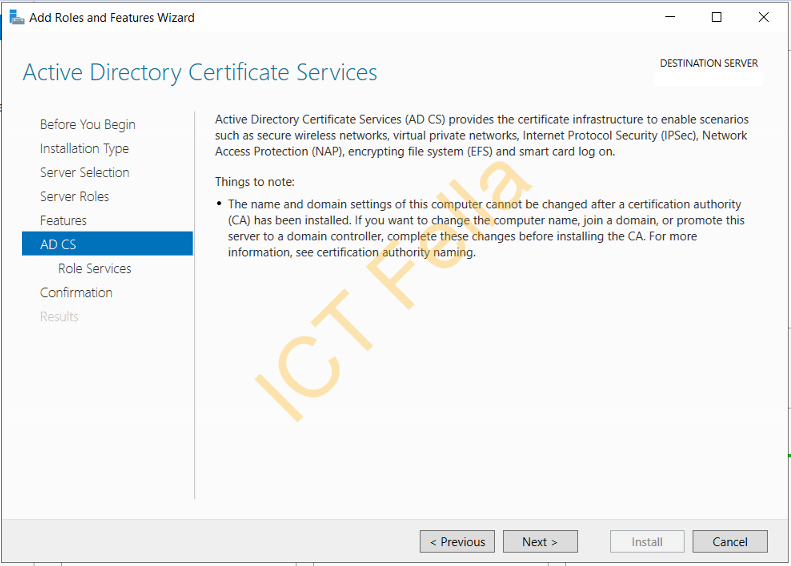
Select “Active Directory Certificate Service” and include management tools, click next on the Features page

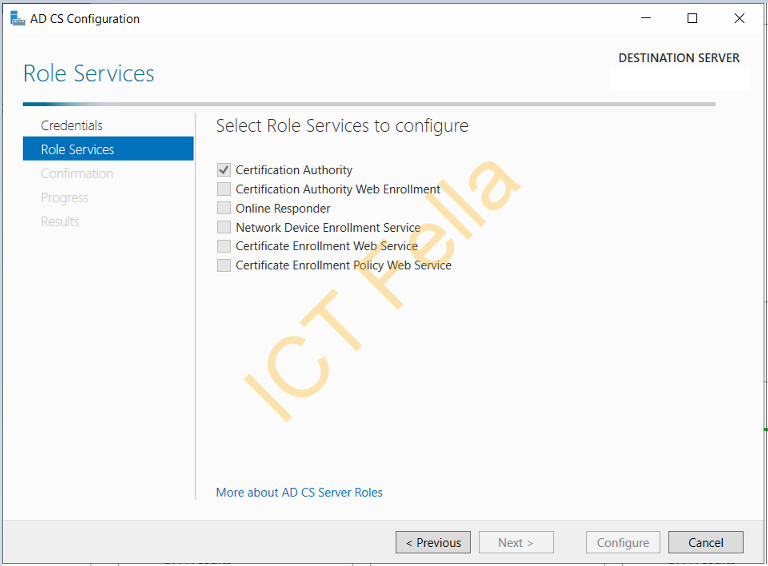
Select “Certification Authority” roles Services

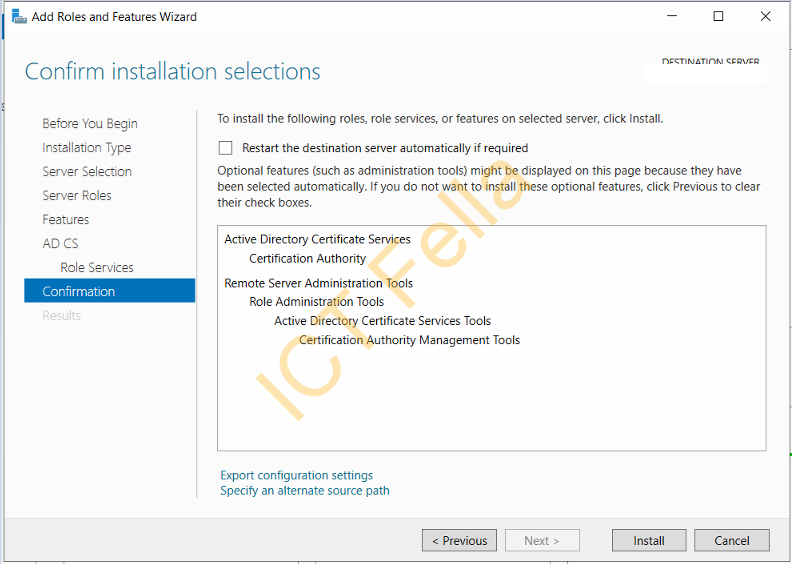
Confirm installation selections and complete the process, you then can select “Configure Active Directory Certificate Services”

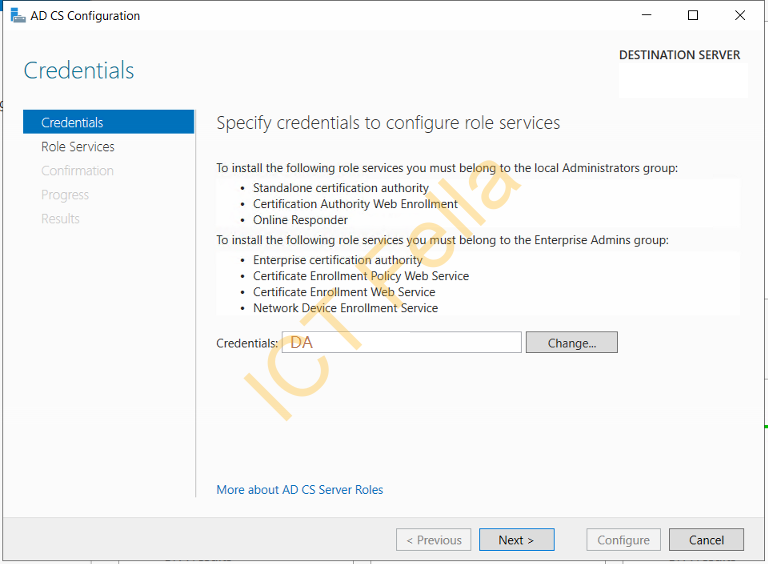
Use your Domain Admin Credential, and make sure “Certification Authority” is selected
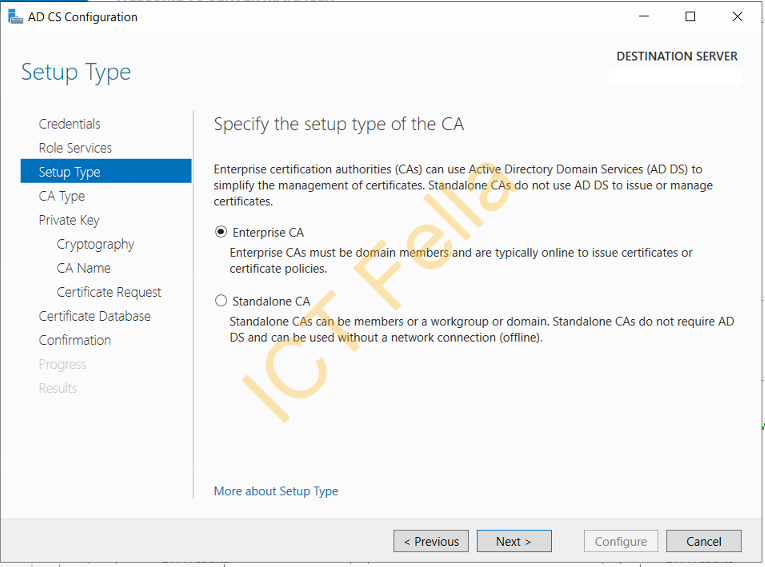
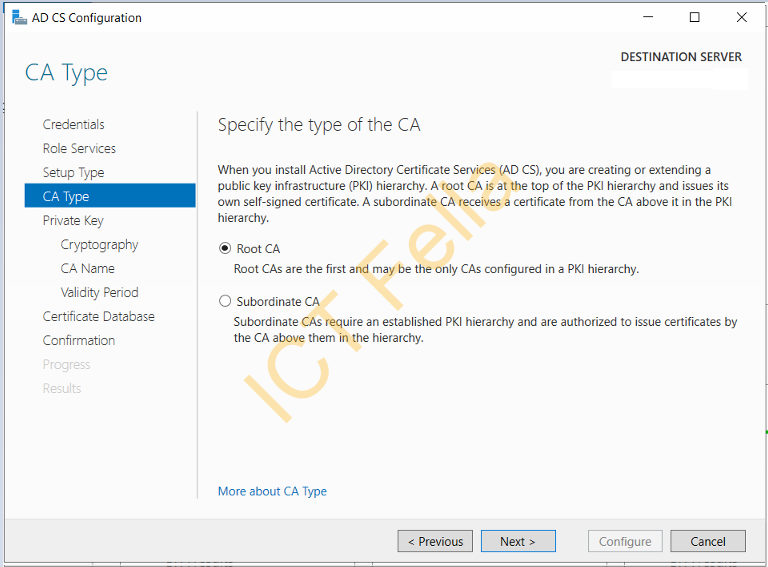
Specify the Enterprise CA and Root CA as it is configured on the Source Server
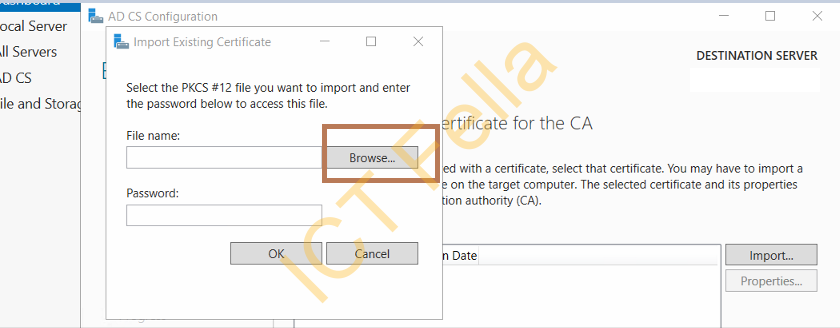
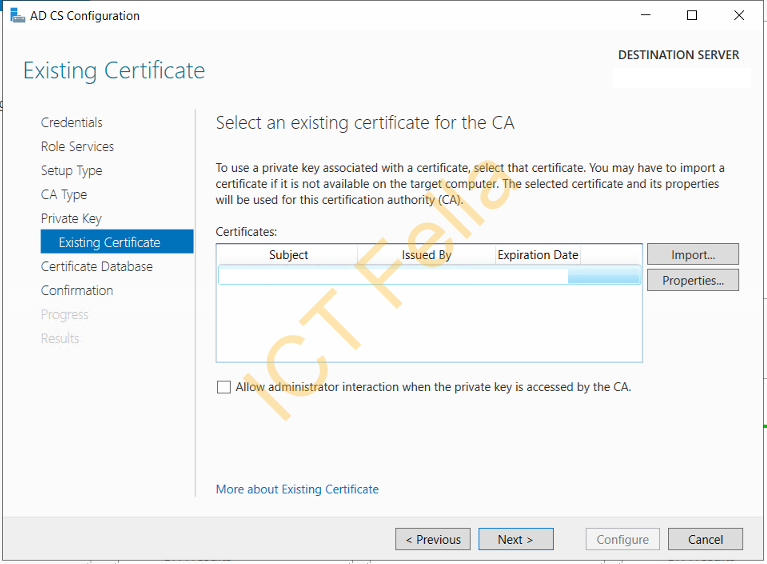
Select “Use existing private key” and “select a certificate and use its associated private key”, and browse to where you keep your backup, enter the private key password. ( assume you have copied the backup files and registry key already)

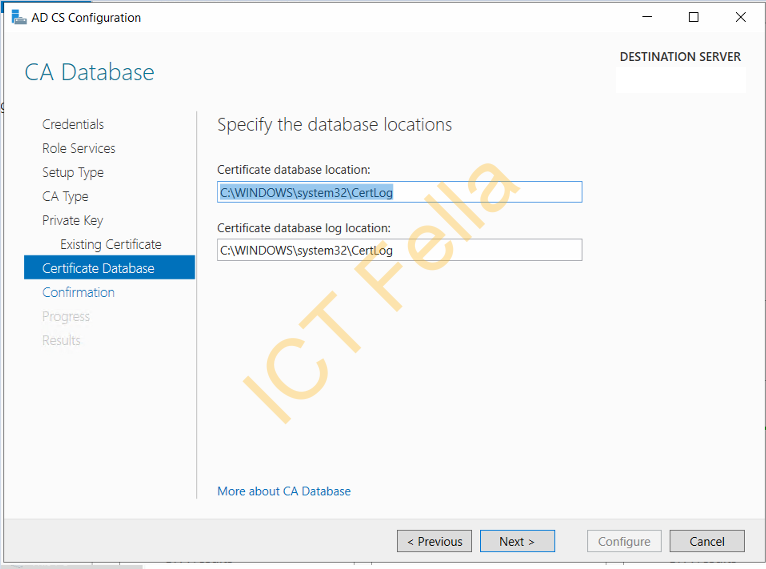
You will see the existing cert is showing, click next then configure database location, we will just use the default
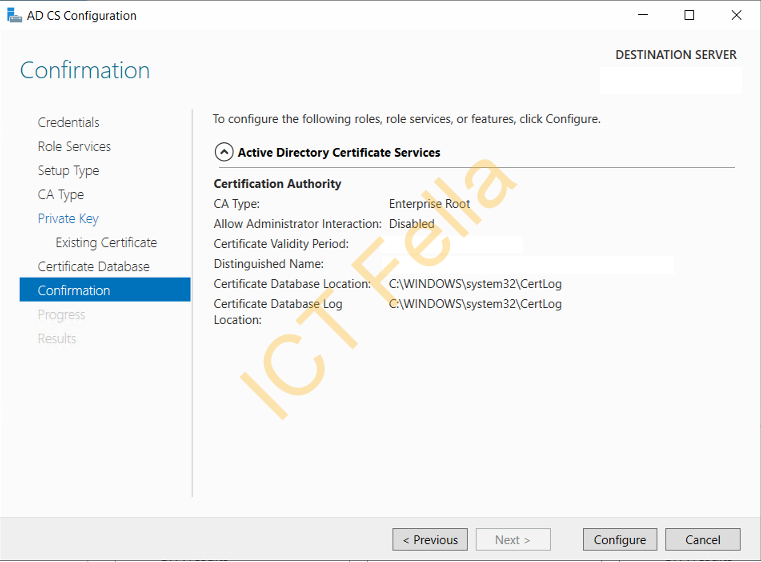
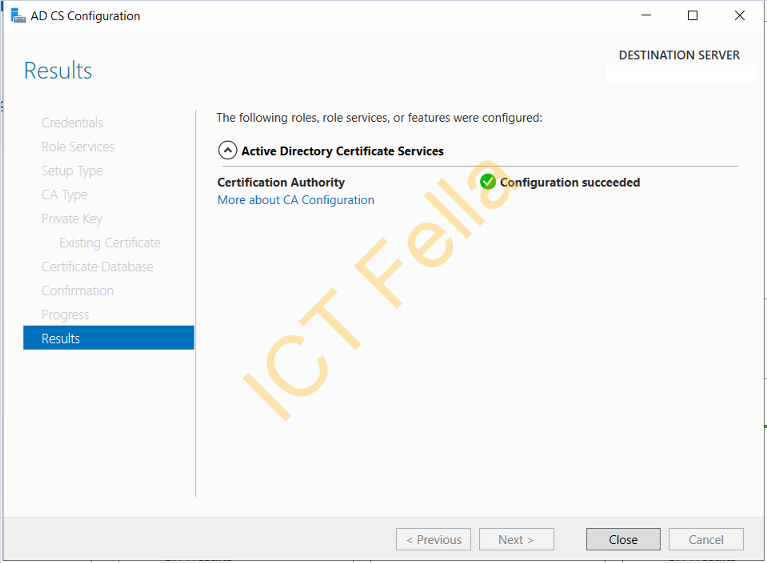
Click “Configure” on the confirmation page and let it finish
Import the Registry key
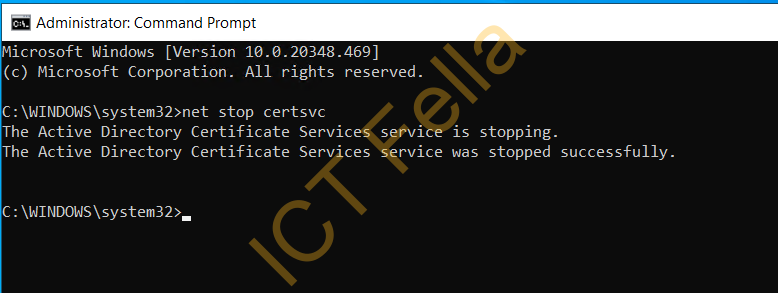
Stop the Certificate Sevice using CMD “net stop certsvc“
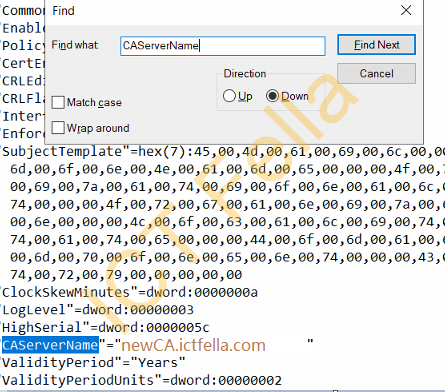
Open up your registry key and search for “CAServerName”, change the name to the new server name such as “newCA.ictfella.com”
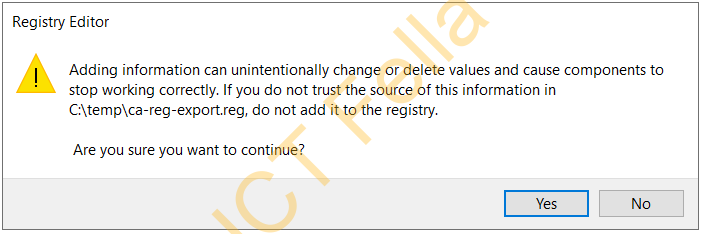
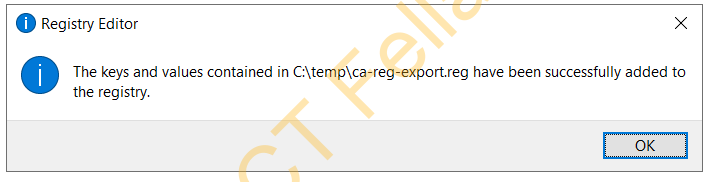
You then right-click on the registry key and select Merge, then complete the registry key import

Import the CA Configuration/Database
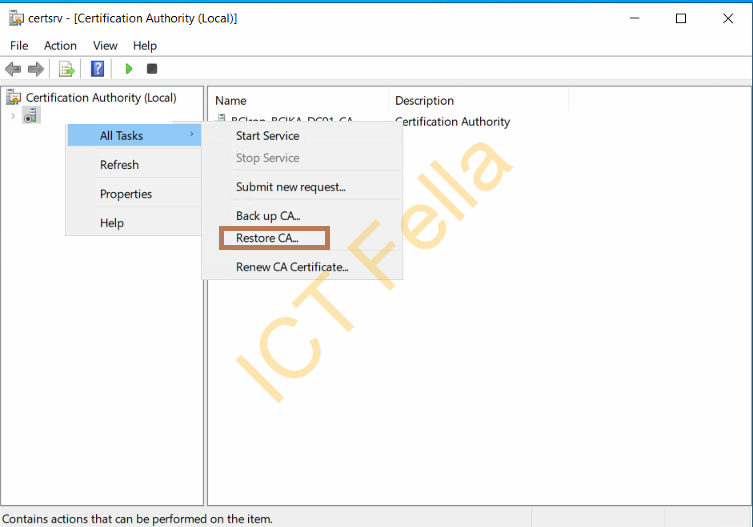
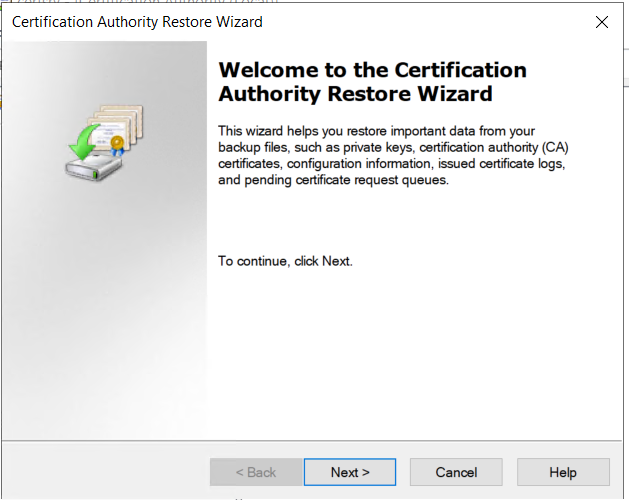
On the new CA server and right-click on the CA Service Name, select “Restore CA” to start the wizard
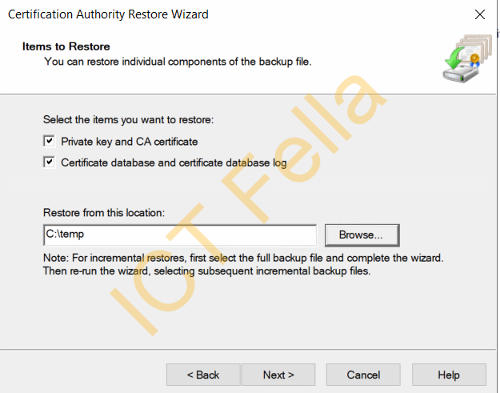
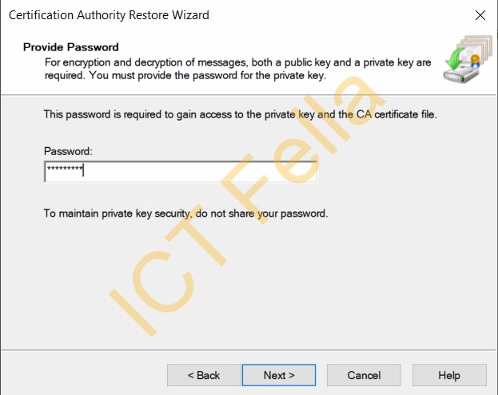
Select the items you want to restore and put your private key password in
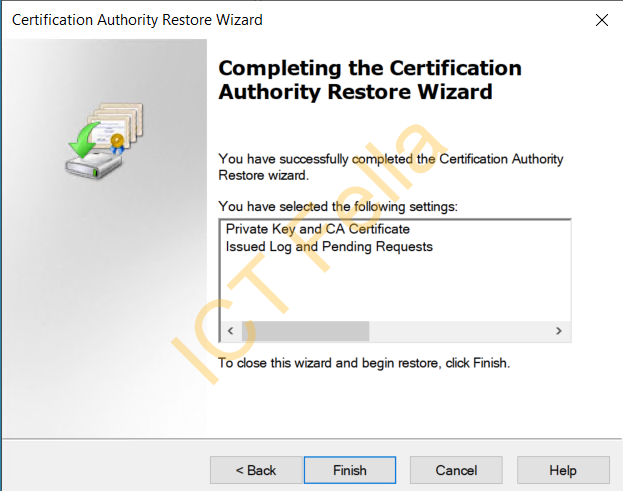
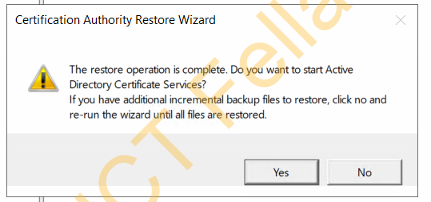
Complete the Certification Authority Restore Wizard
Test new CA server
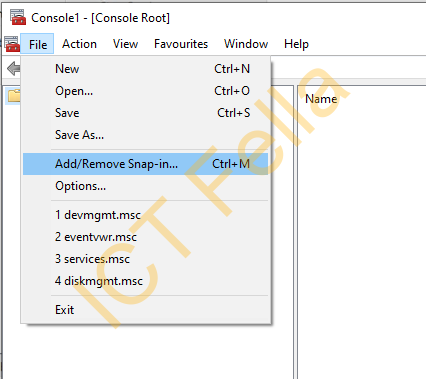
From a Domain Joined workstation, type “MMC” in search and run it as administrator, and select “Add/Remove Snap-in”
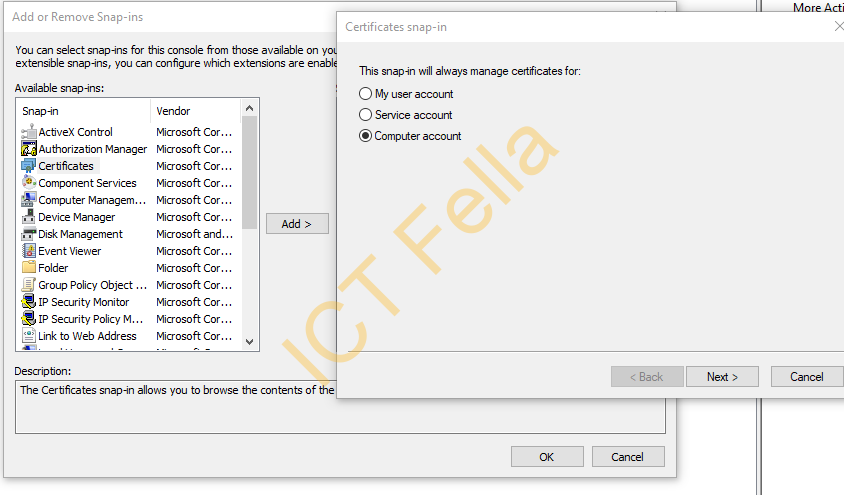
Click on “Certificates” and select “Computer account”
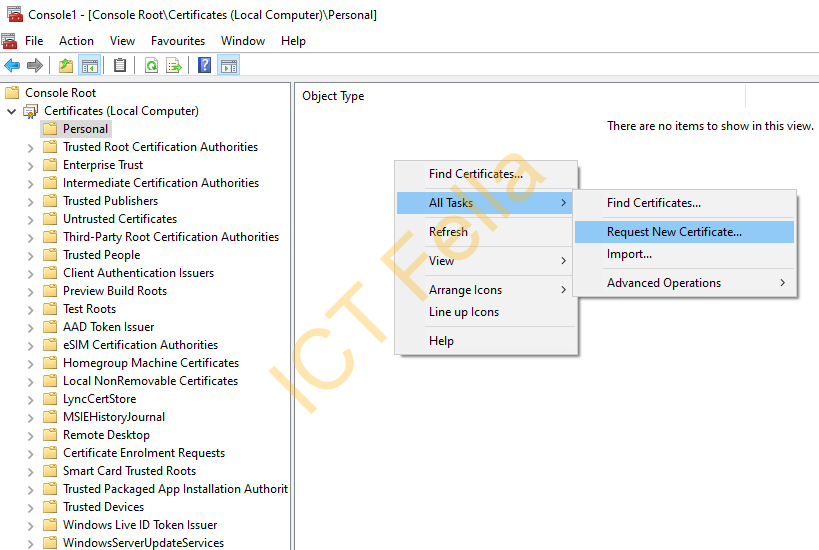
Go to Certificates – Personal, then right-click on the blank space, then “All Tasks – Request New Certificate”, you then can choose your CA template and test out the new server, please be aware of the “CA Service Name” remains the same in this scenario.
Useful links
How to move a certification authority to another server