This post is to illustrate the process to migrate DHCP Service from Cisco Core Switch to Window Server 2022, it includes the Cisco IP Phone DHCP option 150 and Option 66.
Environment
- Source: Cisco Catalyst Layer 3 switch
- Destination: Window Server 2022 Active Directory Domain Controller
- IP Phone DHCP options were configured on the Core Switch and pointed to the PABX server
Source (Core Switch) Configuration
! DHCP pool Exclusion

ip dhcp excluded-address 192.168.4.1 192.168.4.10
ip dhcp excluded-address 192.168.5.1 192.168.5.10


! DHCP Pool
ip dhcp pool VLAN4
 network 192.168.4.0 255.255.255.0
 domain-name ictfella.com
 dns-server 1.1.1.1 8.8.8.8
 default-router 192.168.4.254
 option 66 ip 192.168.4.2
 option 150 ip 192.168.4.2
 lease 0 4            ->Lease time is changed to 4 hours

ip dhcp pool VLAN5
 network 192.168.5.0 255.255.255.0
 domain-name ictfella.com
 dns-server 1.1.1.1 8.8.8.8
 default-router 192.168.5.254
 lease 0 4

! Switch Virtual Interface Config
interface Vlan4
 ip address 192.168.4.254 255.255.255.0

interface Vlan5
 ip address 192.168.5.254 255.255.255.0
Destination Server Configuration
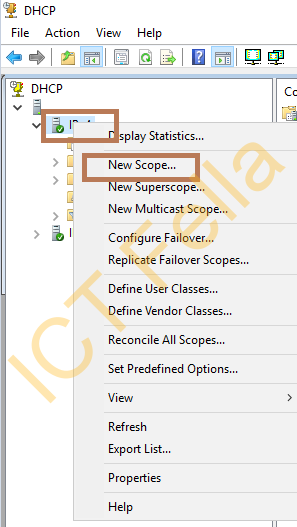
1.Go to your DHCP Server console, right-click on “IPv4” and select “New Scope…”
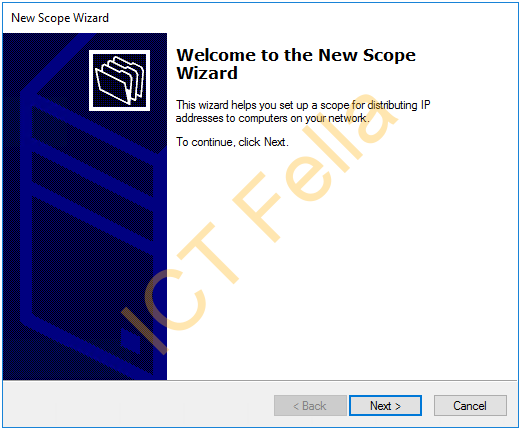
2. Click Next
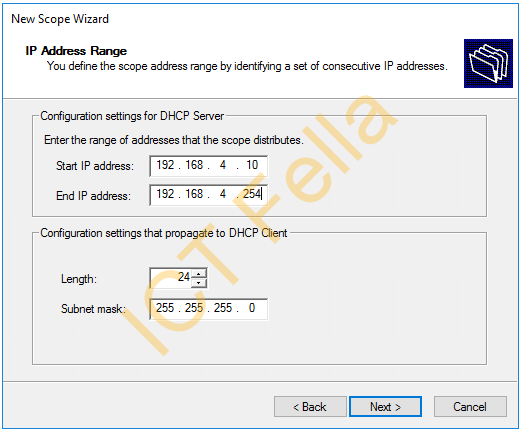
3. Configure the Start and End IP address and subnet mask, then next
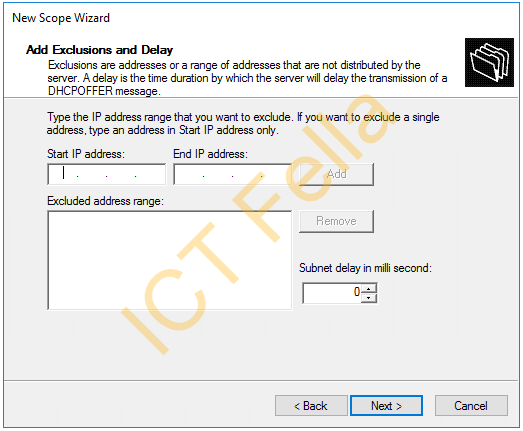
4. set up your exclusions and delays, you can leave it to default if it is not used
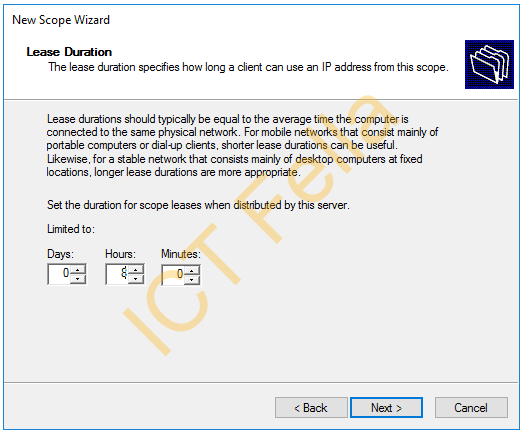
5. Configure your Lease duration, by default it is 8 days
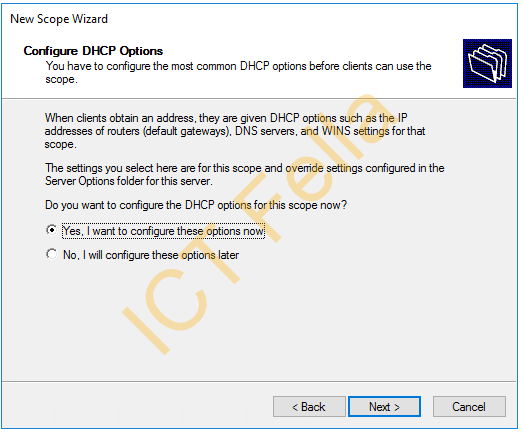
6. Leave it on “Yes” and “Next”
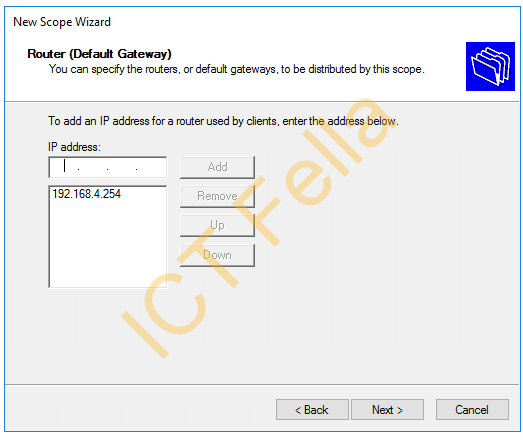
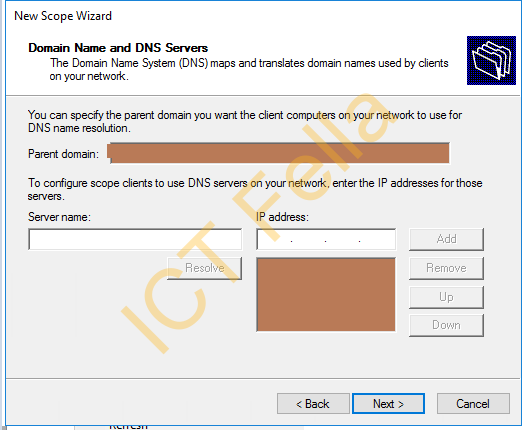
7. Add Your SVI IP address in and click Add
8. DNS server will be listed automatically, you can modify it based on the requirement
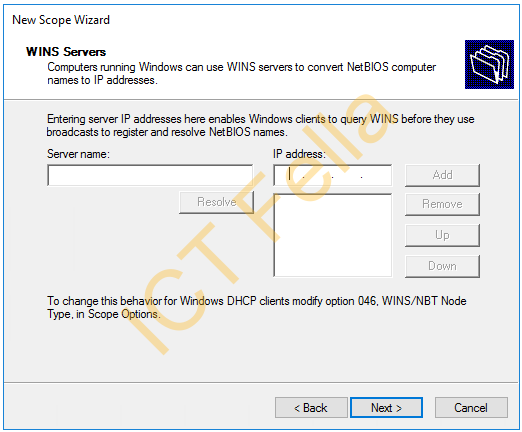
9. Leave the “WINS Servers” as default
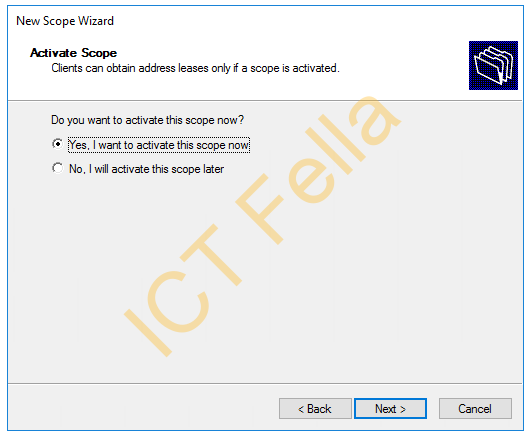
10. Activate the Scope Now by clicking “Next”
11. You can right-click on the newly-added scope and configure the failover if you have the secondary DHCP server, check the previous post for more details.
Configure DHCP Option 150 and Option 66 for Cisco IP Phones
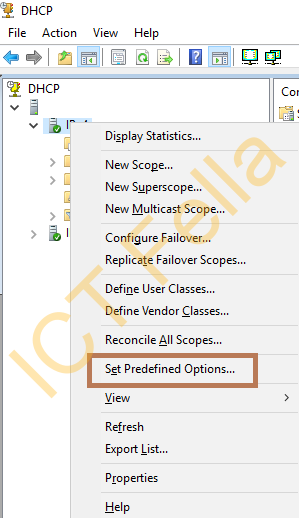
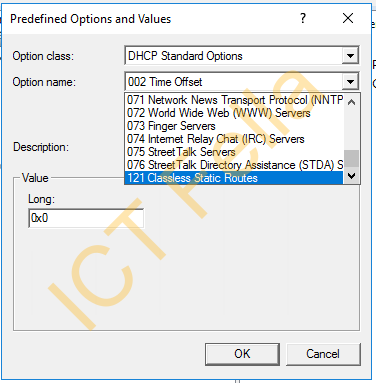
1.Right-click on IPv4 again from the DHCP console but select “Set Predefined Options”
2. Scroll down to make sure needed options are NOT listed, in the case, option 150 is not here
3. Click “Add”, then give your option a name, change the data type to “IP Address”, then give it an option code: 150
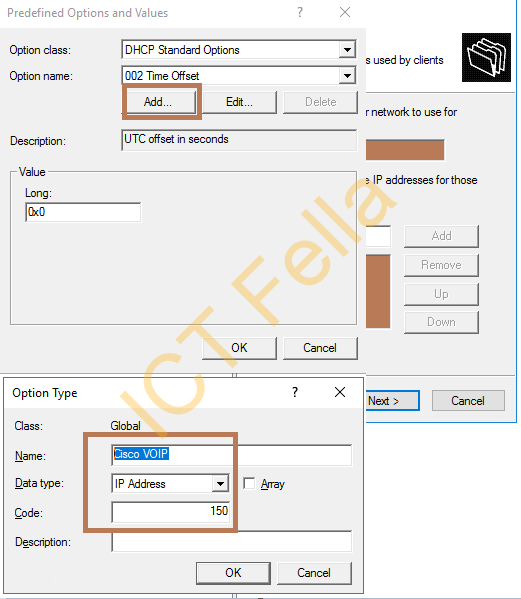
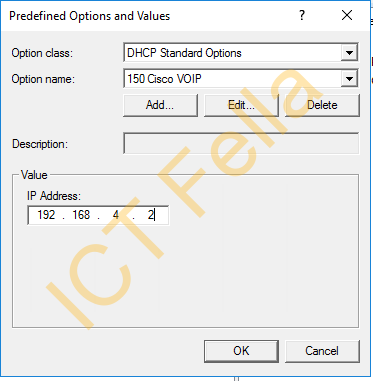
4. Put your PABX/CUCM IP Address in and click OK
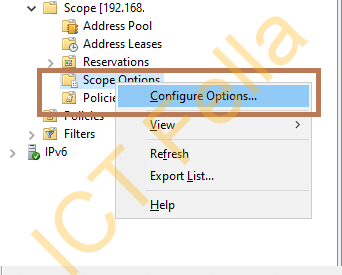
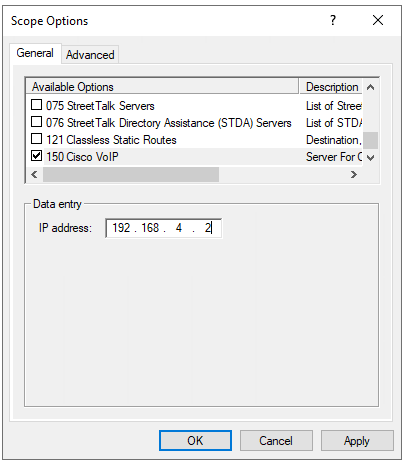
5. Go back to your Sope and right-click on “Scope Options” then select “Configure Scope Options”
6. Scroll down and tick your new option 150, and make sure the IP Address is your CUCM/PABX, then click apply
Finalize the configuration on your Cisco Core Switch
Now you can Safely remove the DHCP Pool and exclusion configuration, then put your DHCP server as in your DHCP relay / IP helper-address configuration.
conf t

no ip dhcp excluded-address 192.168.4.1 192.168.4.10
no ip dhcp excluded-address 192.168.5.1 192.168.4.10

no ip dhcp pool VLAN4

no ip dhcp pool VLAN5

interface Vlan4
 ip helper-address 10.0.0.1
 ip helper-address 10.0.0.2

interface Vlan5
 ip helper-address 10.0.0.1
 ip helper-address 10.0.0.2

end
wr
You then can clear the DHCP Bindings and ARP table after the DHCP relay config is in place
clear ip dhcp binding *

clear arp

clear ip arp
Useful links
Microsoft Dynamic Host Configuration Protocol (DHCP)
Cisco Configuring DHCP