This post is to demonstrate the process of creating a Certificate Signing Request (CSR) in Windows and obtaining a Godaddy Certificate using the CSR. This procedure applies if you are getting a certificate from Digicert or other providers.
Environment
- Windows 10 or Windows Server
- Godaddy account and purchase of Standard UCC SSL Up to 5 SAN names, it is a similar process if you doing wildcard certificate
Creating Certificate Signing Request in Windows
Search MMC.exe in Windows and Run as Administrator

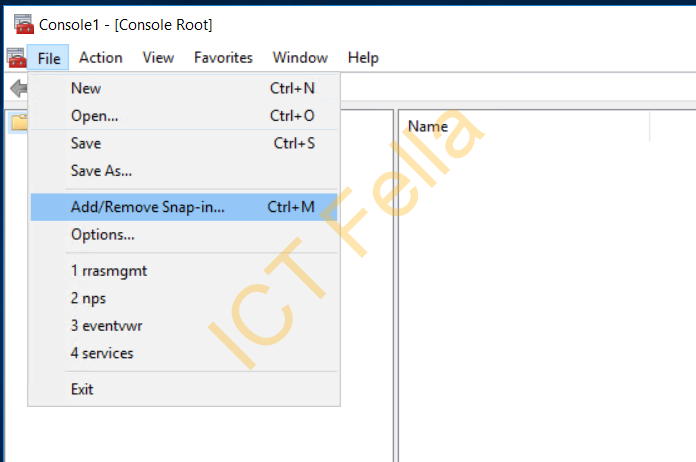
In the MMC window, go to “File – Add/Remove Snap-in”
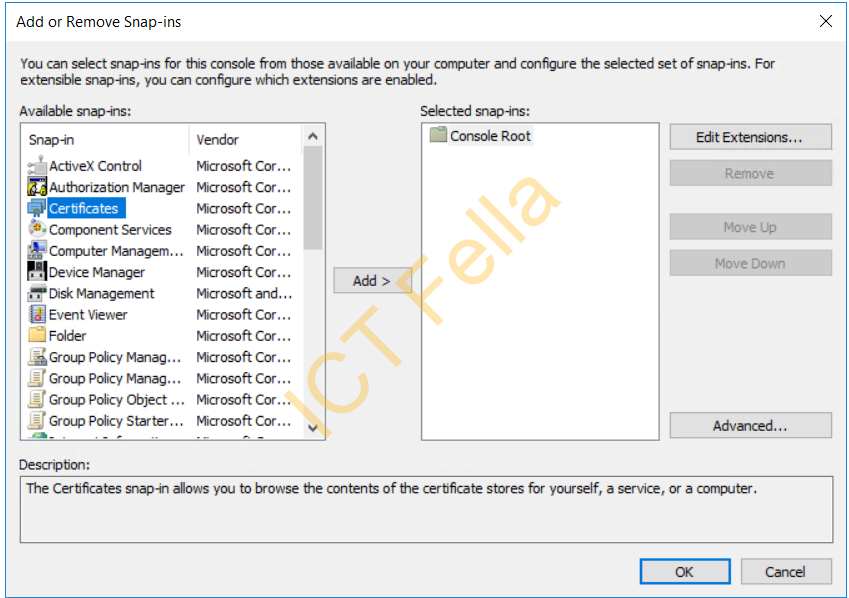
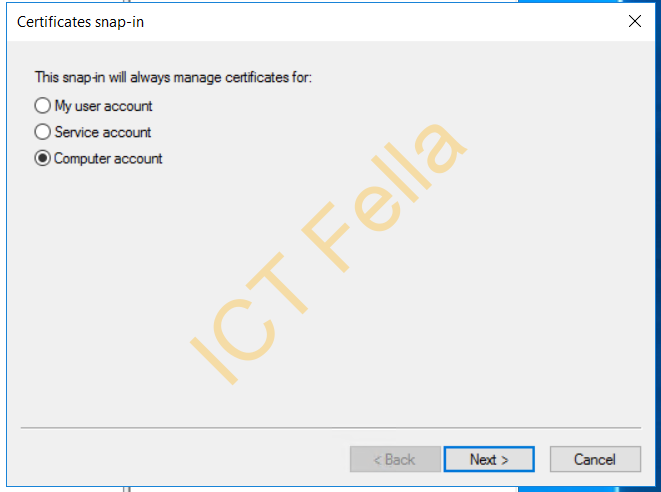
Select “Certificates” then choose “Computer account” as Snap-in
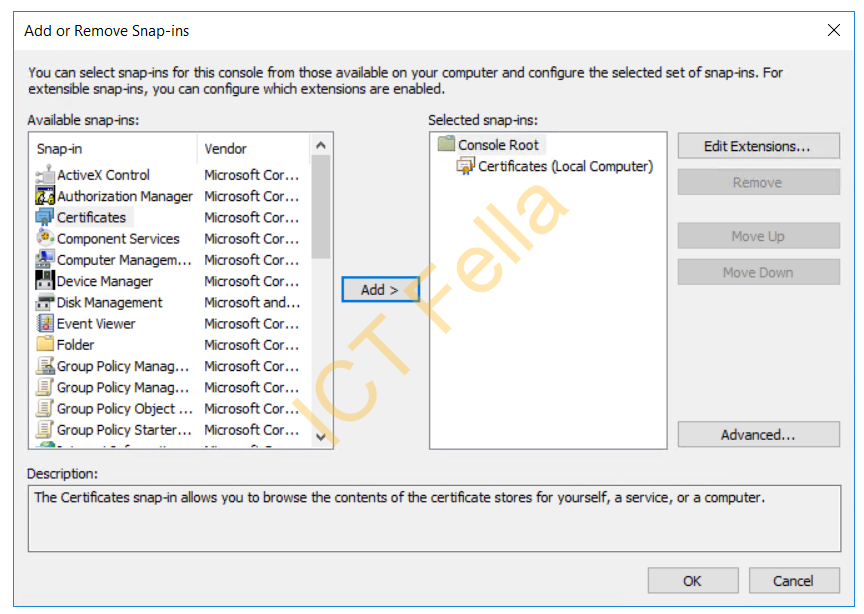
You then will see the “Certificates (Local Computer)” in the selected snap-ins
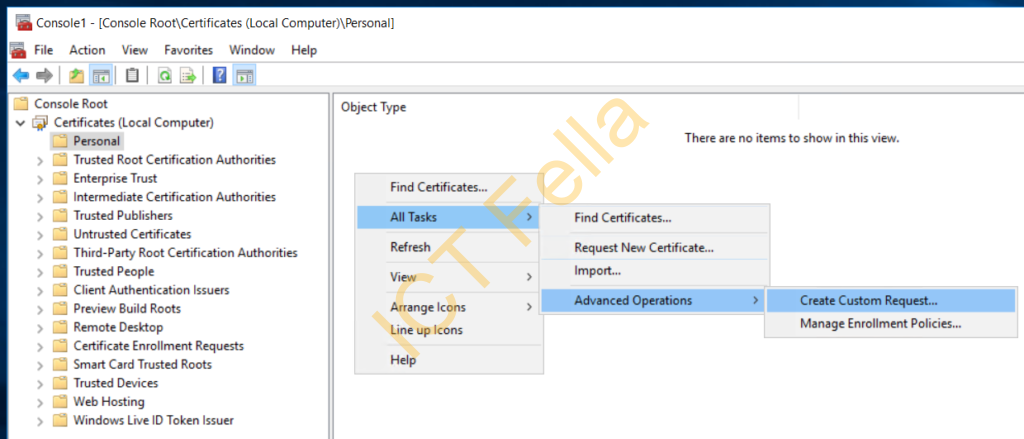
Expand “Certificates – Personal” and right-click from the blank, select “All Tasks – Advanced Operations – Create Custom Request”
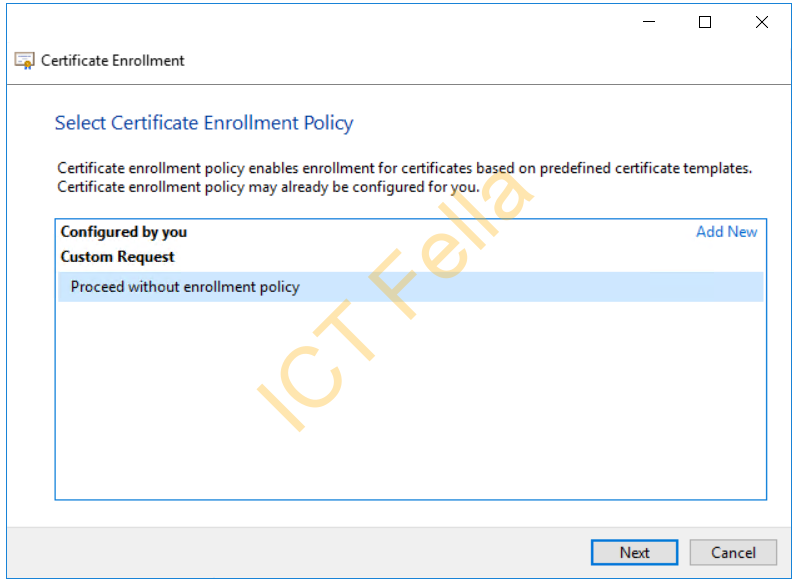
You will then see the Certificate Enrollment page, click next then choose “Proceed without enrollment policy” and click Next
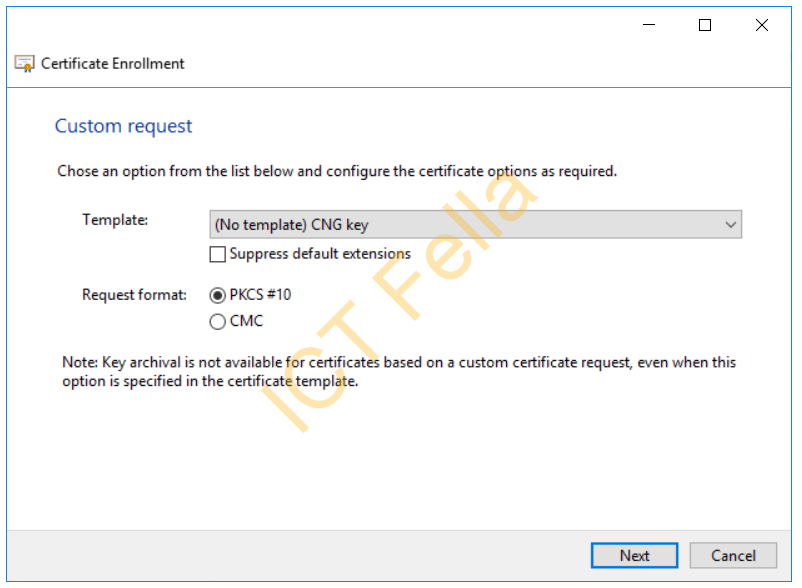
Leave the “choose an option” windows as the default
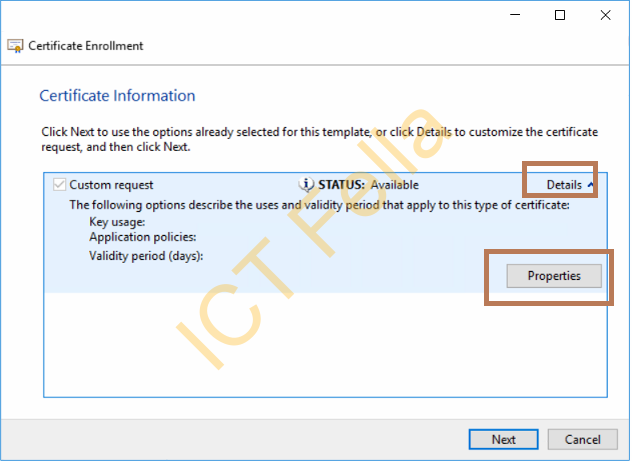
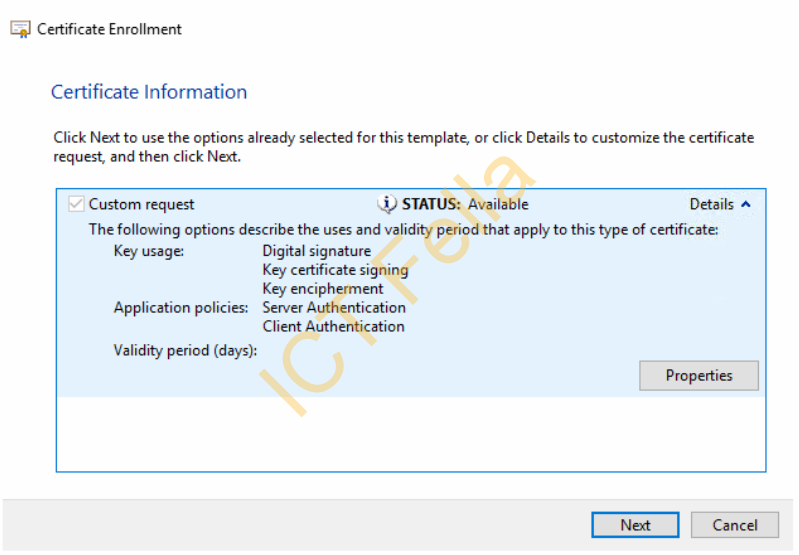
In the Certificate Information, Click “Details – Properties”
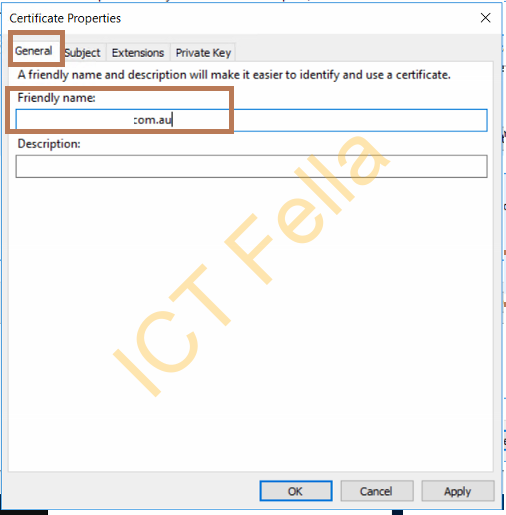
In the Certificate Properties window, choose the “General” tab, give your certificate a friendly name
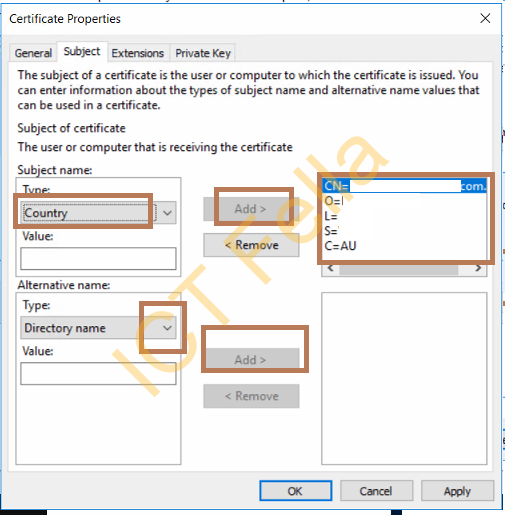
In the Subject tab, give your Certificate a common name (CN), then Country (C), State(S), Organization (O) etc. If you want your certificate to protect more domain names (Subject Alternative Name), Select the drop-down menu, choose Domain/DNS add more domains.
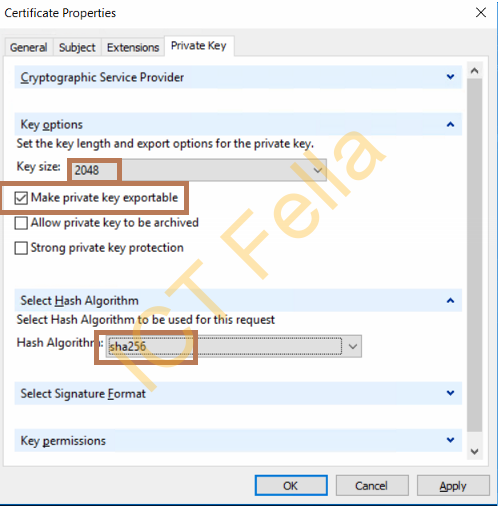
In the “private key” tab, make sure you select as list 2048bit key size, mark as “private key exportable”. then Choose hash algorithm “sha256”, Click Apply
On the summary page, review your config
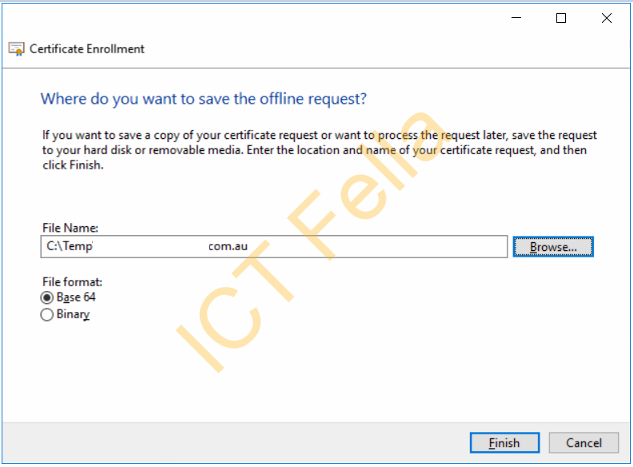
Choose your path of CSR file
Generate your certificate
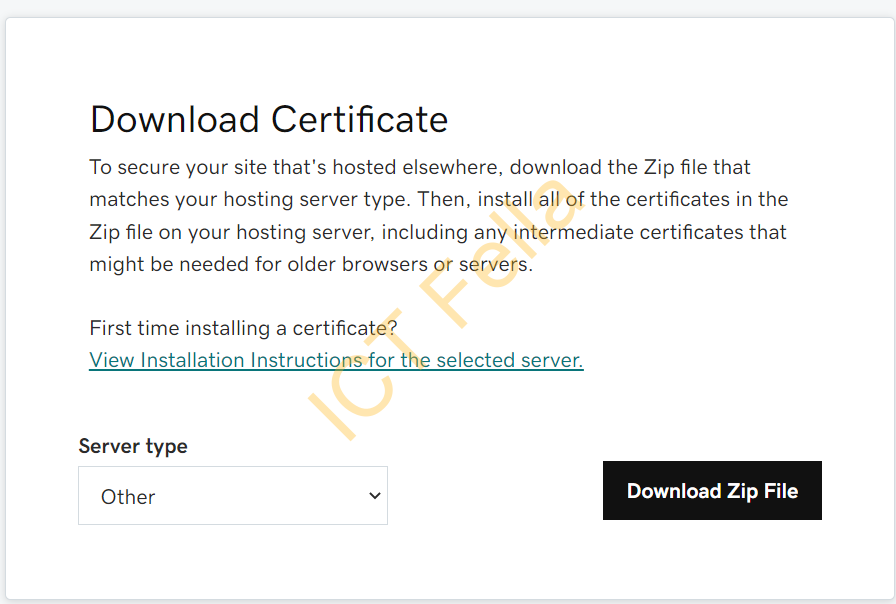
Go to your Godaddy portal and paste your CSR

Download the Certificate
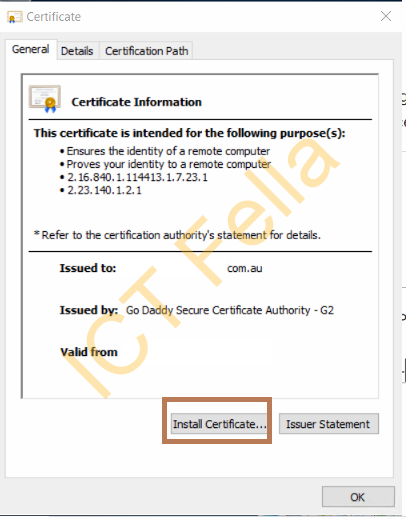
Once you got the actual certificate, you need to go back to the Window machine where you created your CSR file, you need to install the certificate over there as that source Windows machine has the private key. Double click ” Install Certificate”
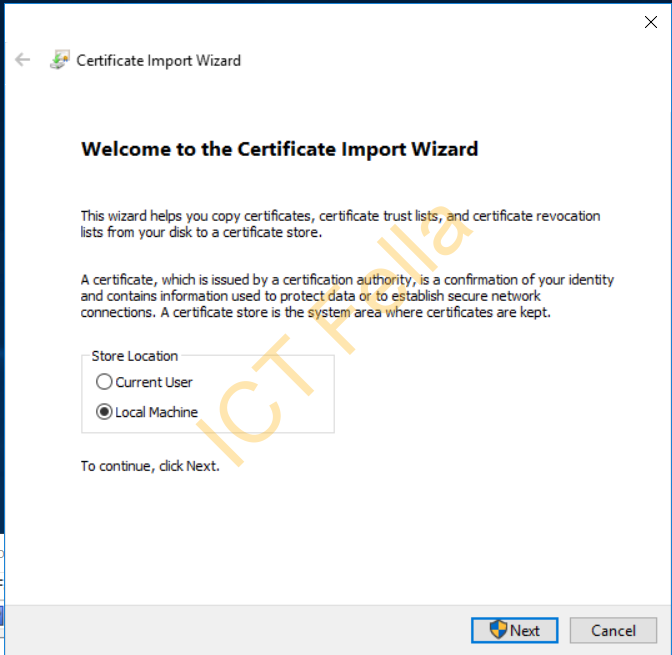
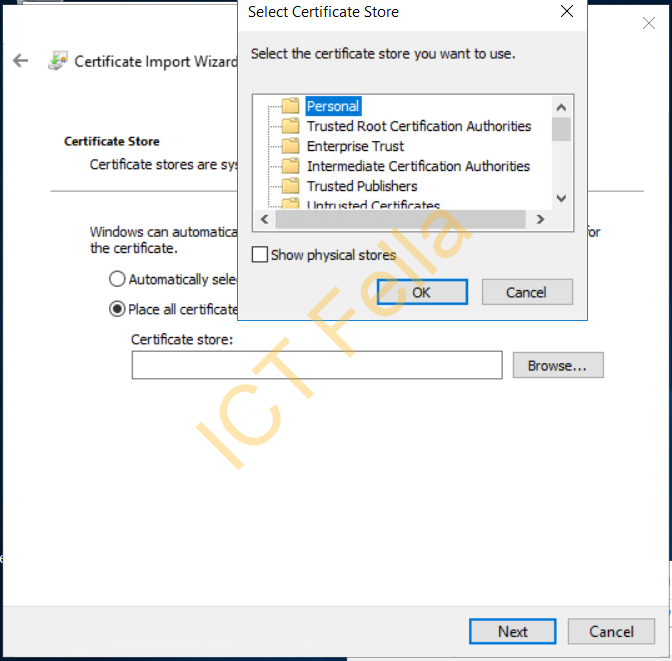
Select “Local Machine”
Choose “Place all certificates in below…” and select “Personal”. Note, this will also install the Godaddy Trust Root CA cert in that location as well, you can delete or move to “Trusted Root Certificate Authorities”
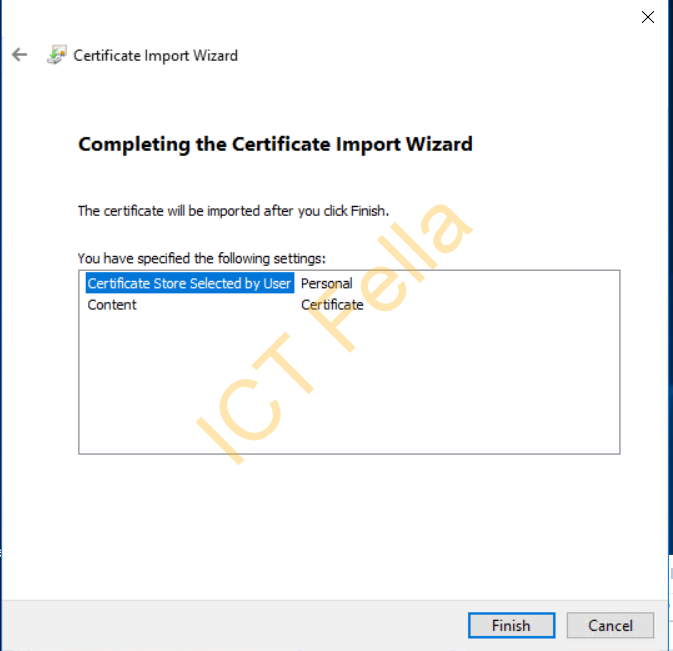
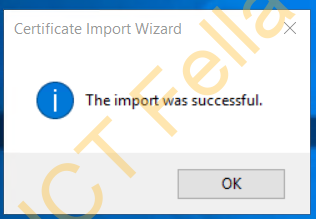
Finish the certificate import wizard and you will see “The import was successful”
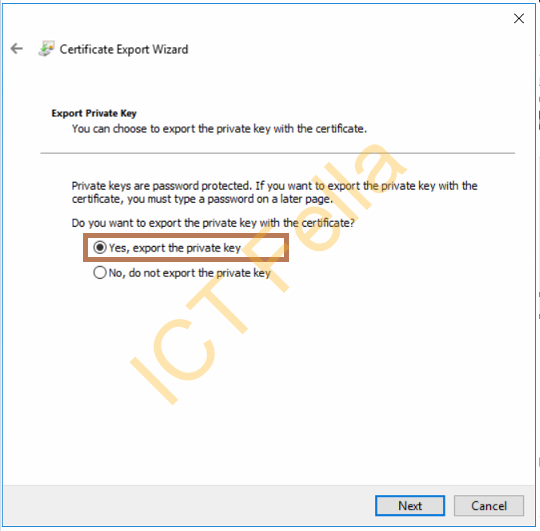
Export certificate package out to PFX file
You will see the certificate has a tiny “KEY” Icon, which means the private key is in place, if there is NO “KEY” Icon, this Certificate will NOT be usable. to export the certificate to the PFX file, right-click “All tasks – Export”

Select “Export the private key”
Give your PFX file a password and complete the export process
Import the Certificate and apply it for your application
The import procedure is very straightforward, just double click and enter your PFX password and you are ready to go.
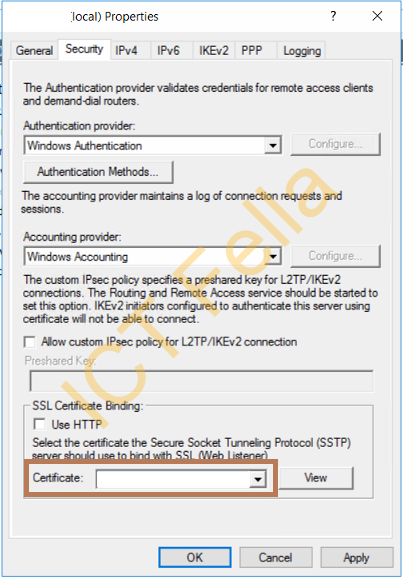
Using the below SSTP server as an example, you should be able to select the new certificate and apply the configuration
Other Options
Please be aware you may NOT need the below steps at all.
Under “Extended Key Usage (application policies), choose the options you need, if you are generating a cert for Wireless Certificate-based authentication, you may need “Server Authentication” and “Client Authentication”
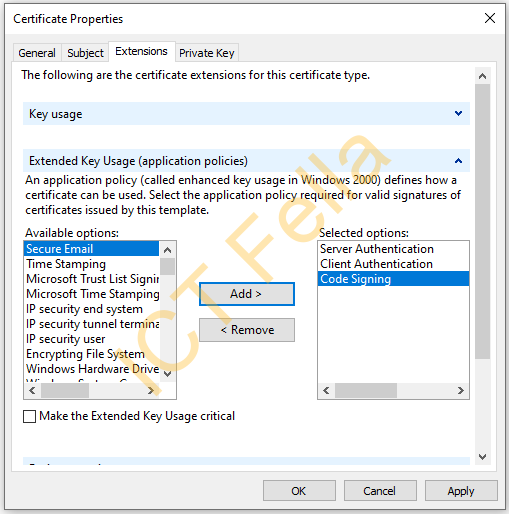
If you are not sure whether you need it or not, check the application doc or the expiring/old cert that is/was working
Useful links
Note: For more details on PFX format, please check the post below for more details, it is wildly used by heaps of applications, firewalls and other security devices
How to merge PFX certificate using OpenSSL
https://ictfella.com/how-to-merge-pfx-certificate-using-openssl/
Generate a CSR via MMC certificate snap-in using Windows (digicert.com)