This post is to document the process of changing DNS configuration on FreePBX, checking FreePBX SIP Trunk registration status and configuring DNS on common Linux distributions using VI.
Change DNS Configuration on FreePBX via GUI
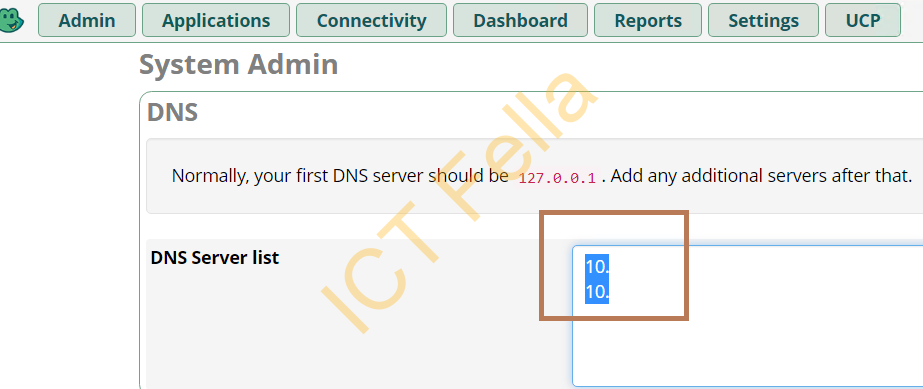
Log in to the admin portal of FreePBX, go to “Admin – System Admin”

Enter the DNS IP address and use the next line if you have a secondary DNS server
Check FreePBX SIP Trunk Registration
After changing the DNS server, it is recommended to restart your FreePBX network service, if you are lazy, you can simply restart the server
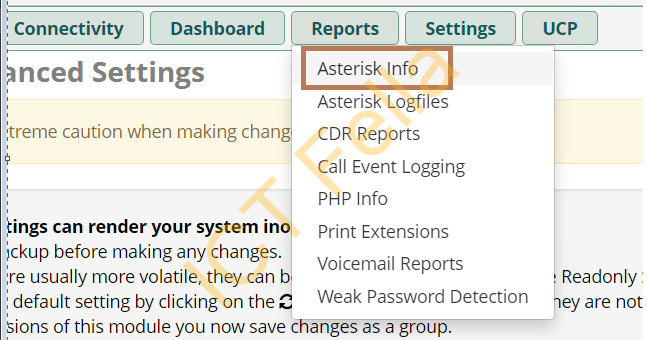
Go to “Reports – Asterisk Info”
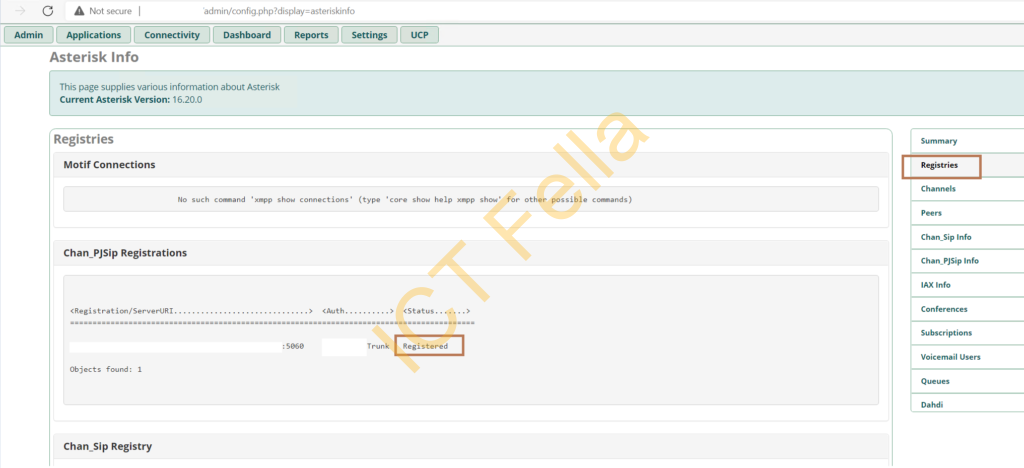
Then Select “Registries” from the far right panel, you will see the status of the SIP Trunk Registration
Change DNS configuration via CLI
In CLI, use your text editor, “Vi” will be recommended as it is preinstalled in 99% of Linux/FreePBX distributions (image notepad in windows), it is not that friendly to use but it comes in handy when you are dealing with emergencies. Below will only list the very basic operations under VI. Assume you already logged in as a root user, please be aware Unix like systems are case sensitive.
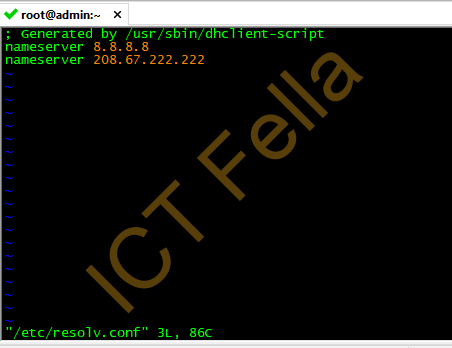
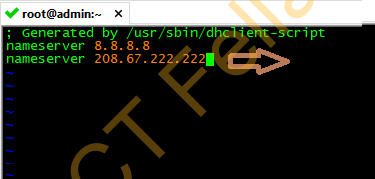
vi /etc/resolv.conf
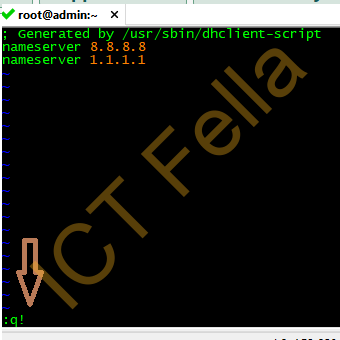
You will see the below content in the resolv.conf file
Use the 4 arrow keys in the keyboard to move around, up down left and right, alternatively you can use k (up), j (down), h (left) and l (right)
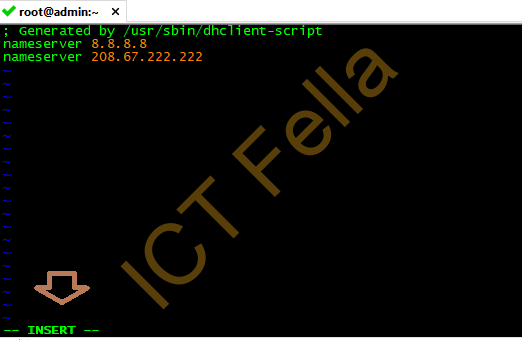
Press “i” to go to the edit mode while you are in the window, you will see in the bottom line, it has changed to “–INSERT–” status
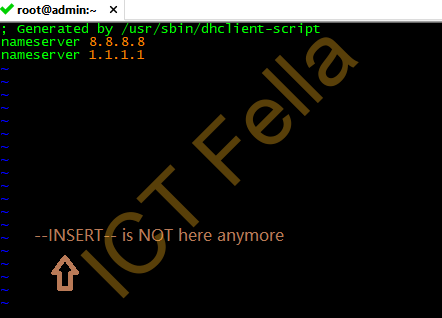
Modify your configure, once done, then press “ESC” to exit the edit mode. You will see the status has returned to command mode, you can see “– INSERT –” is NOT there anymore
You can now type “:wq!“, then press enter to save(write) and quit VI
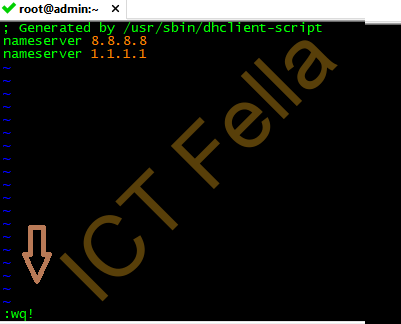
To check the config but quit WITHOUT saving the config, simply use “:q!”
Useful link
https://docs.oracle.com/cd/E19683-01/806-7612/editorvi-43/index.html