Object
This serial of posts is to demonstrate the Nutanix VMware Cluster Field Installation process with step-by-step procedures. Part 4 is for the Nutanix Cluster network and storage configuration.
Clarification
- Nutanix Cluster forms the “Storage” using the disks across all ESXi nodes in the cluster, it is achieved by Controller VM (CVM) and presented as NFS share.
- VMware Cluster aggregate 3 x ESXi nodes on the Compute side, Concept is the same as normal VMware cluster
- Nutanix default password
| Interface | Target | User name | Password |
| Nutanix Web Console (Prism) | Nutanix Controller VM | admin | Nutanix/4u |
| vSphere Web Client & SSH | ESXi host | root | nutanix/4u |
| SSH client or console | AHV host | root | nutanix/4u |
| SSH client or console | Hyper-V host | Administrator | nutanix/4u |
| SSH client | Nutanix Controller VM | nutanix | nutanix/4u |
| RDP client | Hyper-V host | Administrator | nutanix/4u |
| SSH client | Nutanix Foundation VM | nutanix | nutanix/4u |
| IPMI | SuperMicro BMC | ADMIN | The serial number marked at the back |
Nutanix Cluster and Storage Configuration
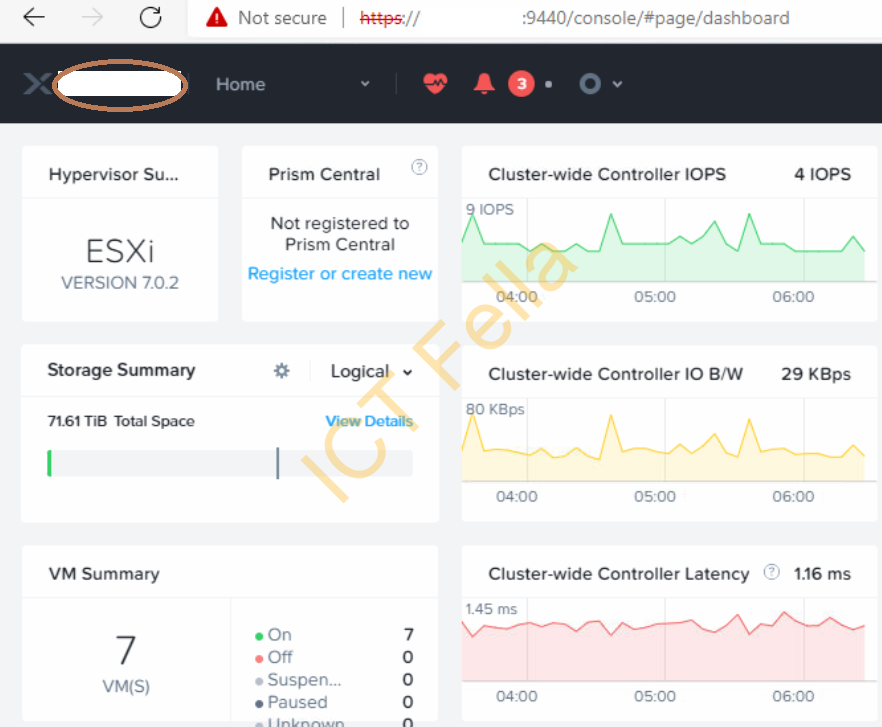
1.Once the initial imaging process is successfully completed, you will be able to access the prism portal via https://CVM IP Address:9440, you can click on the Cluster name
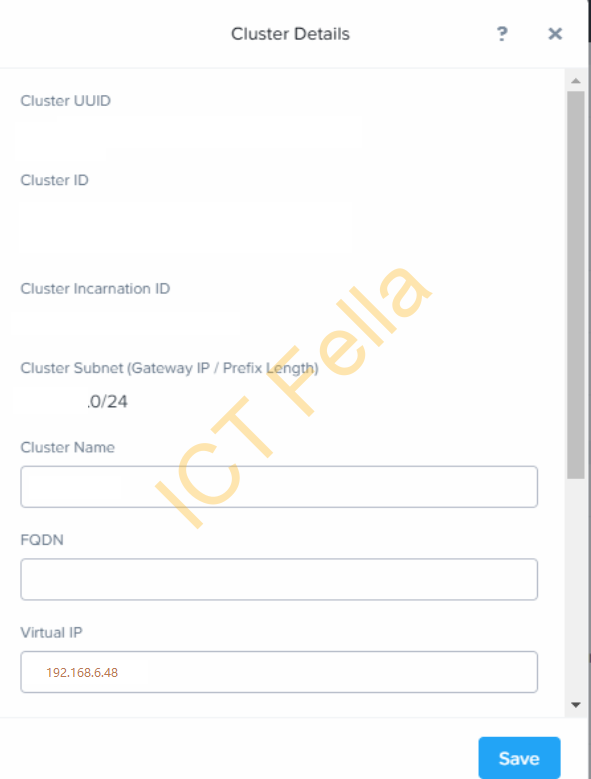
2. Modify the IP
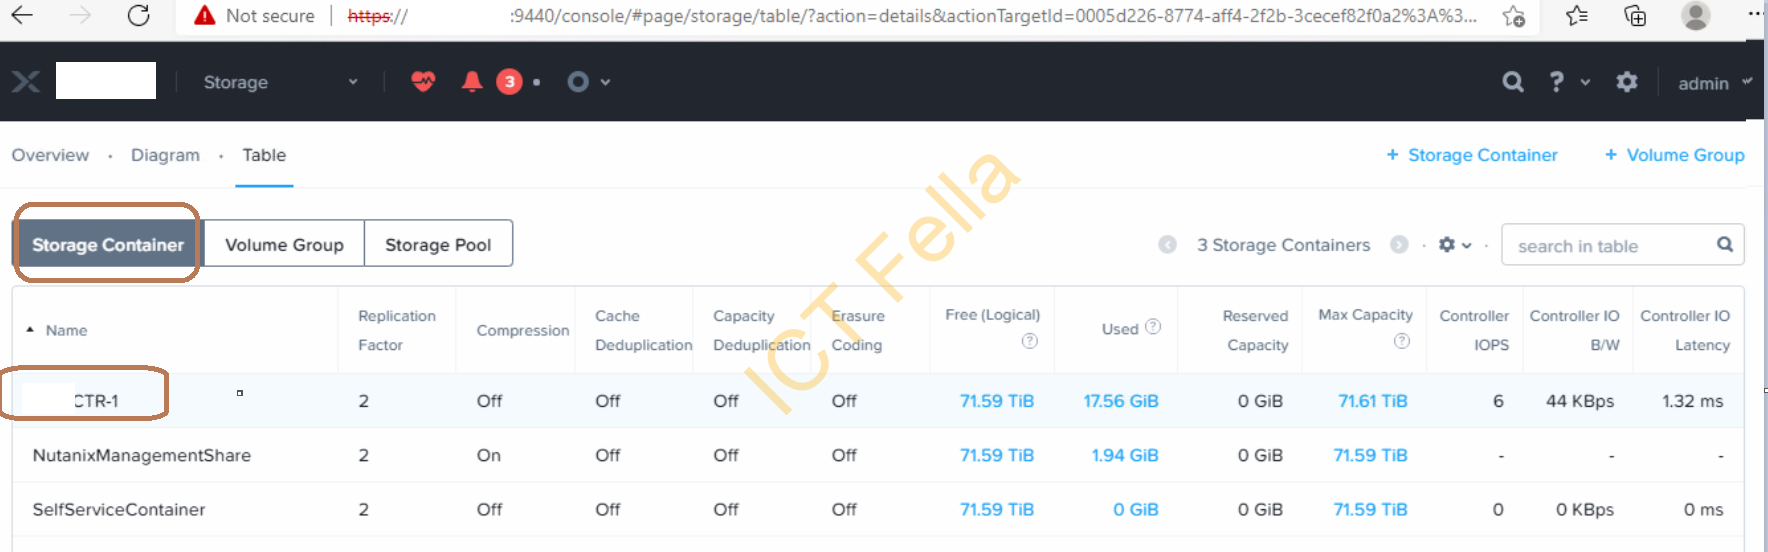
3. From the main dropdown menu, select “Storage” – “Table” – “Storage Pool” – “xxxxSP-1” – “Update”, change the default storage pool name to a sensible name based on your requirement.

4. You can use the default Storage Container or delete it and create a new one with a sensible name like demonstrated below
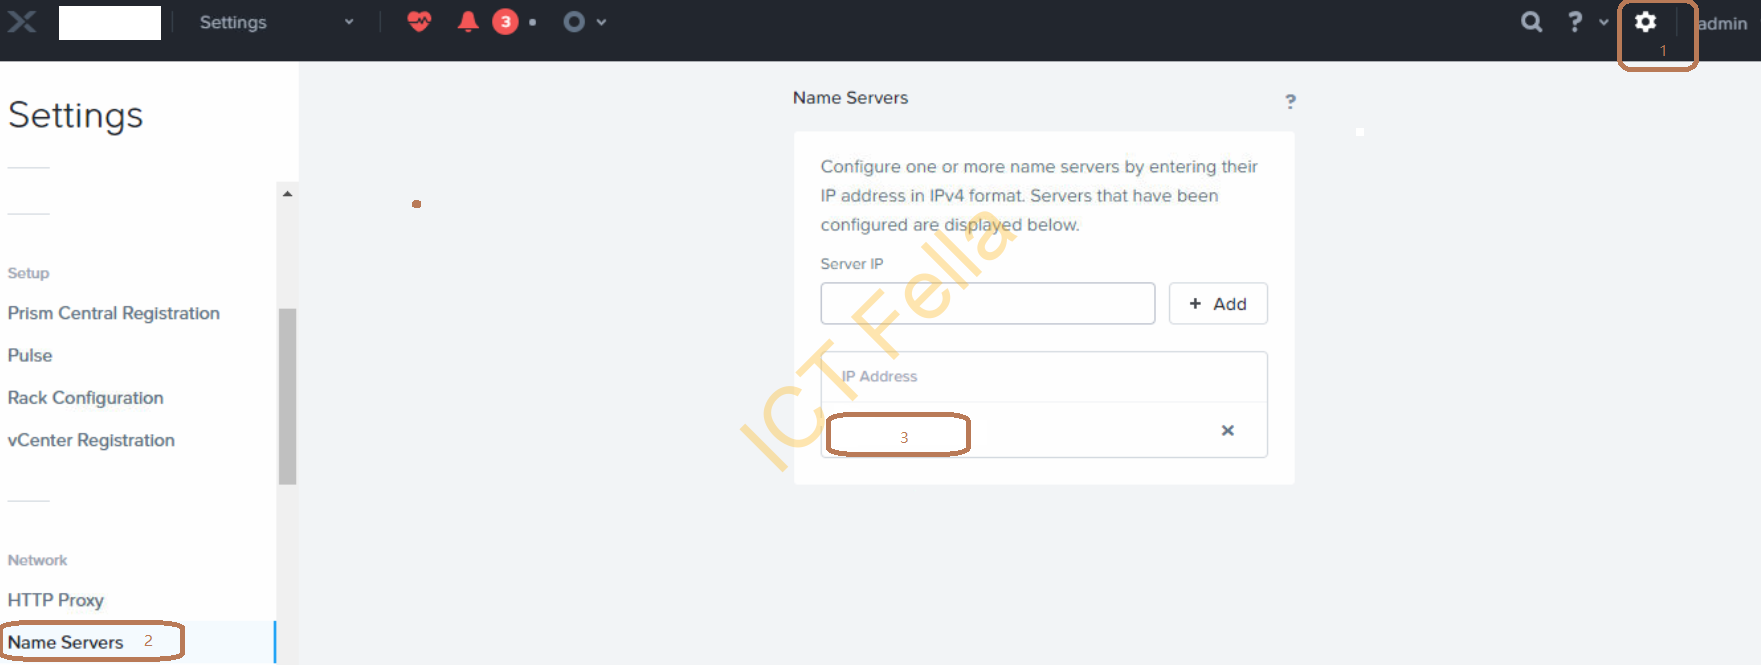
5. Go to the Gear icon – “Name Servers” – “Server IP”, add your DNS server in, please be aware this field needs to be the same configuration as ESXi hosts
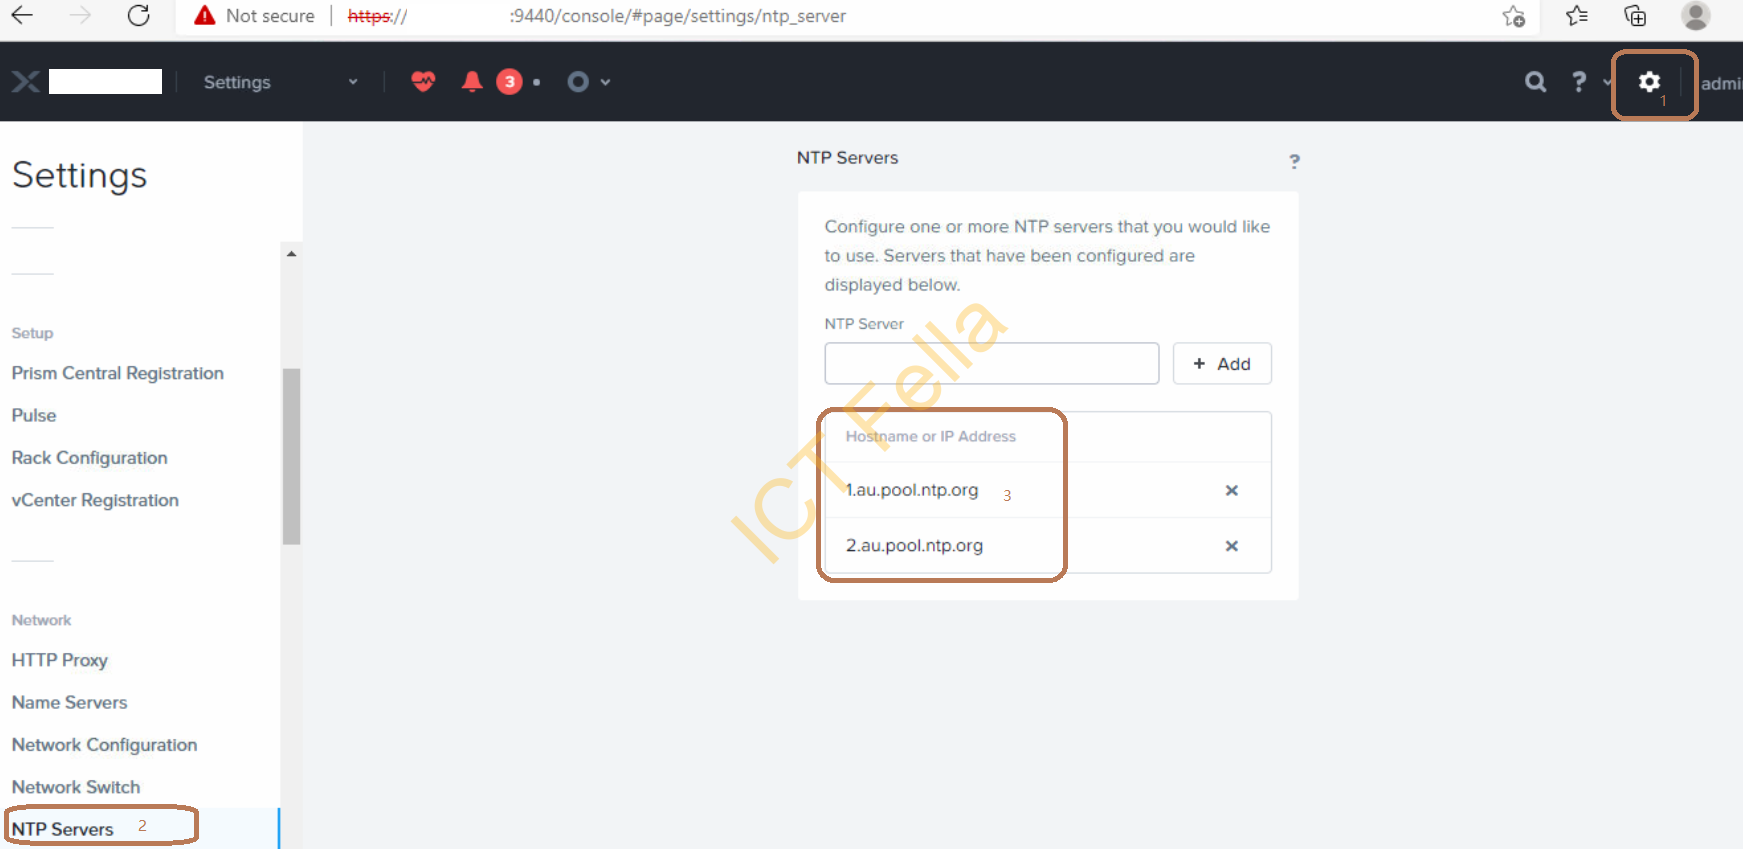
6. Similarly, modify your NTP Server configuration, again this field needs to be the same configuration as ESXi hosts
Nutanix Host MGMT and IPMI configuration
In part 1 of the post serial, we temporarily use Access Port VLAN 12 for both 1Gbe Data and IPMI ports, this is to simplify the imaging scenario to avoid issues of VLAN tagging during the foundation process. Now we need to configure the 10G SFP ports to Trunk mode and allow VLAN all. The principal here is ESXi host MGMT and CVM IP need to be on the same subnet/VLAN.
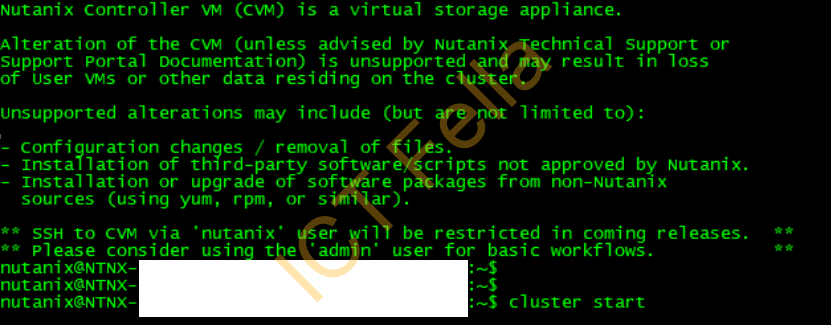
- Firstly, we need to make sure there is no VM running in the cluster except CVMs, we then stop the Nutanix Storage Cluster temporarily: SSH into one of the CVMs using default credential nutanix/nutanix4u, enter “cluster stop“, then type “I Agree” to go-ahead

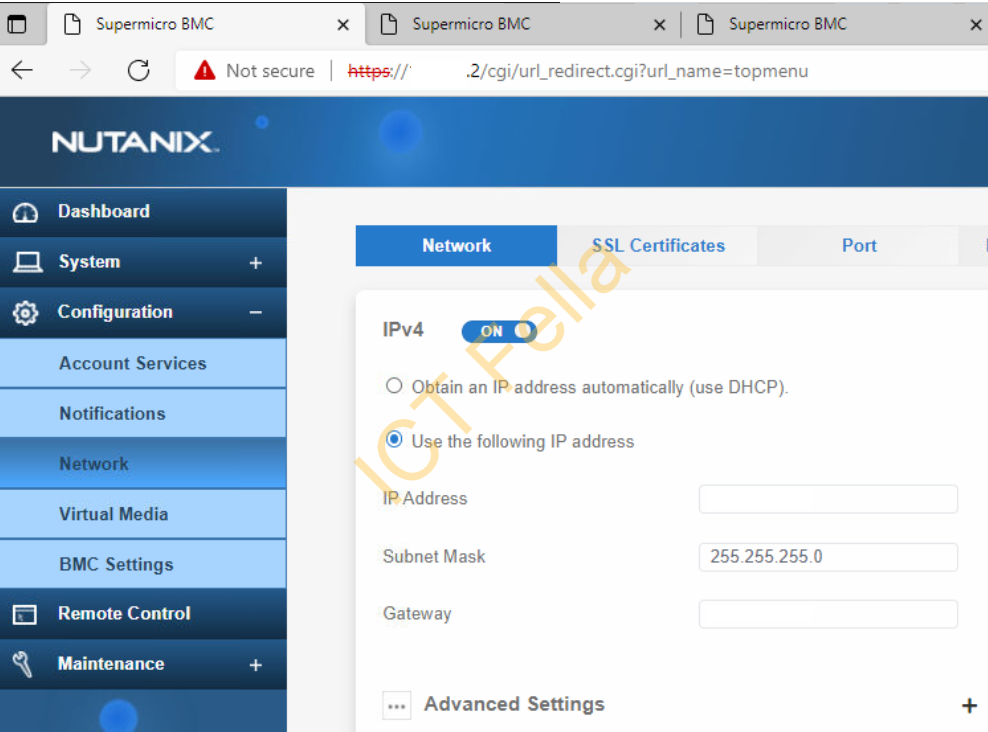
2. Secondly, modify the IPMI IP as required, remember to modify the switch port config as well if the IPMI IPs are on the different network/subnet as the hosts and CVM.
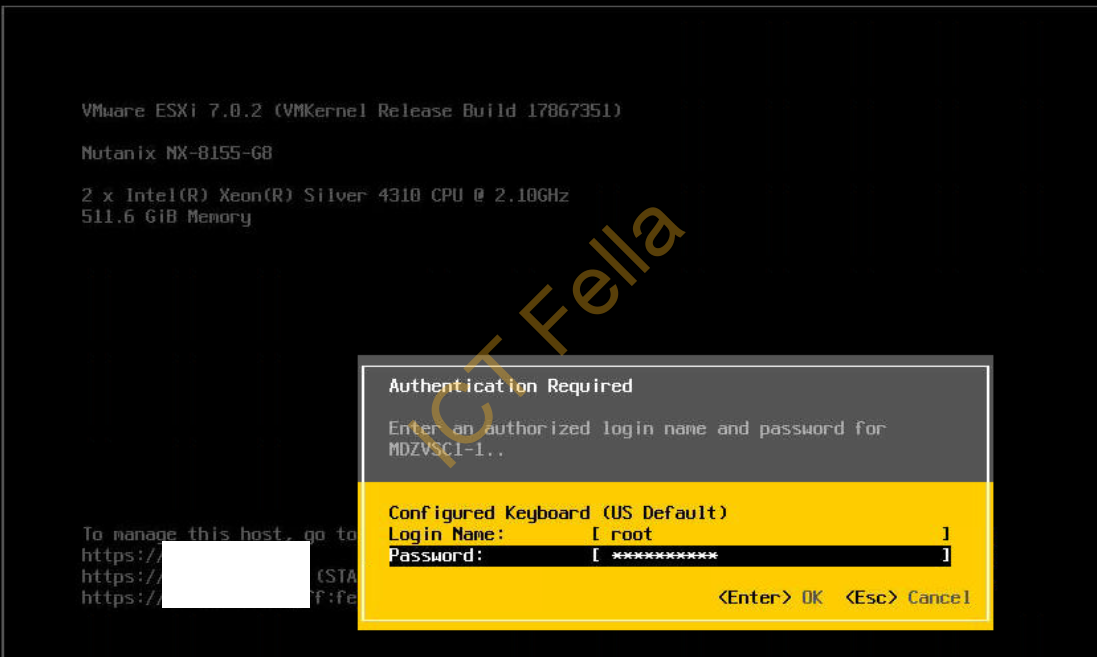
3. Remote into each ESXi host via the HTML or Java web console
4. Go to “Configure Management Network”
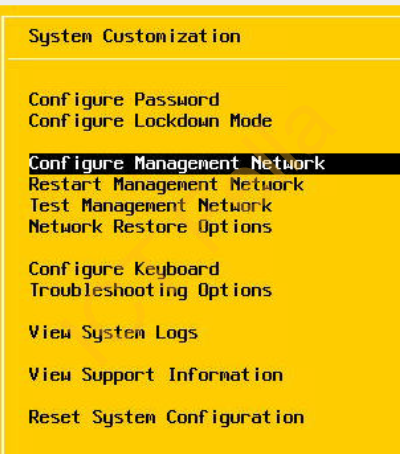
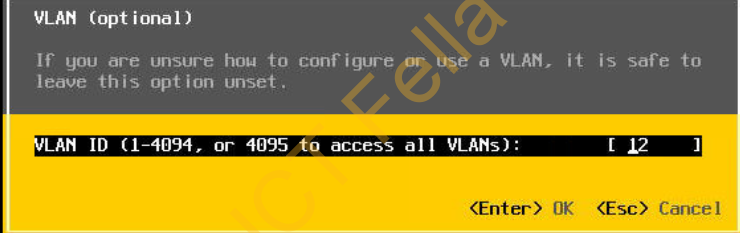
5. Modify the VLAN number to whatever is required in the production environment, press “Enter” to accept it
6. On the Switch side, make sure the data port is on Trunk mode and allow all VLANs like below, using Cisco switch as an example, it uses dot1q and allows all VLANs by default once it is on trunk mode.
interface TenGigabitEthernet1/1/2
description Nutanix-10G
switchport mode trunk
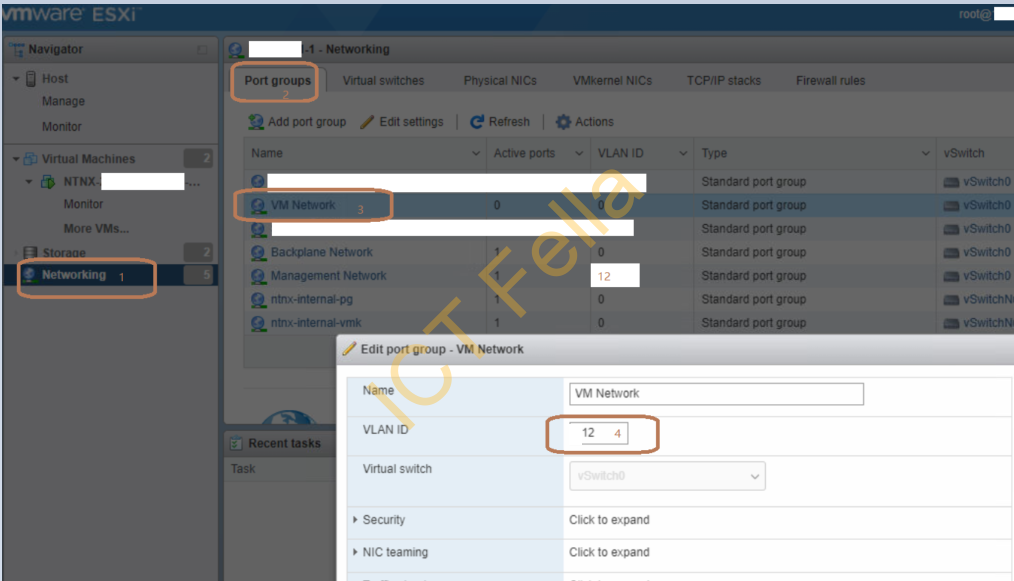
7. Now log into the ESXi web portal using the default credential root / nutanix/4u and change it to the same as ESXi MGMT VLAN, in our example, it is VLAN12 on the port group “VM Network”, repeat it for all other hosts

8. Do some test Ping to all ESXi hosts MGMT IP, CVM IP, and IPMI IP before you start the cluster, if all is good, SSH back into CVM and run “cluster start“, give it 5 -10 minutes to let the communication settle down.
Cluster verification via CVM
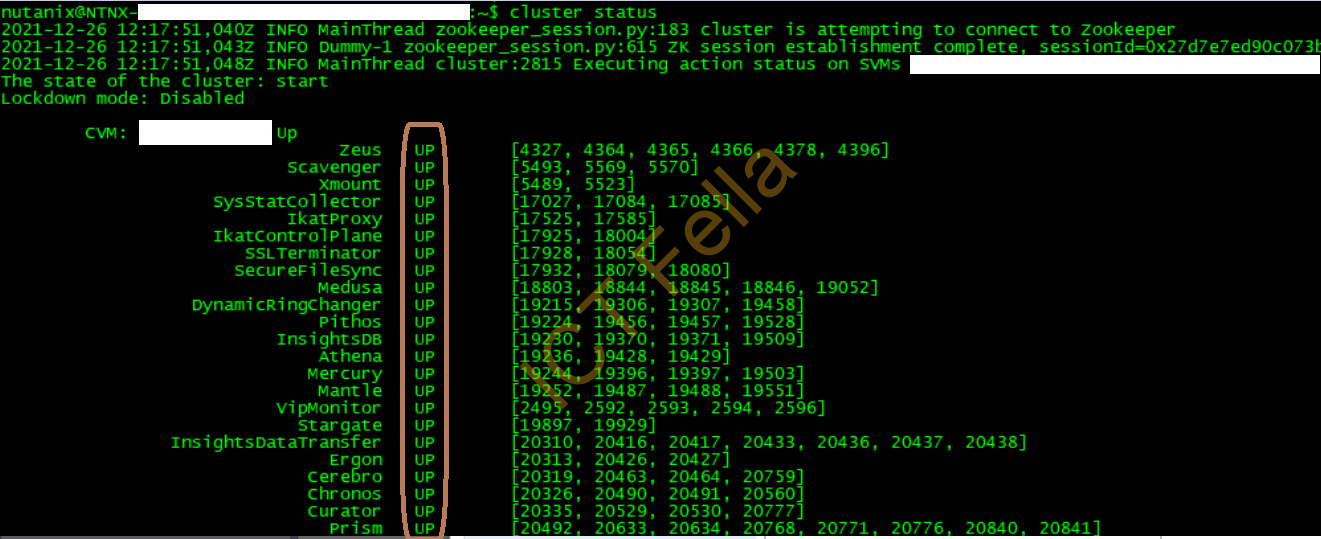
1 cluster status, make sure all services related to each CVM are up and running
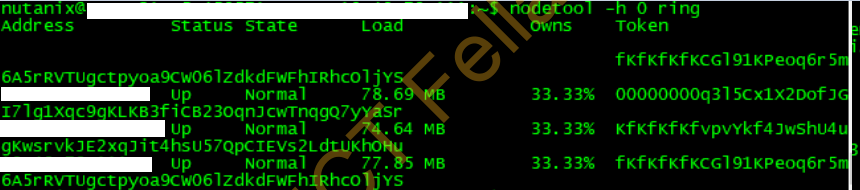
2. nodetool -h 0 ring, make sure replication is normal and going across all nodes
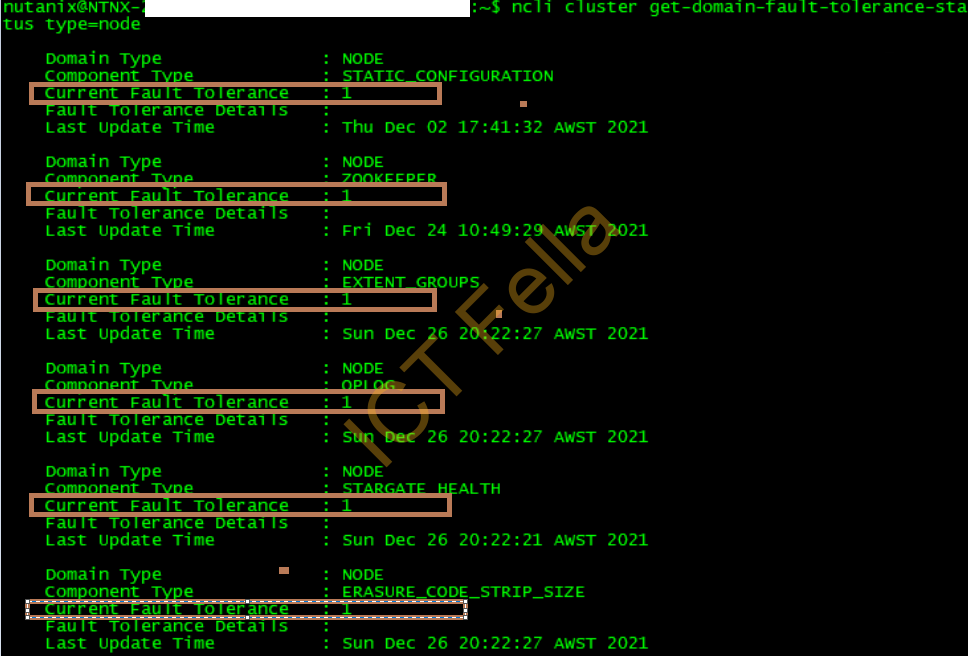
3. ncli cluster get-domain-fault-tolerance-status type=node, this command is to check the Fault Tolerance status, in ALL sections, the status needs to be 1, it means all services are ready for 1 node failure.
Useful Link
Nutanix AOS Administration Guide