Object
This serial of posts is to demonstrate the Nutanix VMware Cluster Field Installation process with step-by-step procedures. Part 3 is to deploy a vCenter server for the Nutanix Cluster.
Preparation
- 1 X Computer with Ethernet Connectivity, this PC will be used to deploy the vCenter server
- 1 x vCenter ISO that matches with your ESXi ISO version, please do NOT use the newest version. For example, we are using ESXi 7.0.2a, the vCenter version that matches this ESXi will be vCenter 7.0U2A.
- 1 x Standalone ESXi host
Note: Please be careful with the vCenter version, we had funny cluster HA issues before simply because the vCenter version mismatches the ESXi version on the Nutanix nodes.
VCSA Installation Stage 1
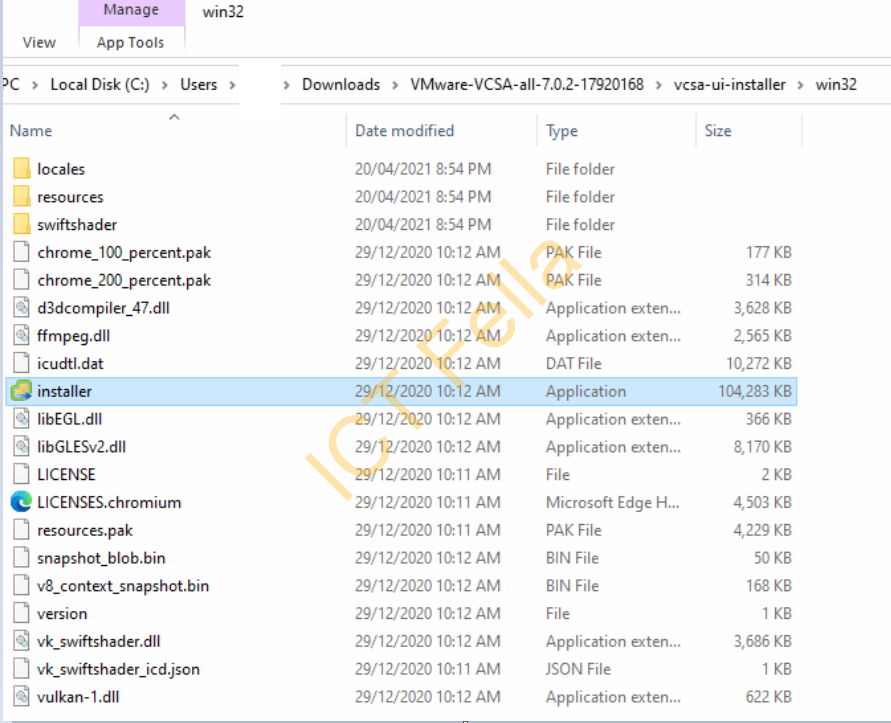
1.Download the vCenter appliance iso and extract into a folder, and navigate to the “vcsa-ui-installer” folder then “win32”, double click “installer”
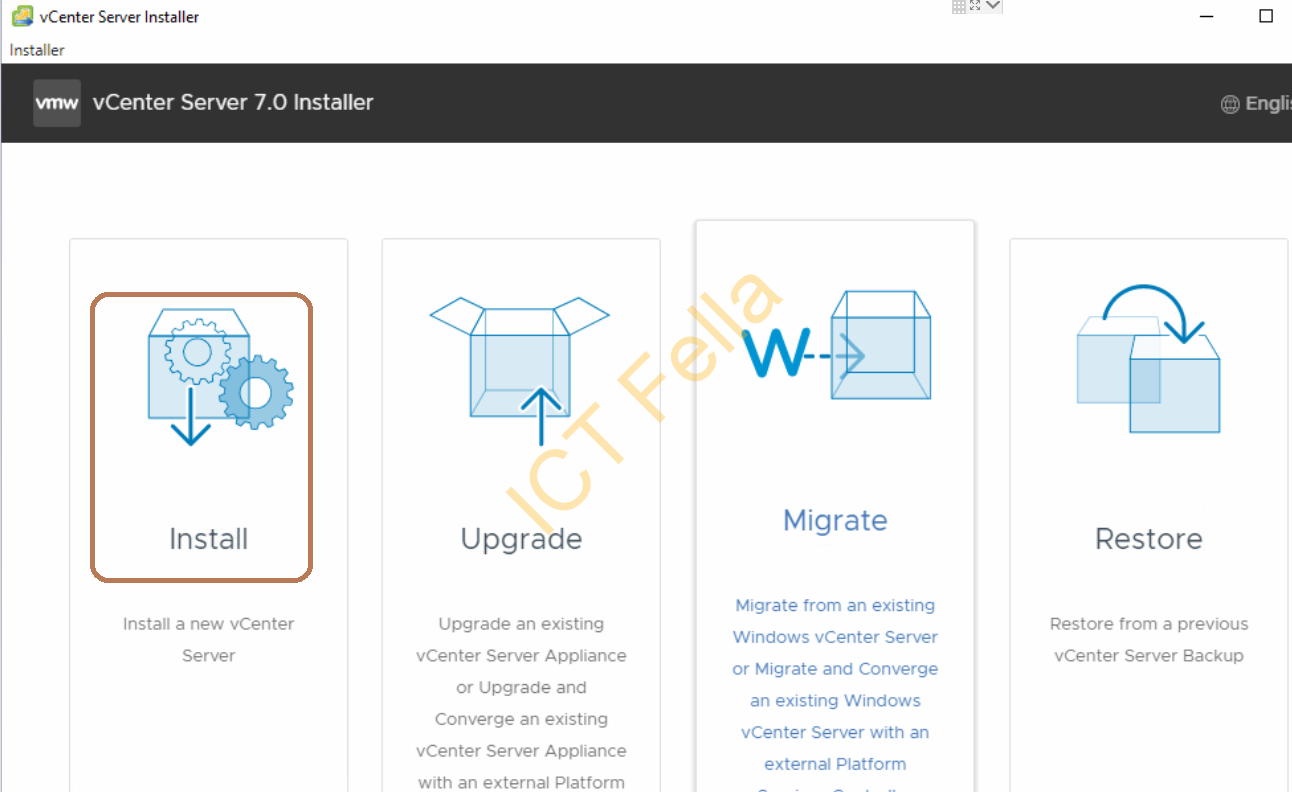
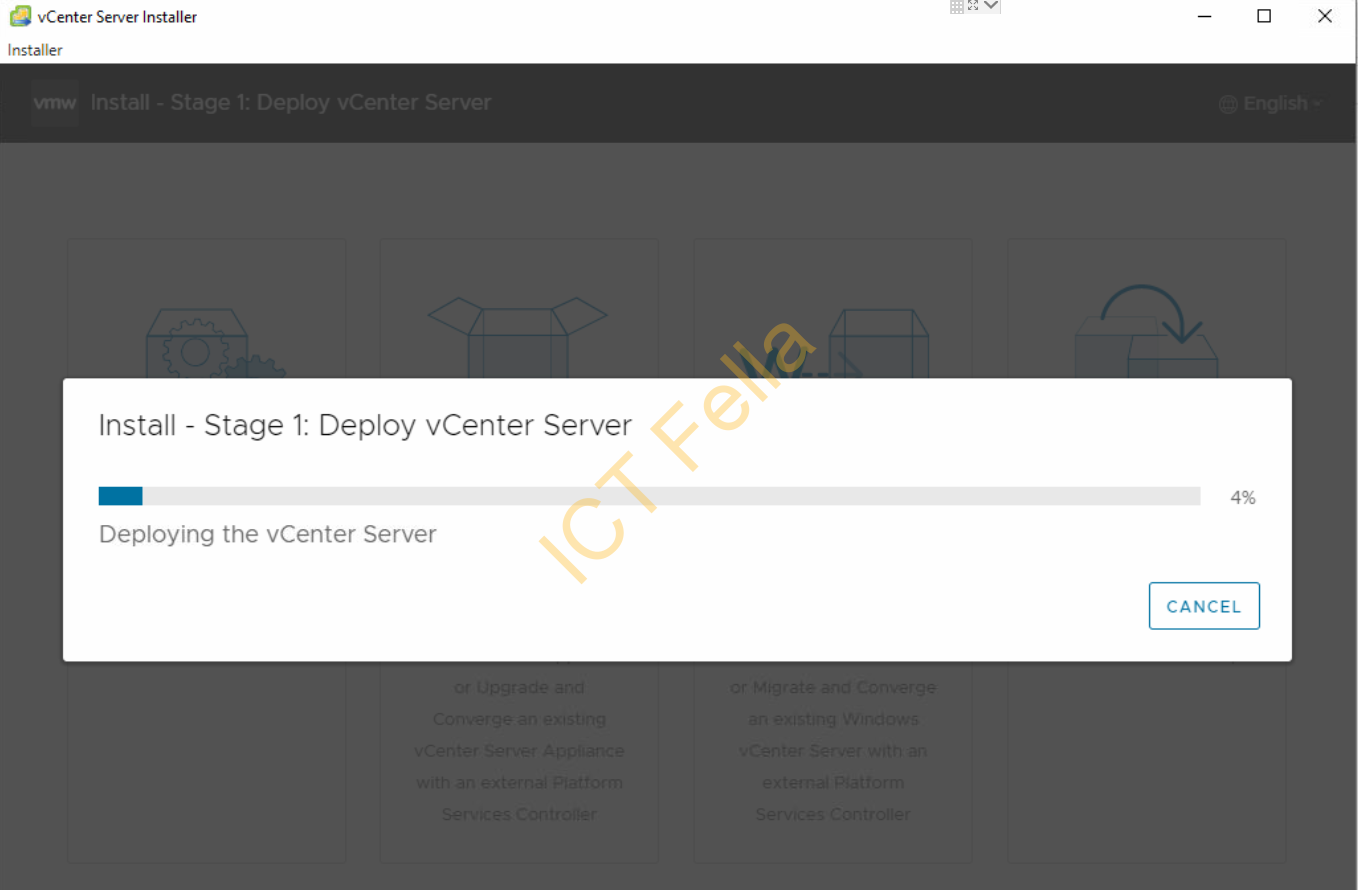
2. Select “Install” and next
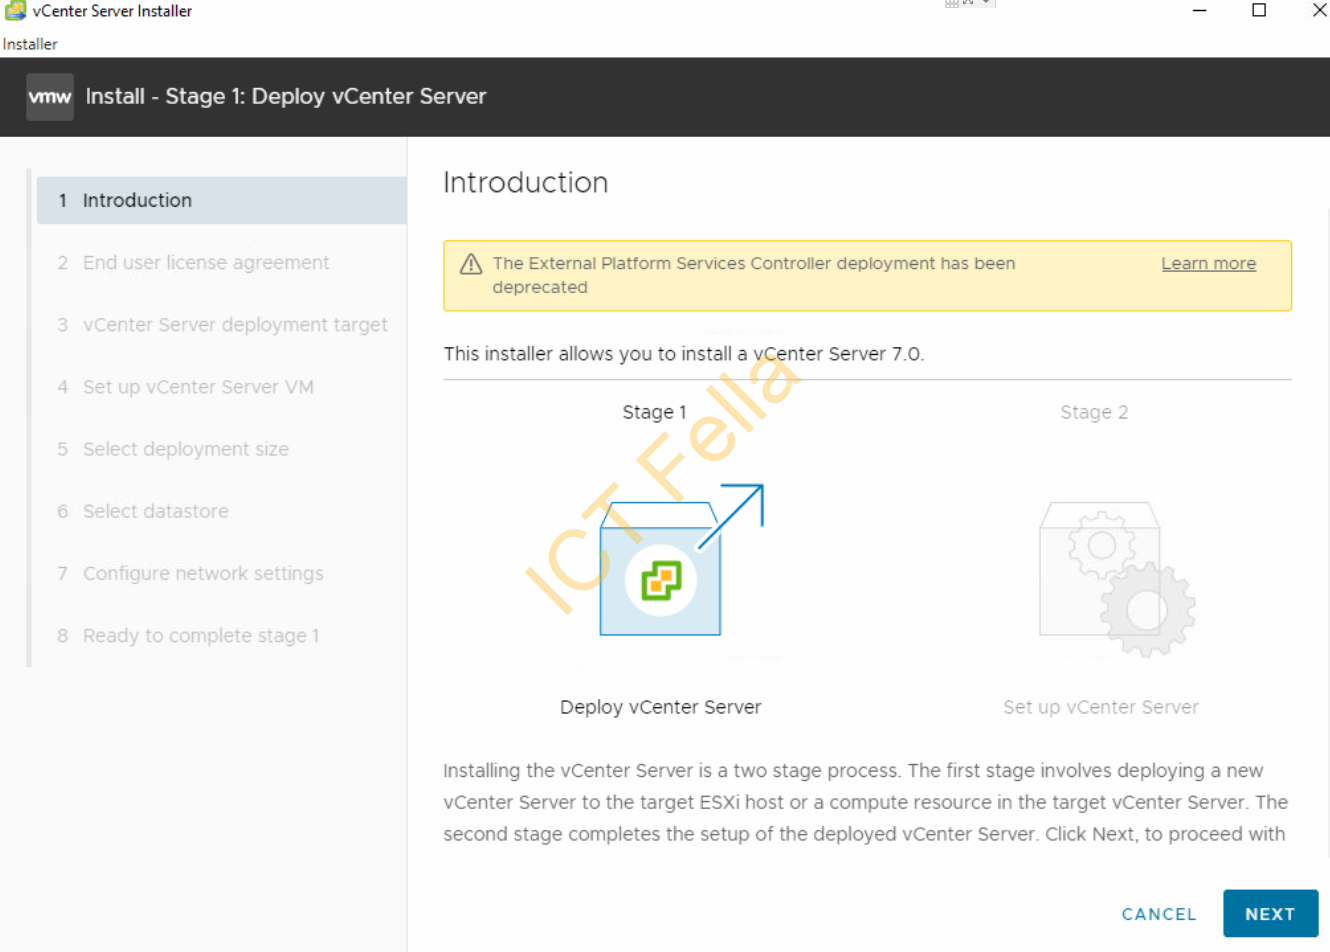
3. You will see Stage1 – Deploy vCenter Server, click Next
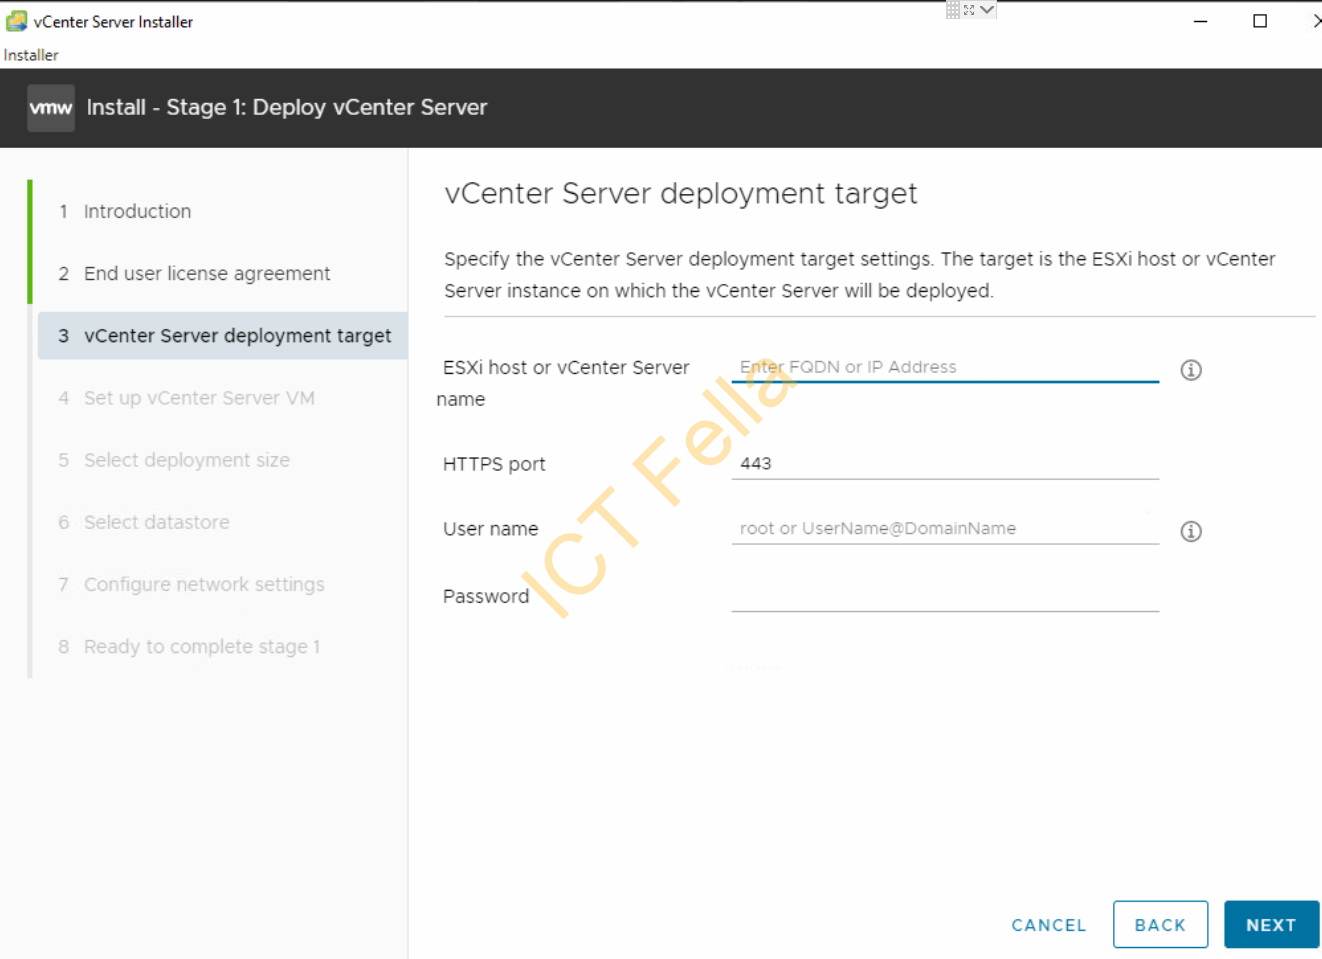
4. Enter your ESXi hostname or IP, with local credentials
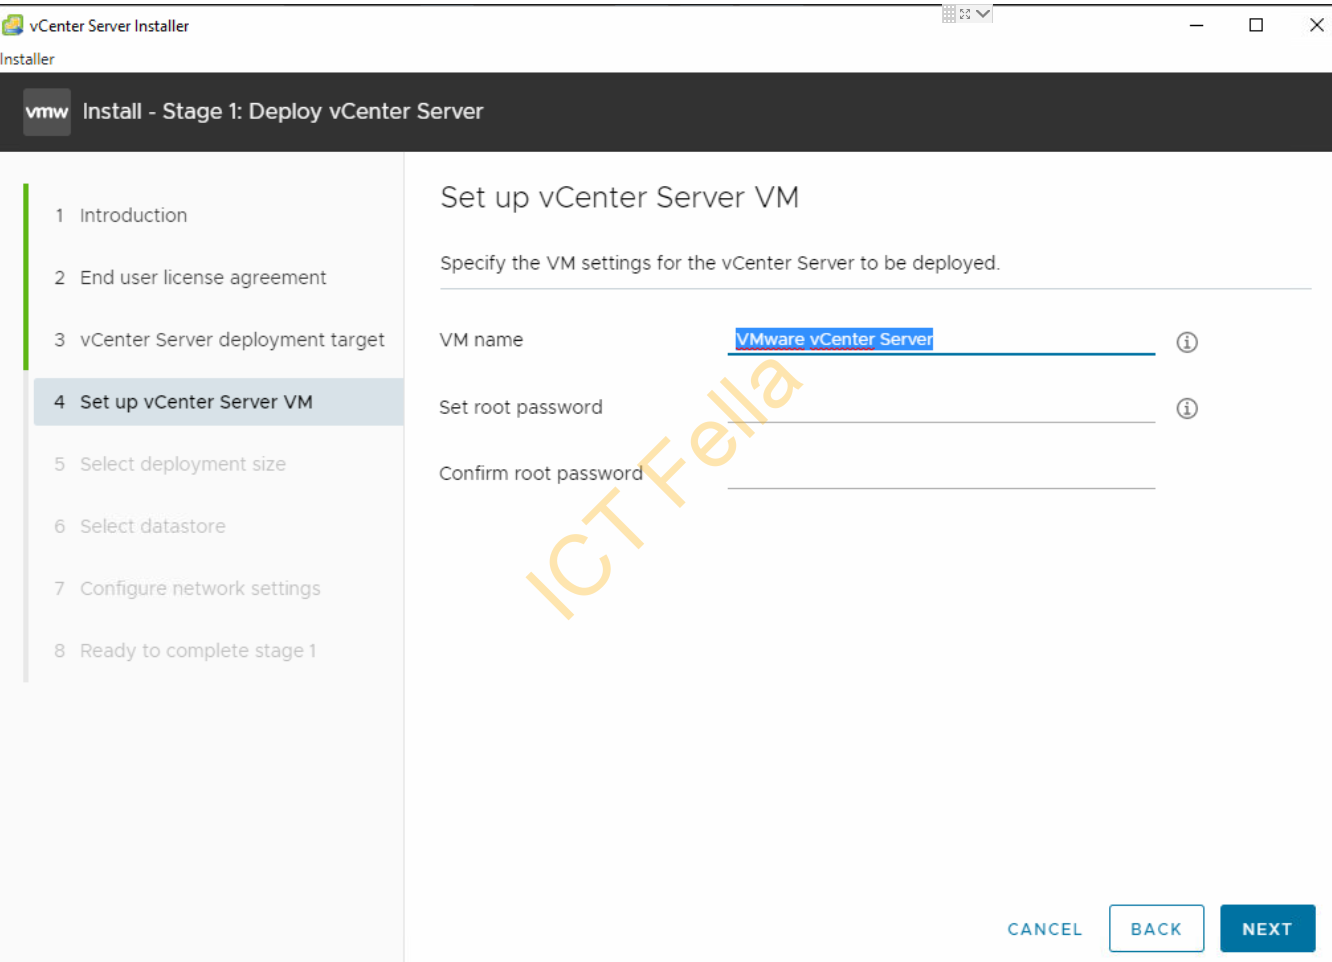
5. Give your vCenter a logical name and set up a root credential for the vCenter appliance itself
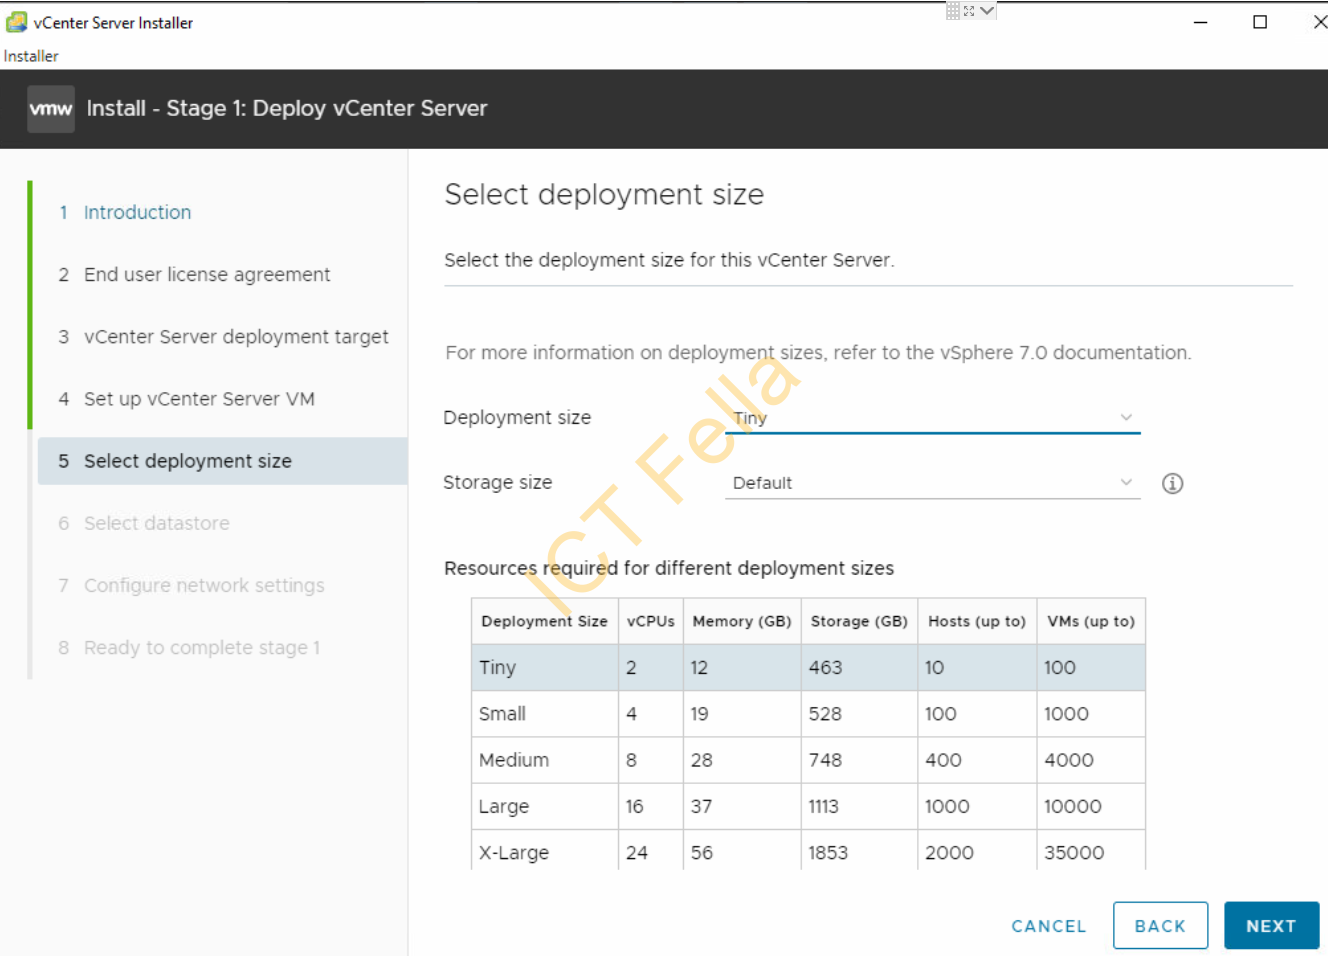
6. Select your deployment size based on the table, it is always good practice to give the VM more hardware resources when possible.
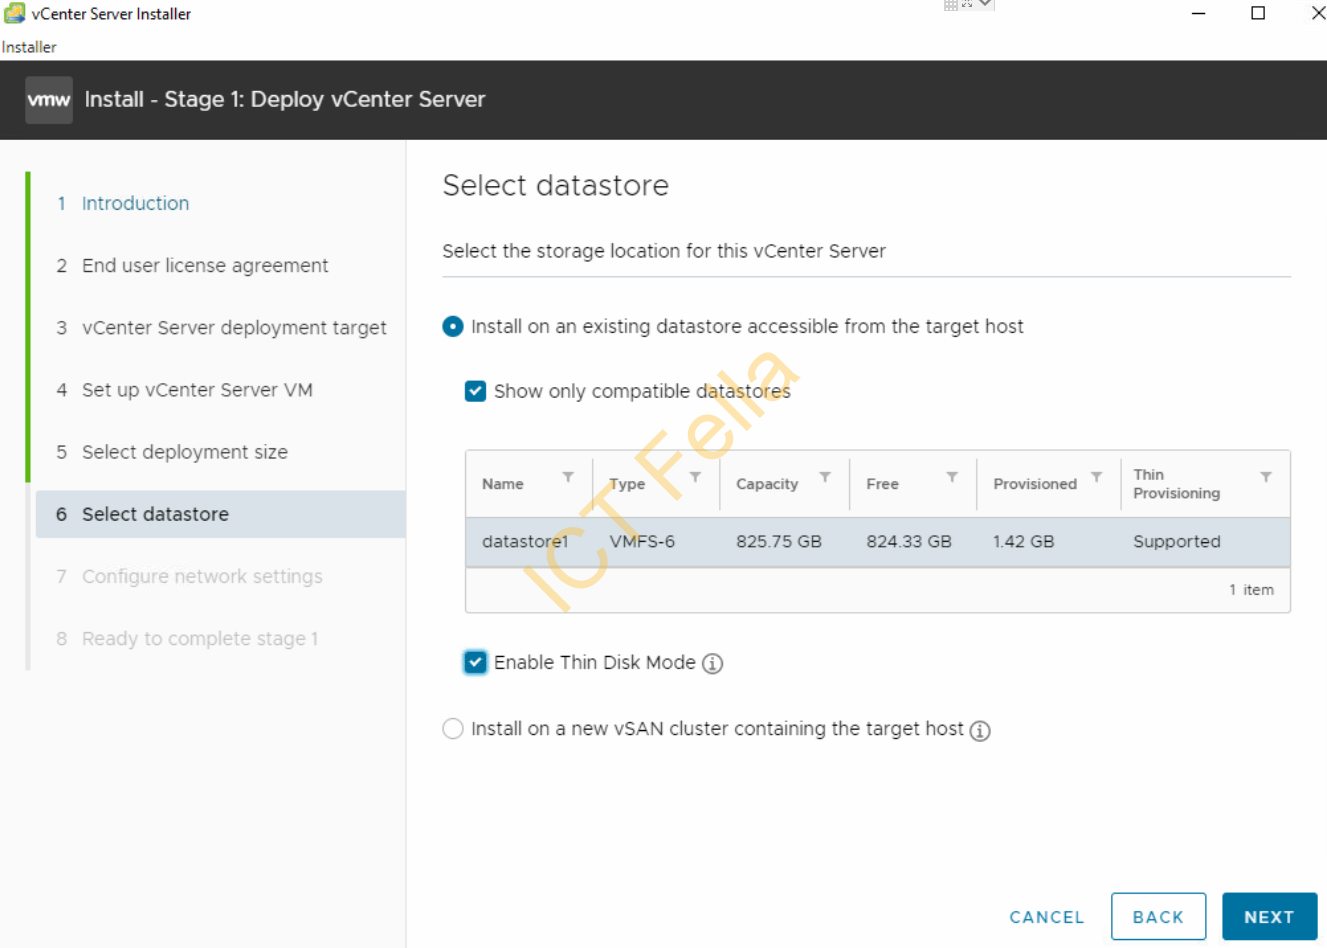
7. Select your datastore and enable “Thin Disk Mode” to save some space on your datastore.
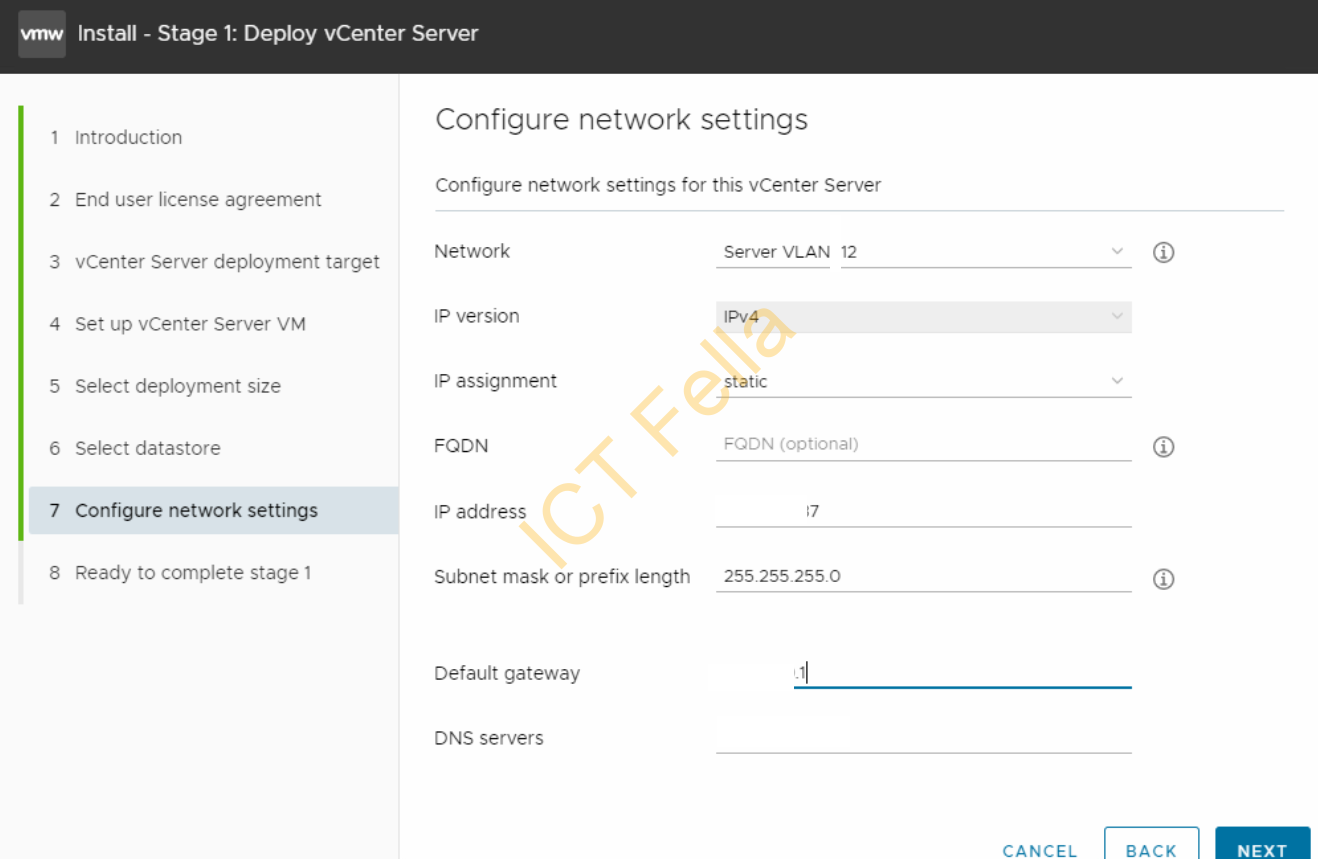
8. Configure Network setting as planned
9. You will see a summary page, go ahead with the Stage 1 deployment if everything looks ok
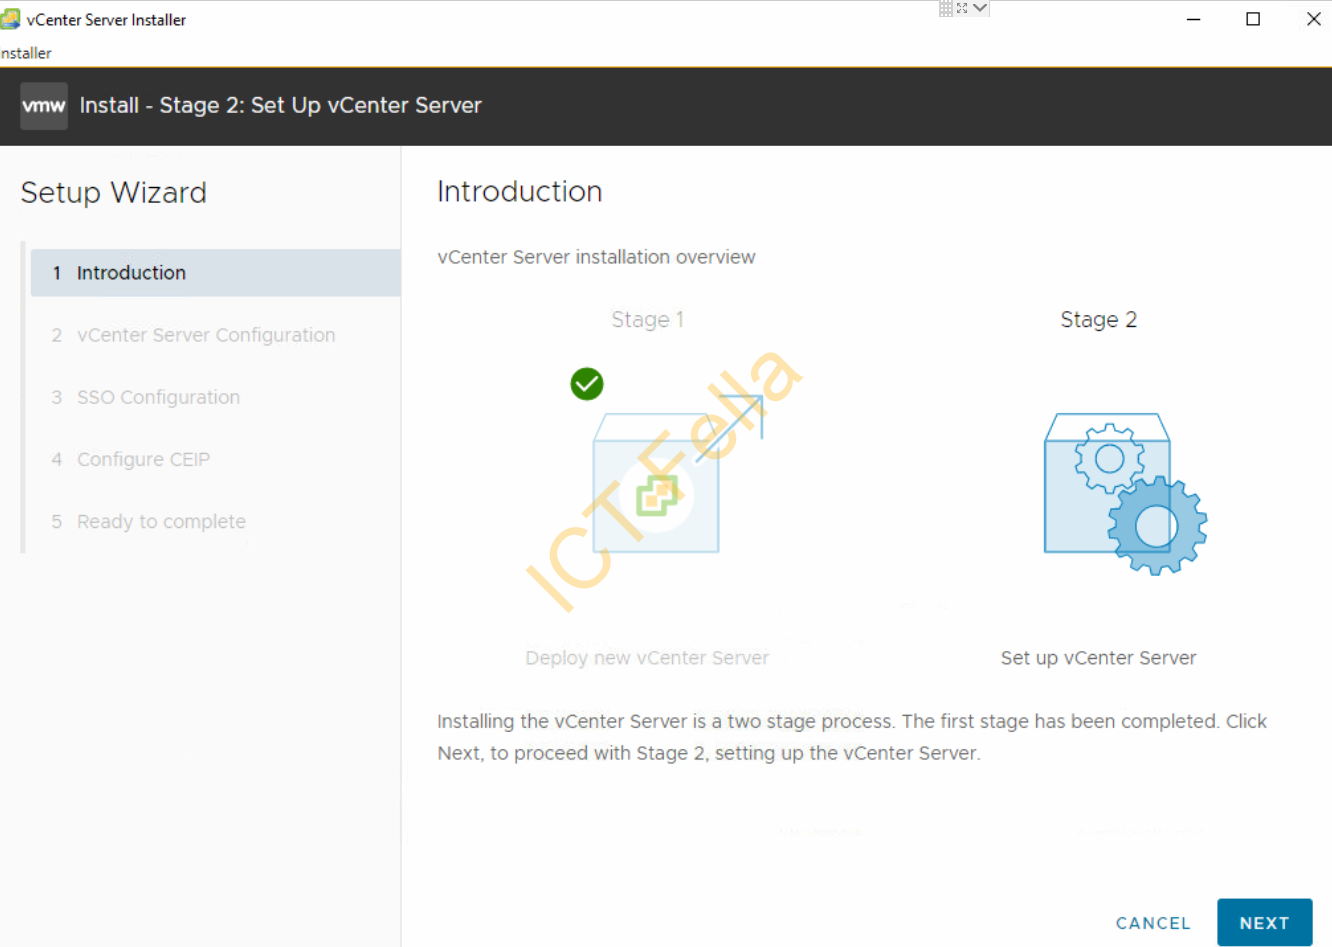
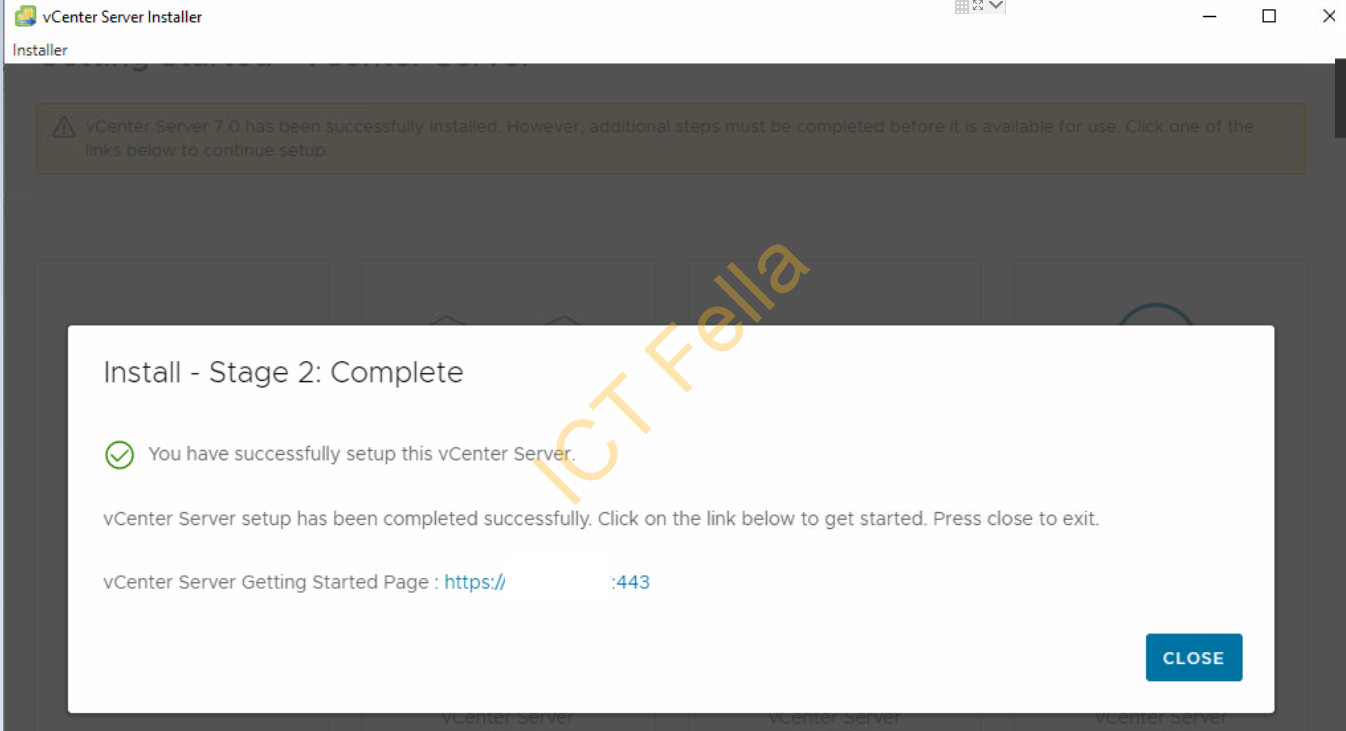
VCSA Installation Stage 2
1.Carry on Stage 2 once Stage 1 is completed

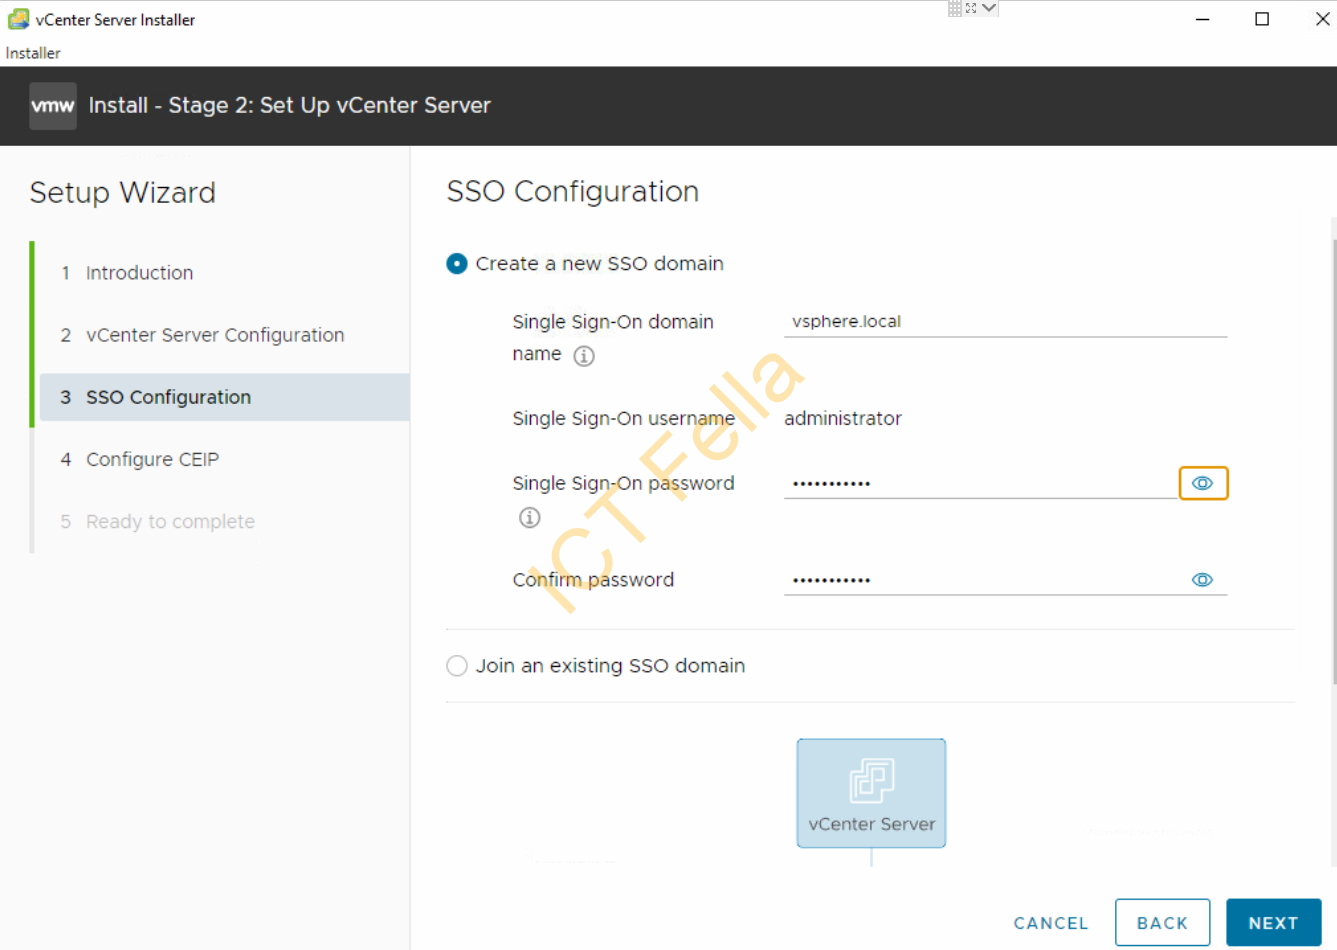
2. Create local SSO domain and login credentials
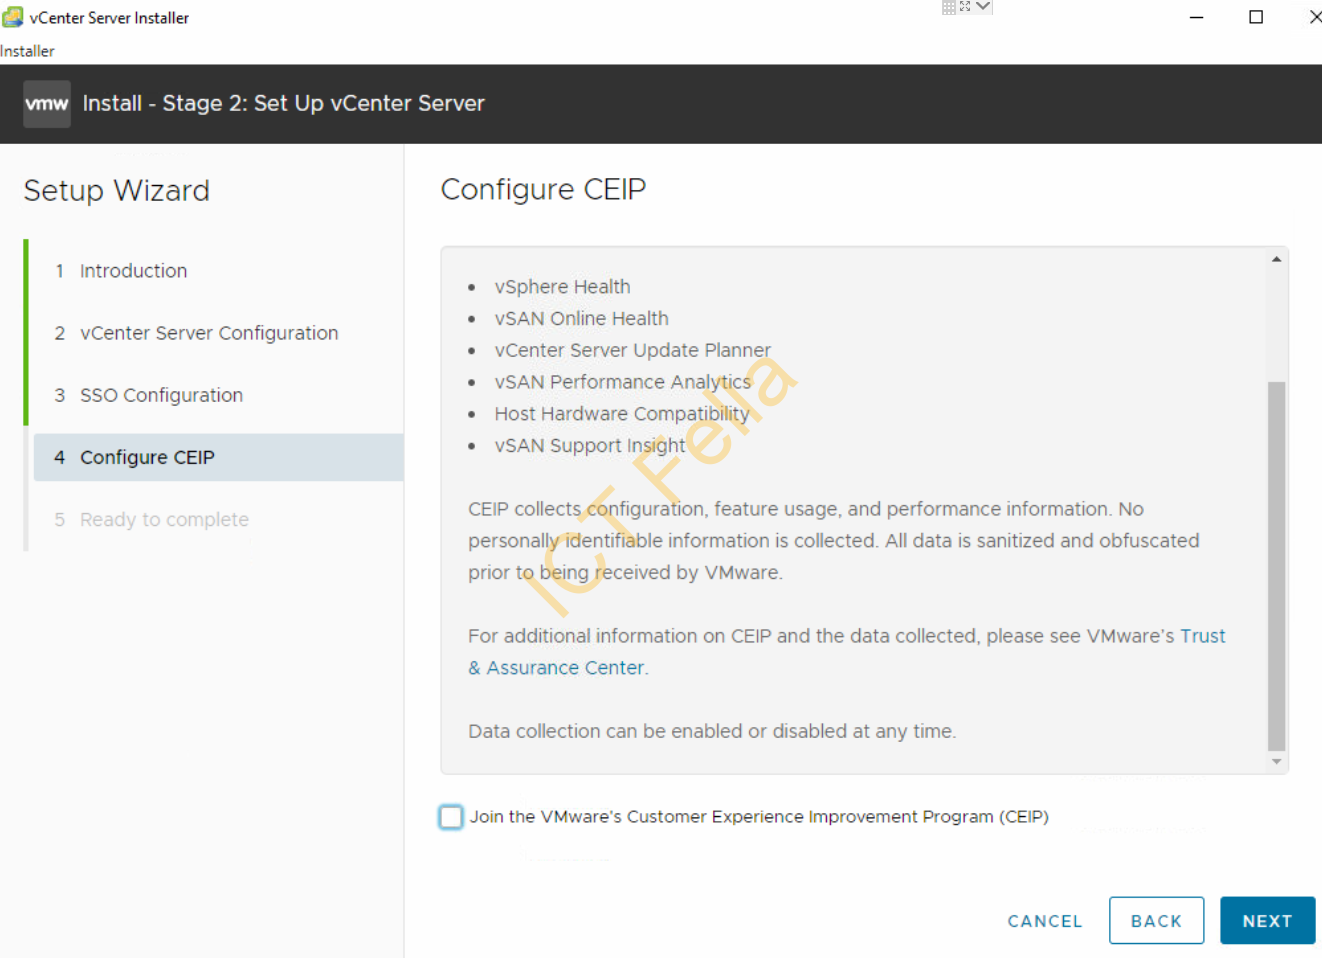
3. You can de-check the CEIP program if you are not interested
4. You will see a summary again, go ahead if you are happy with it

5. You will see the installation complete if everything goes well
Change vCenter Appliance name
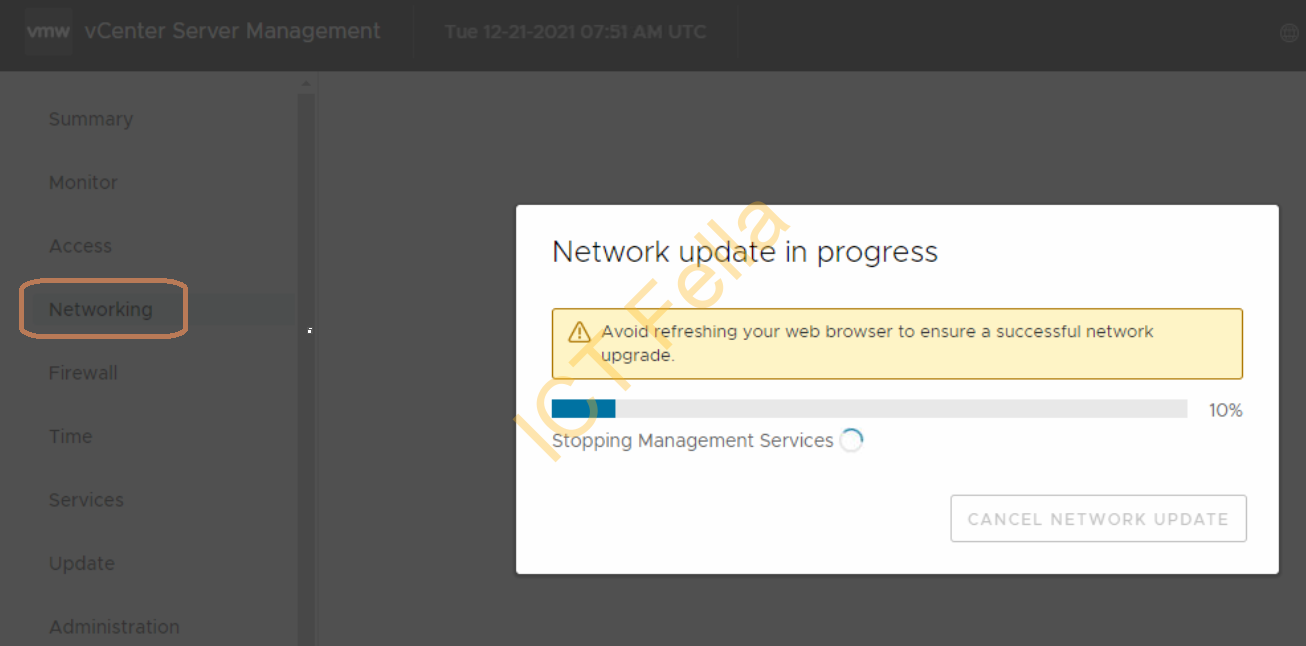
If you are not happy with your vCenter Appliance name, login https://VCSA IP Address:5480 with your root account configured in Stage 1, go to Networking – Edit, then change your appliance hostname and save the config
Join vCenter Appliance into AD Configure Users and Groups
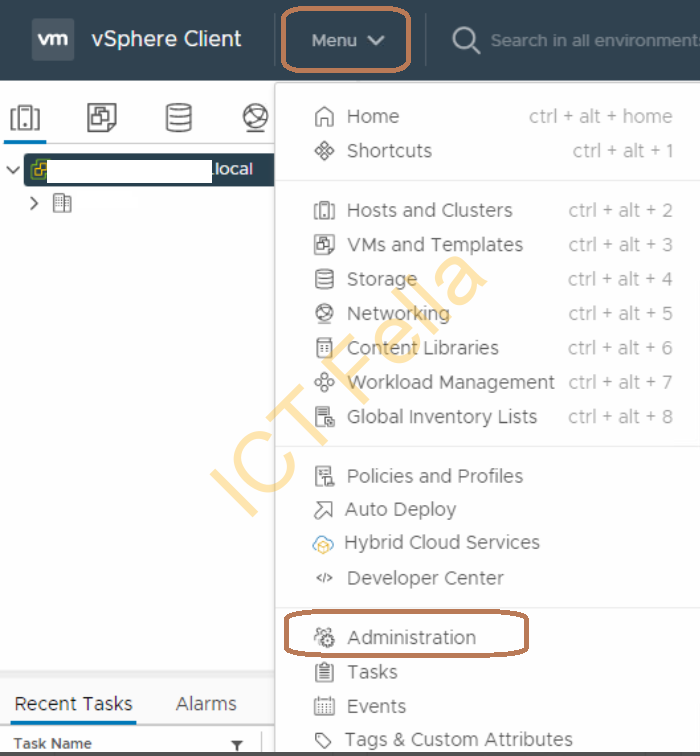
- Log into your vCenter appliance using local [email protected] account and select “Administration” in the dropdown menu
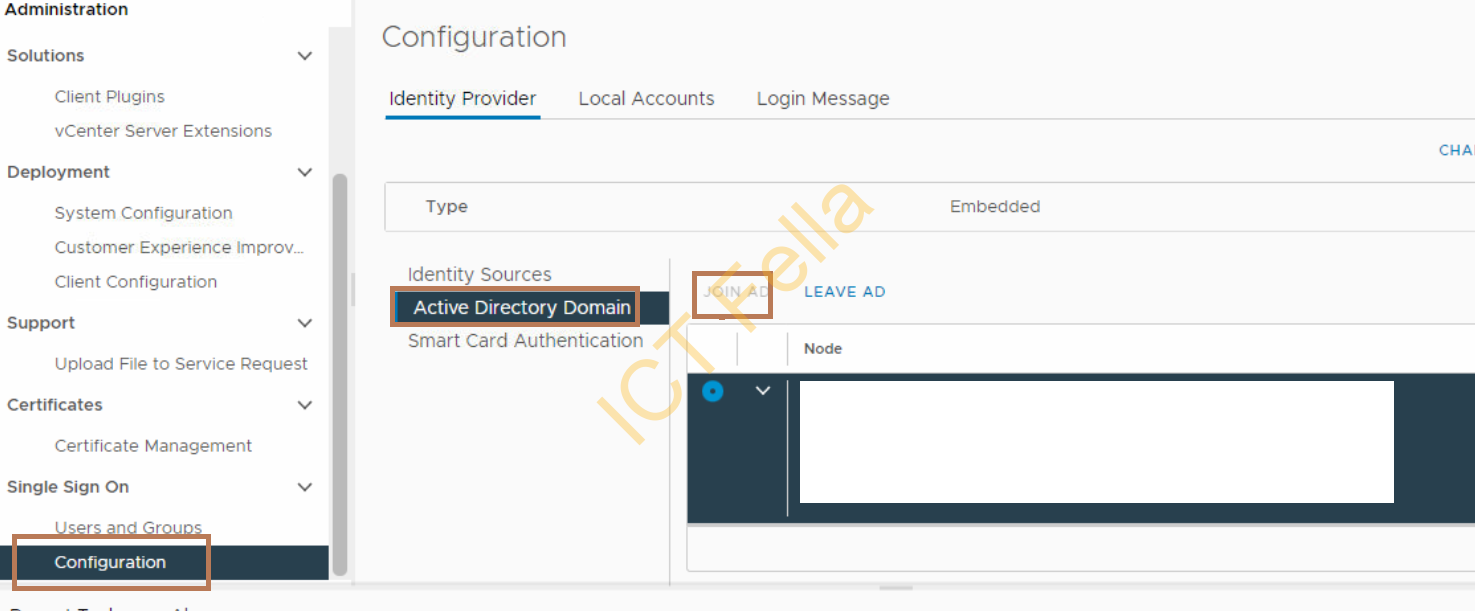
2. Scroll down under “Single Sign-on” – “Configuration”- “Active Directory Domain” – “Join AD”
3. Once it is successfully joined, it will ask to restart the vCenter appliance, go ahead restarting it
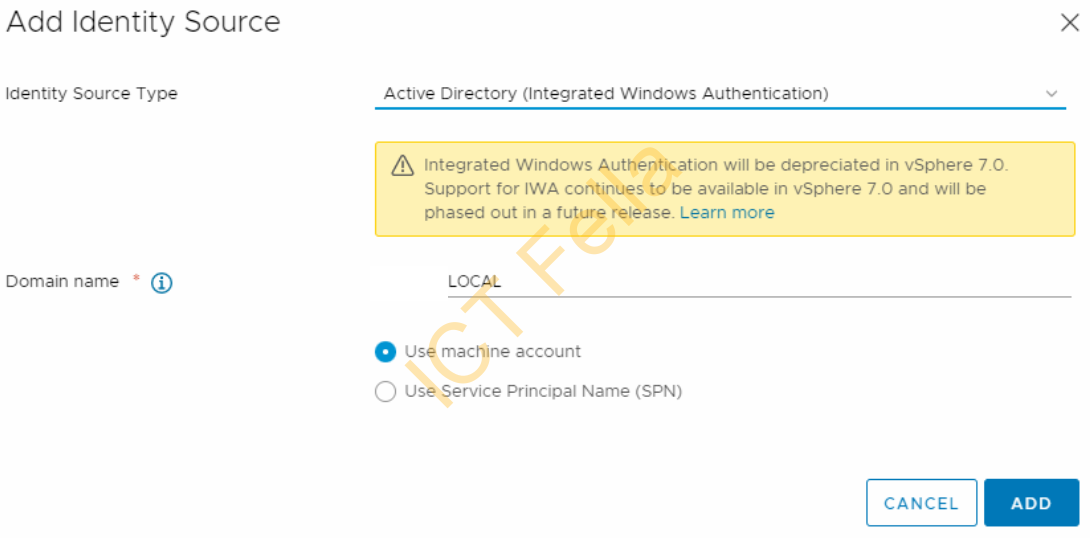
4. Log back in and go to “Single Sign-on” – “Configuration” – “Identity Sources” – “ADD”
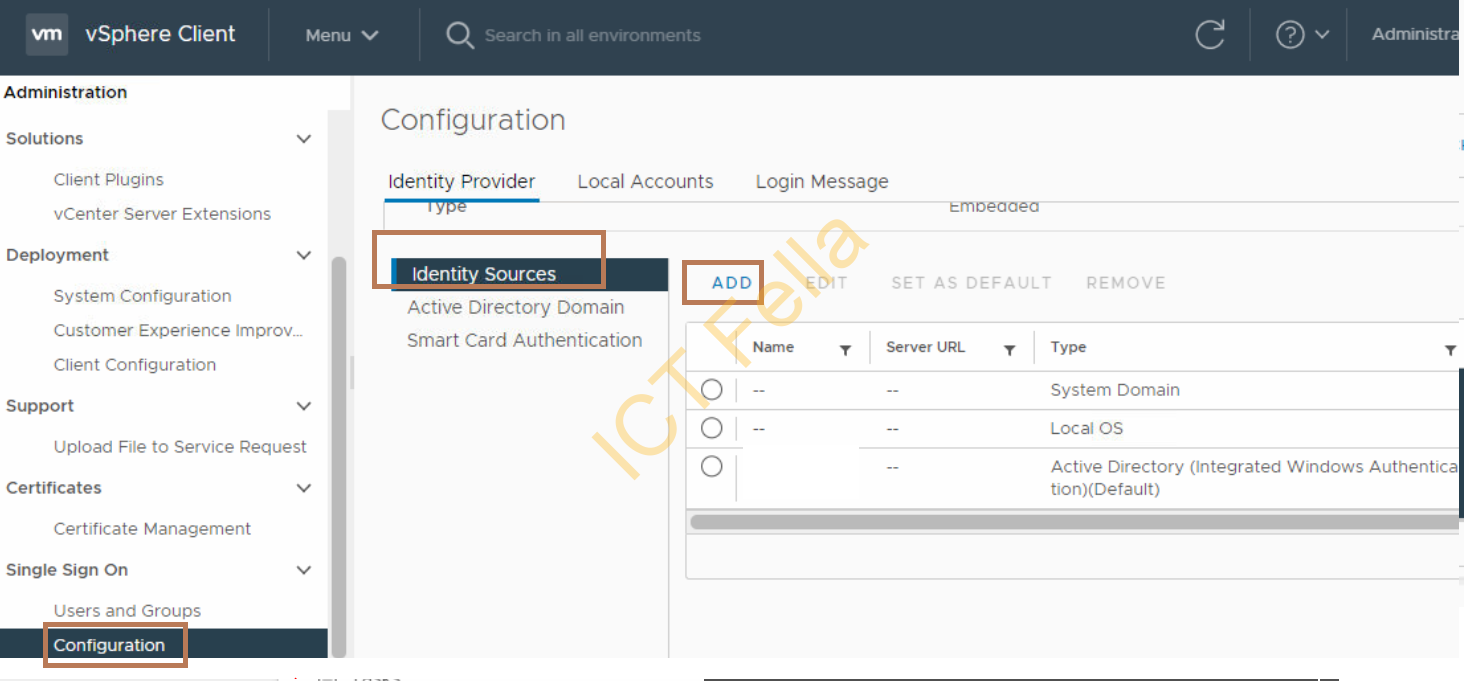
5. You will see the warning about Integrated Window Authentication depreciation, go ahead with the domain just joined and select “Use machine account”, it is probably worth thinking about LDAPs, for now, it is still ok
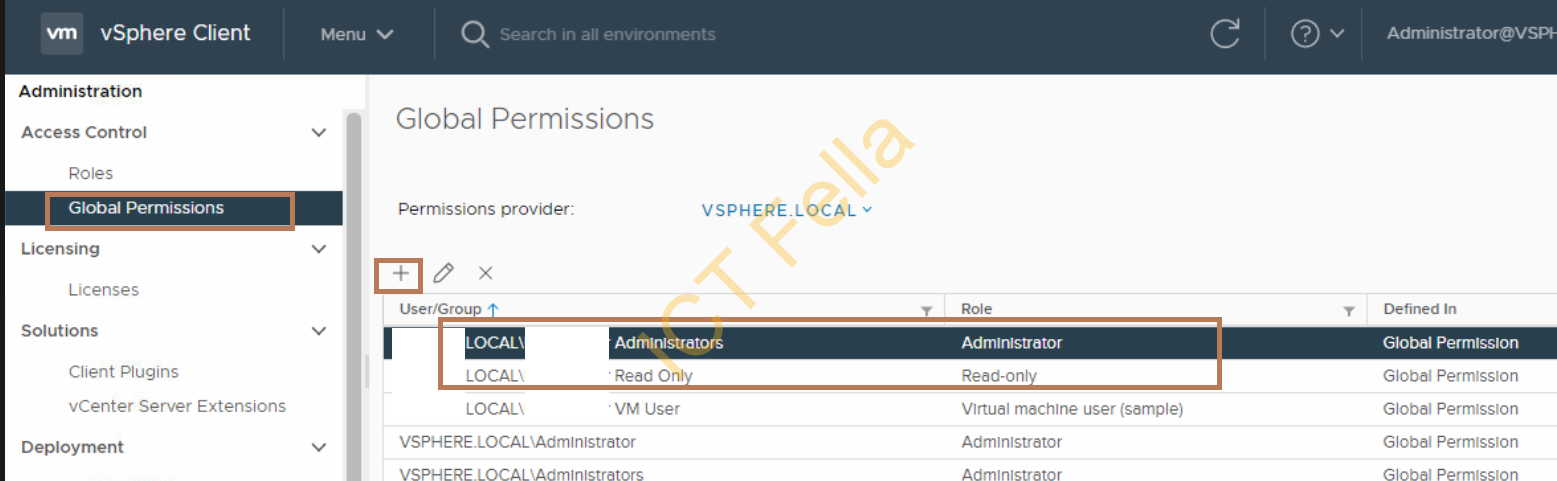
6. Once the above is done, you can map your AD groups or users with vCenter Admin or read-only user permissions, via “Access Control” – “Global Permissions” – “+”
Troubleshooting
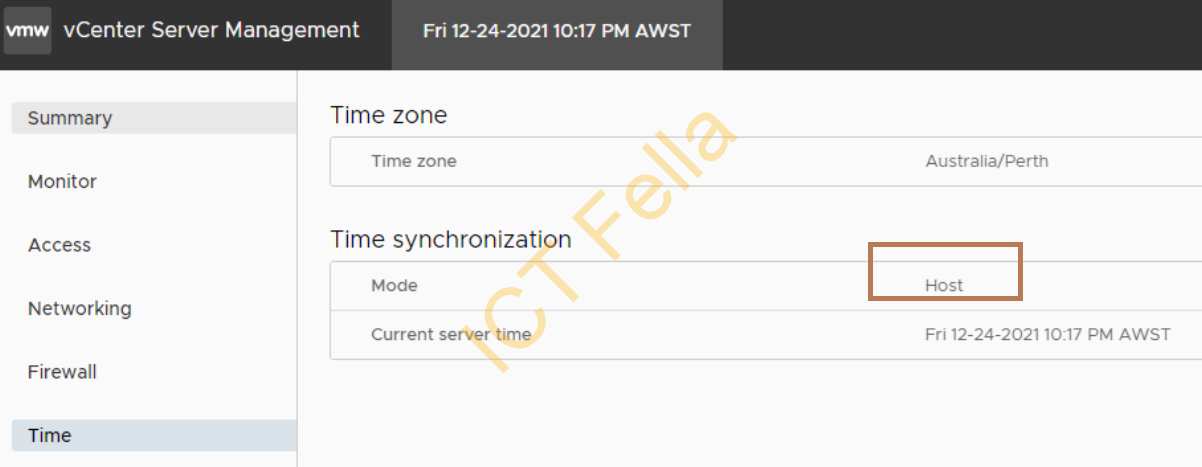
Note: If you have an error like “Error trying to join AD, error code [31]” when joining AD, check your time on vCenter Appliance and make sure the time is correct. You can configure the public NTP server on your ESXi host and then use “Host” on your vCenter.
On ESXi host
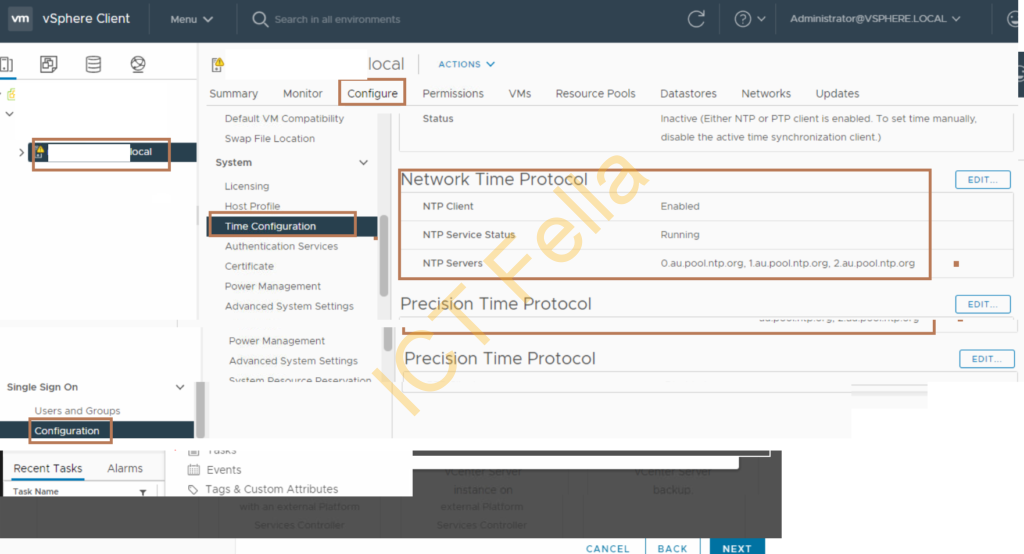
On vCenter Appliance
Useful links
Change vCenter appliance name
https://blogs.vmware.com/vsphere/2019/08/changing-your-vcenter-servers-fqdn.html