This post is to demonstrate the process to configure the Cisco switch or router device to back up the Cisco configuration file automatically to the FTP server.
Environment
- Cisco Catalyst 9000 switch, works on Cisco routers as well
- Server: Microsoft Windows Server 2022
- FTP application: Filezilla Server Application
Configure Filezilla FTP server
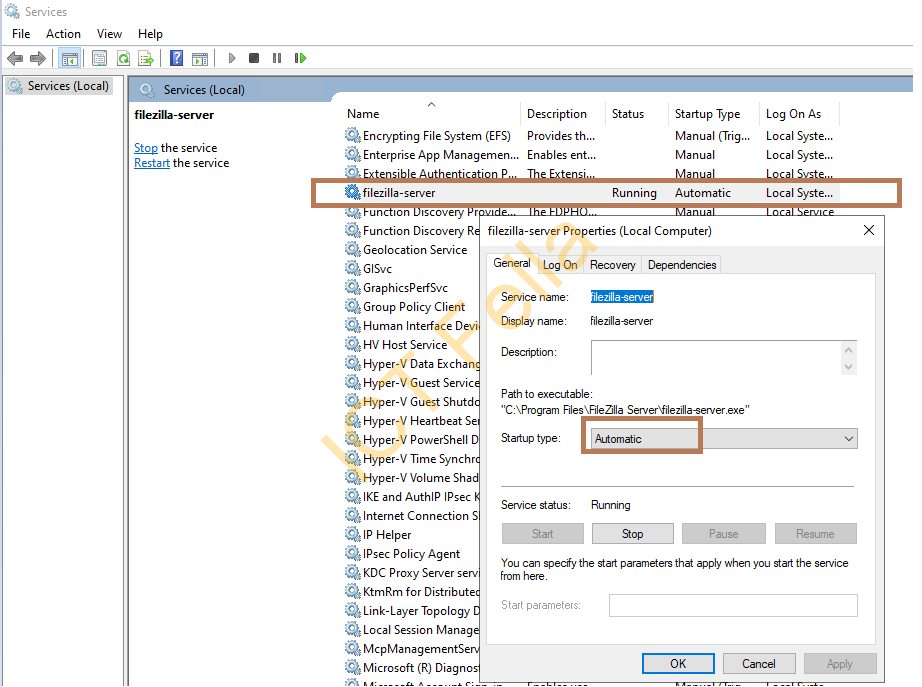
Assume you have downloaded the Filezilla server application and installed it on your windows server, double-check you have enabled Filezilla as a Windows service and it is configured to start up automatically when windows boot up:
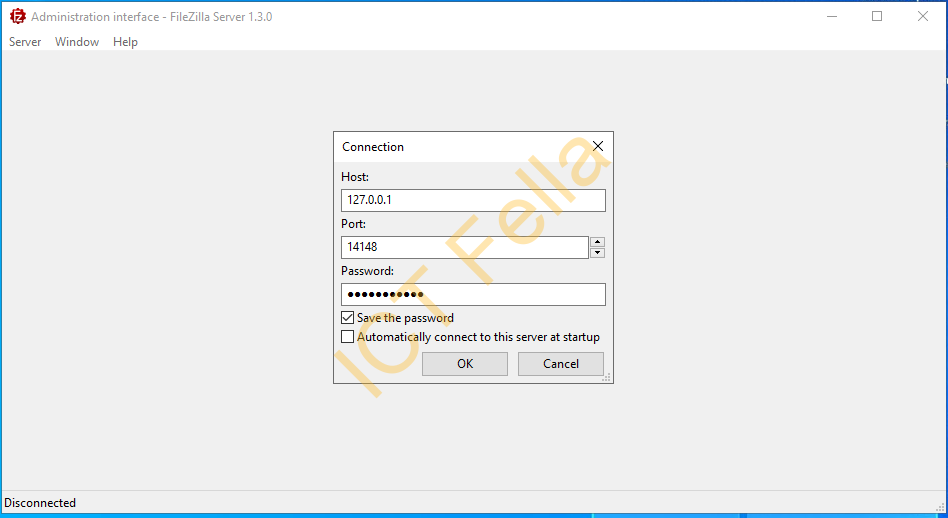
Connect to your FTP server via Filezilla Administration Interface
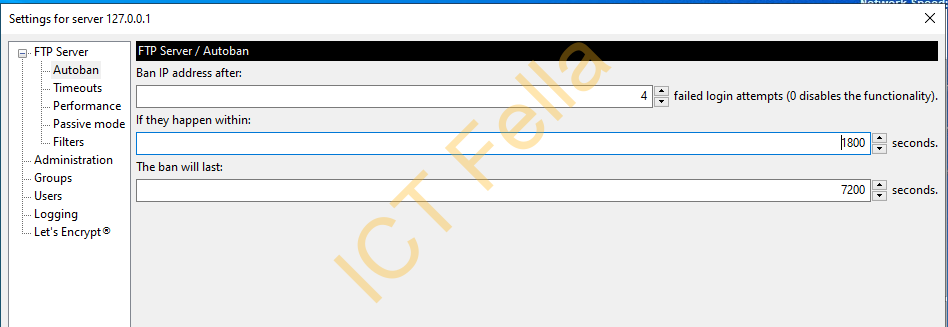
Go to “Server” – “Configure”, Under FTP Server, you can configure “Autoban” to automatically ban bad IP after certainly failed attempts, last for how long etc
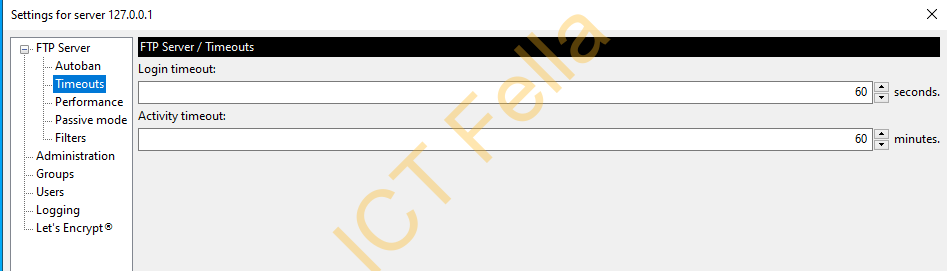
Configure Login and Activity Timeout
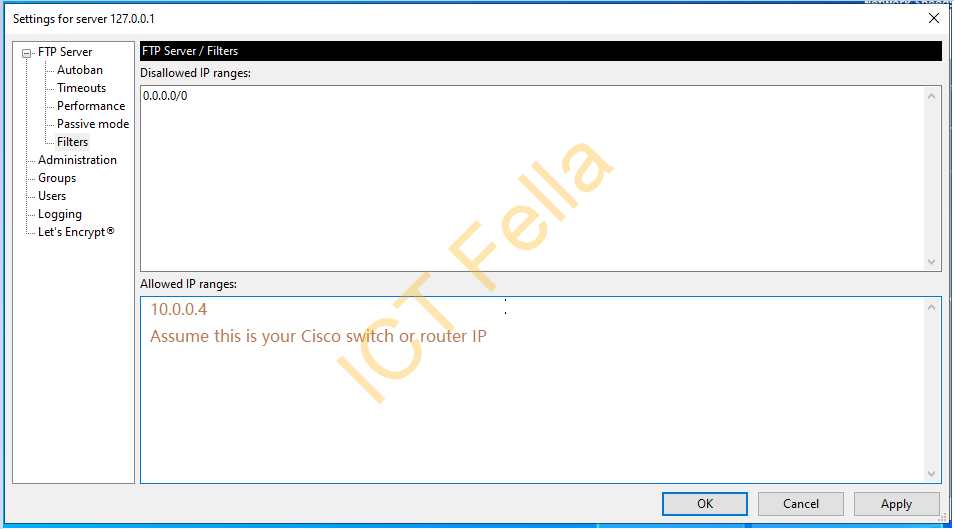
Configure “Allowed IP ranges” to the specific switch or router IP or ranges, this is for basic FTP security
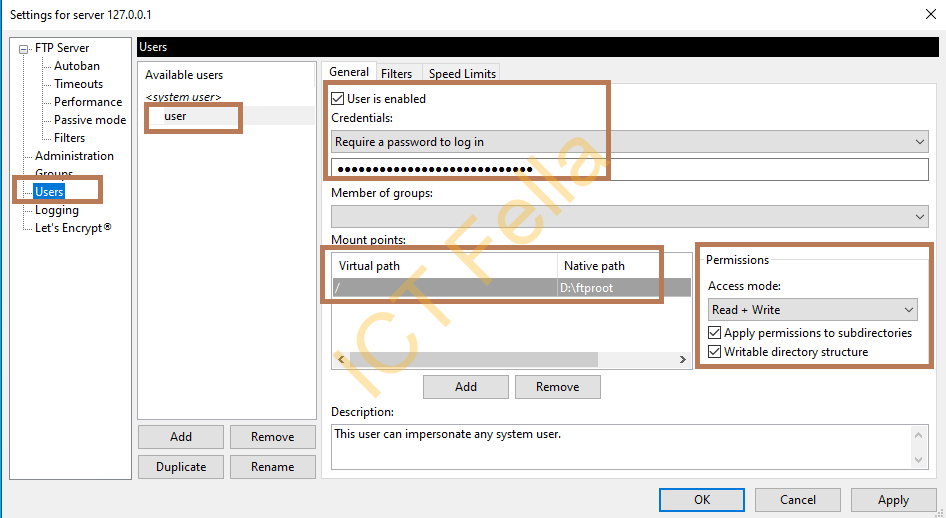
Configure an FTP user, set it as “Require a password to log in” and give it a complex password, set up the root directory, Permissions etc. Here I use D:\ftproot as the root directory:
Note: Try NOT to use “@” in your password as we will need it for the archive command
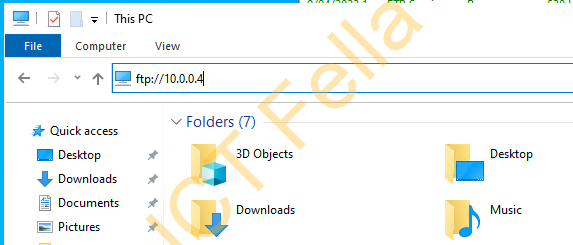
Test from a machine that is “whitelisted” in the “Filters” configuration using File Explorer, make sure it is working, and also make sure it is disallowed from other sources’ IPs.
Cisco Configuration – Archive command
Here we will set up the switch using the “Archive” command to back up the configure every week, as well as every time when a configuration change occurs.
conf t
!
!
archive
 path ftp://user:[email protected]/$h-$t
 time-period 10080
 write-memory
!

!
ntp server 10.0.0.5 source vlan 191 prefer
ntp server 10.0.0.6 source vlan 191
!
clock timezone AEST 10 0
no clock summer-time
!
end
wr
Note for the Configuration:
- FTP username is “user” which was configured in Filezilla earlier
- FTP user “user” is having a password “ICTFella$com”
- “$h” means the hostname
- “$t” means the time for the archive
- “time-period 10080″ is to backup the config every week – 10080 minutes
- “write-memory” under the archive command is to ask the switch to backup whenever you change/save the config, this is similar to the Juniper “transfer-on-commit” command that lists in the previous post
How to – Juniper EX/QFX Layer 3 Switch Configuration
set system archival configuration transfer-on-commit archive-sites "ftp://[email protected]" password "ICTFella.com"- NTP and time zone setting to make sure the time is accurate.
Check Archive History
show archive
Useful links
https://filezilla-project.org/