This post is to demonstrate the quick steps to configure port forwarding / Destination NAT on the Fortinet Fortigate firewall.
Environment
- Fortinet Fortigate firewall.
- ISP has provided a /29 range of the public IP addresses.
- The requirement is to open port 443 from specific public IP addresses, not the whole internet.
Configure Virtual IP or Virtual IP group
Fortigate firewall uses this “Virtual IP address (VIP)” concept to configure Destination NAT or Static NAT. You can map a specific TCP/UDP port of your external IP address to a specific port of your internal IP/range (Destination NAT), or map all TCP/UDP ports of the external IP address to that internal IP (Static 1to1 NAT).
In the example below, I am opening HTTPS and mapping it to an internal web server, and only from specific public IP ranges.
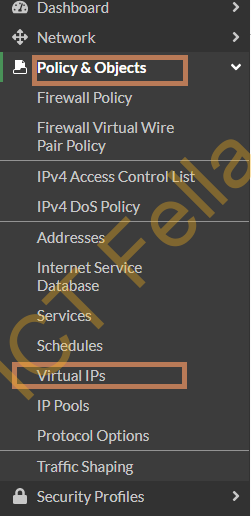
Go to your Fortigate web portal, choose “Policy & Object” – “Virtual IPs“
Click on the ” Create New” button and fill the below options:
1. Sensiable name
2. Choose your external WAN internface
3. Type: Static NAT
4. External IP address/range: your main or spare public IP adress provided by your ISP
5. Map to IP address/range: internal privite IP of your web server
6. Port Forwarding: Enabled
7. Protocol TCP
8. Port Mapping type: One to one
9. External service port: 443
10. Map to IPv4 port: 443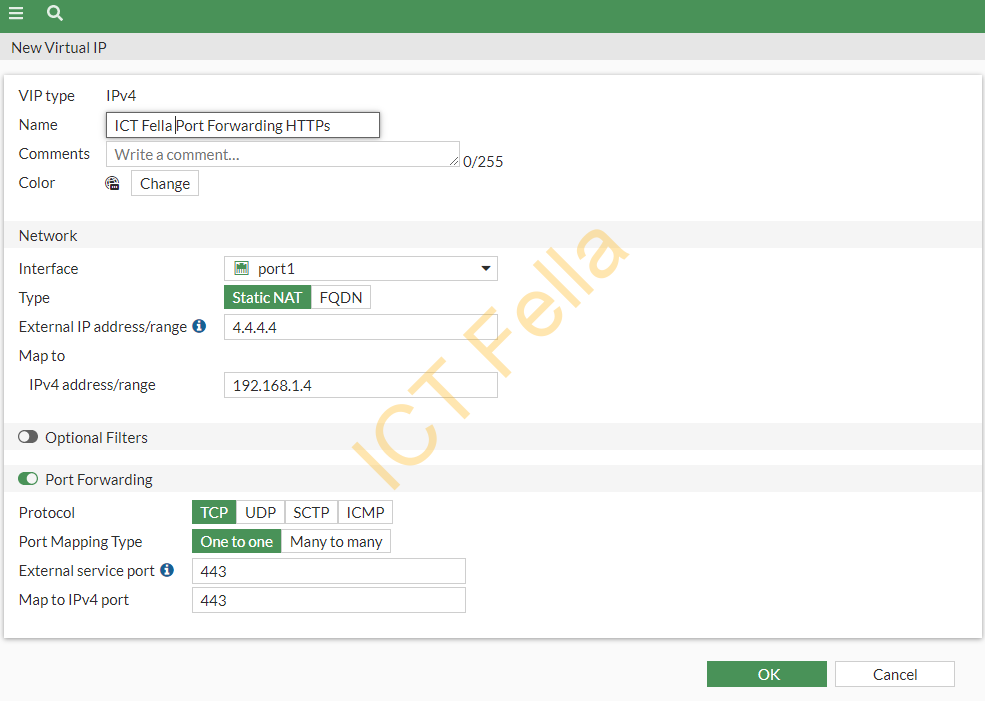
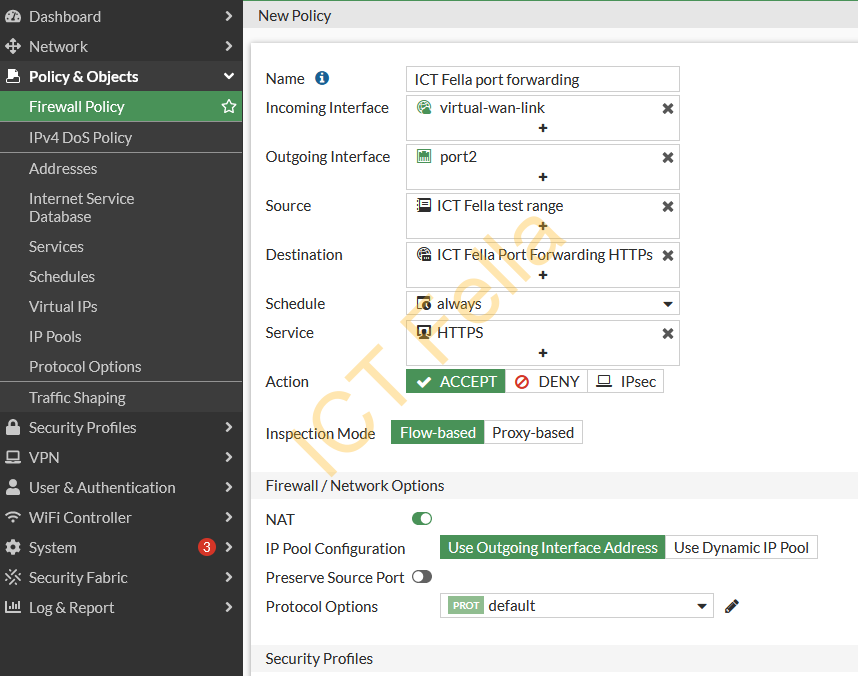
Firewall Policy for the Virtual IP
Similar to other firewalls, now we need to allow the traffic to your internal server.
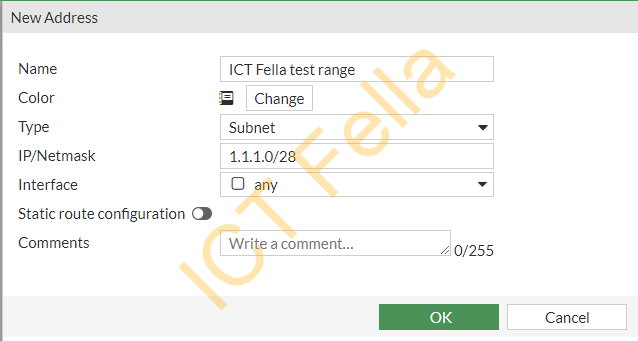
Since we are only allowing HTTPS traffic from particular public IP addresses, let’s create that network object first, go to “Policy & Objects” then choose “Addresses“, and create the new address as below.
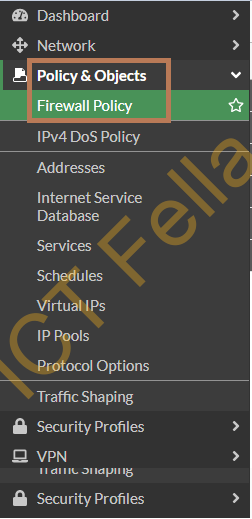
Go to “Policy & Objects” again but choose “Firewall Policy“,
Click on the “Create new” button, create the new policy as below:
1. Name for your firewall policy
2. Incoming Interface: Your WAN interface or SD-WAN interface if you are using SD-WAN
3. Outgoing Interface: Your LAN or internal interface that pointed to your web server
4. Source: We put specific IP range here as we only allow those IP address to access the web server
5. Destination: Virtual IP or virtual IP group you defined in the first step
6. Service: HTTPS
7. Action: ACCEPT
8. NAT: Enable
9: Logging allowed traffic: Enabled it if you want to troubleshoot
10: Enable this policy: Yes

Note:
Unlike Juniper SRX Firewalls or other vendors, you do NOT need to configure Proxy ARP on the external interface like below:
set security nat proxy-arp interface ge-0/0/0 address 4.4.4.4/32