This post lists two methods to install Ubuntu on an External Hard Drive or USB Drive.
Preparation
- One USB Drive and an External Hard Drive/SSD converted by a USB hard drive enclosure.
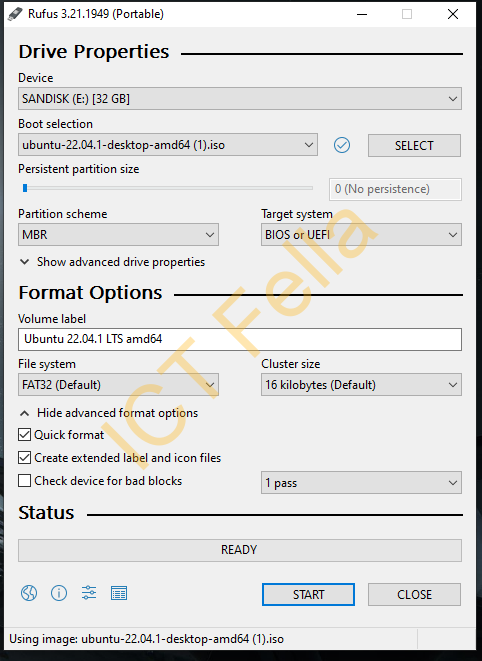
- Ubuntu image, here I have ubuntu-22.04.1-desktop-amd64.iso, which is an LTS version.
- Rufus portable version, you can download it from here
- Your laptop, mine, is a Dell Latitude 7390
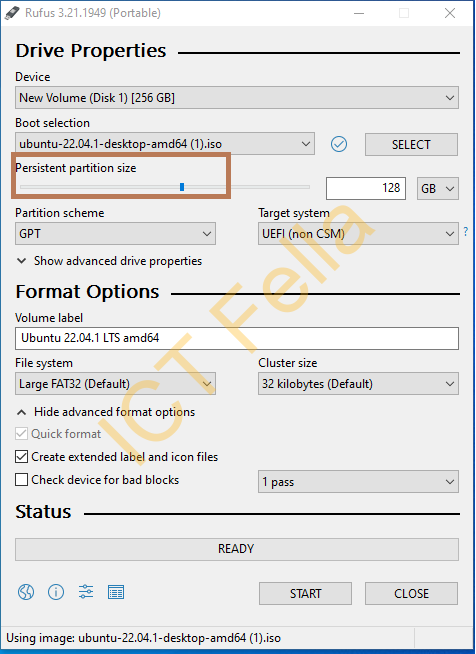
Method 1 — Persistent mode
This is the easiest way, as all you need is to utilize the “Persistent partition size” option in Rufus so that this partition will retain the personal data.
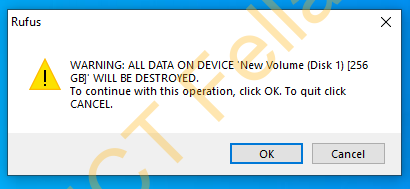
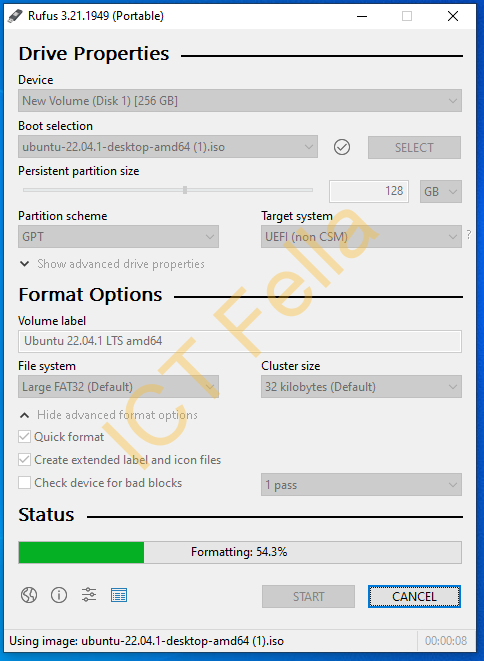
Warning and progress
Note: Method 1 has drawbacks; for example, you cannot change your kernel version easily as some of the ISO data is burned into the hard drive.
Method 2 – Direct installation of Ubuntu on USB drive
Basically, we boot up from the 1st USB drive and install OS on the 2nd USB drive.
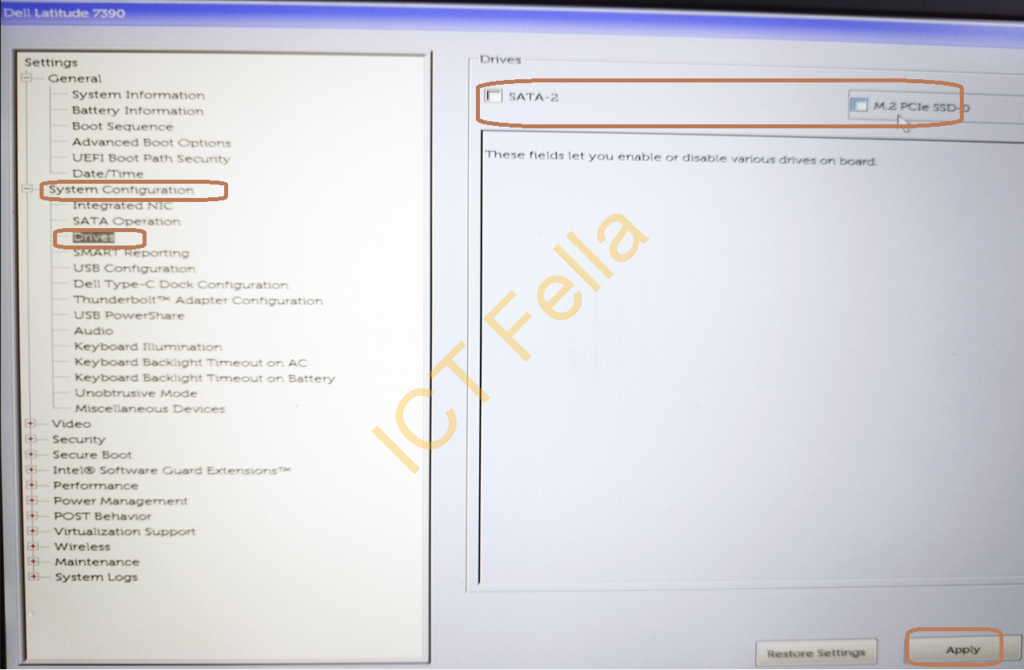
Physically remove your current hard drive, or go to your laptop BIOS setup to logically “disconnect” your internal hard drive for my Dell Latitude:
Create a standard boot USB drive using Rufus, but without the “persistent partition size” option configured
Press “F12” (for Dell laptops) to select boot disk – the Standard boot USB disk (1st USB drive) just created, once booted, plug your external hard drive in and install Ubuntu step by step on the external hard drive (2nd USB Drive)
Once installation is done, revert the BIOS back to what it was, so internal disk are connected.
How to Use
Whenever you want to boot up from your portable Ubuntu OS, press “F12” to select the boot disk if you are using a Dell laptop or go to the BIOS and manually tweak the boot order.
Useful links
https://ubuntu.com/tutorials/create-a-usb-stick-on-windows#1-overview